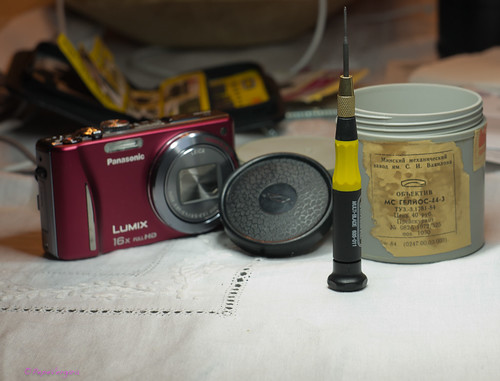
By the time I read this thread, I had already ordered a nice 44-3 with the receded mount ring. So, I got lemons and decided to make lemonade. Notice that NOT ALL HELIOS 44-3 need to be adjusted, I believe only those whose serial number starts with 86xxx or earlier/lower. (Read this thread from the beginning and do not panic, it is not a big deal). The truth is that it took me only about one hour and 20 minutes to do the whole operation. I needed a small screwdriver that I got from Home Depot, emery (metal sand paper), and calipers to measure the amount to grind. BTW, the sanding takes too long, so I changed in the middle of the process to a file, since I have several, I did not have to buy one. Here are some pics of the whole process:
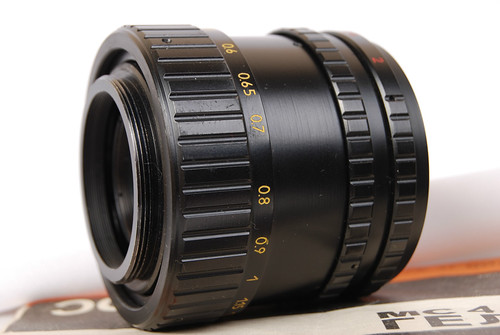
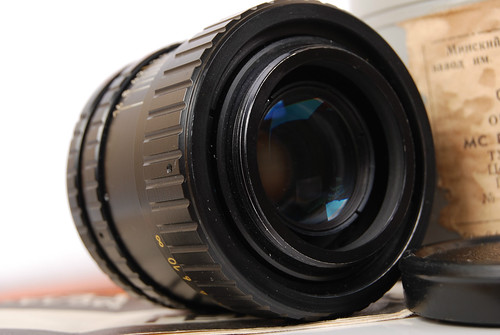
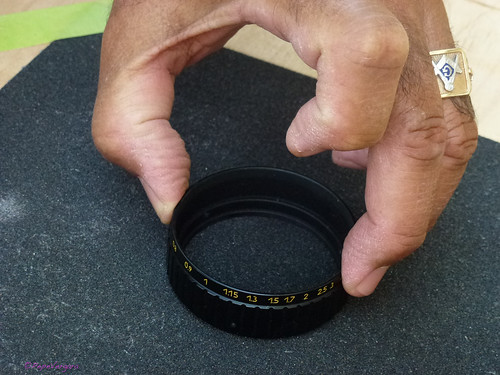
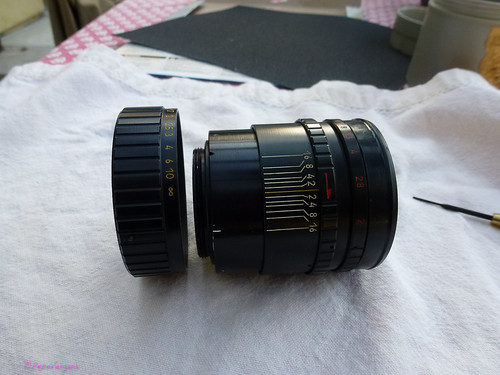
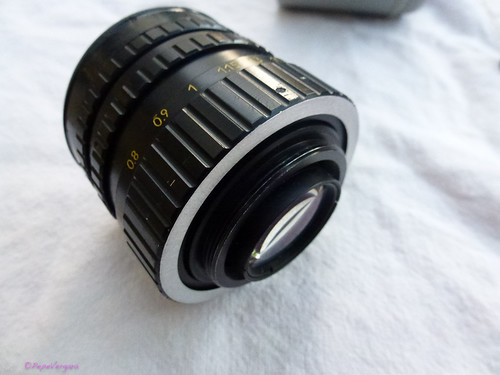
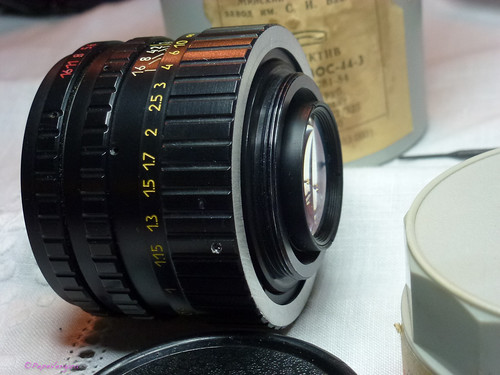
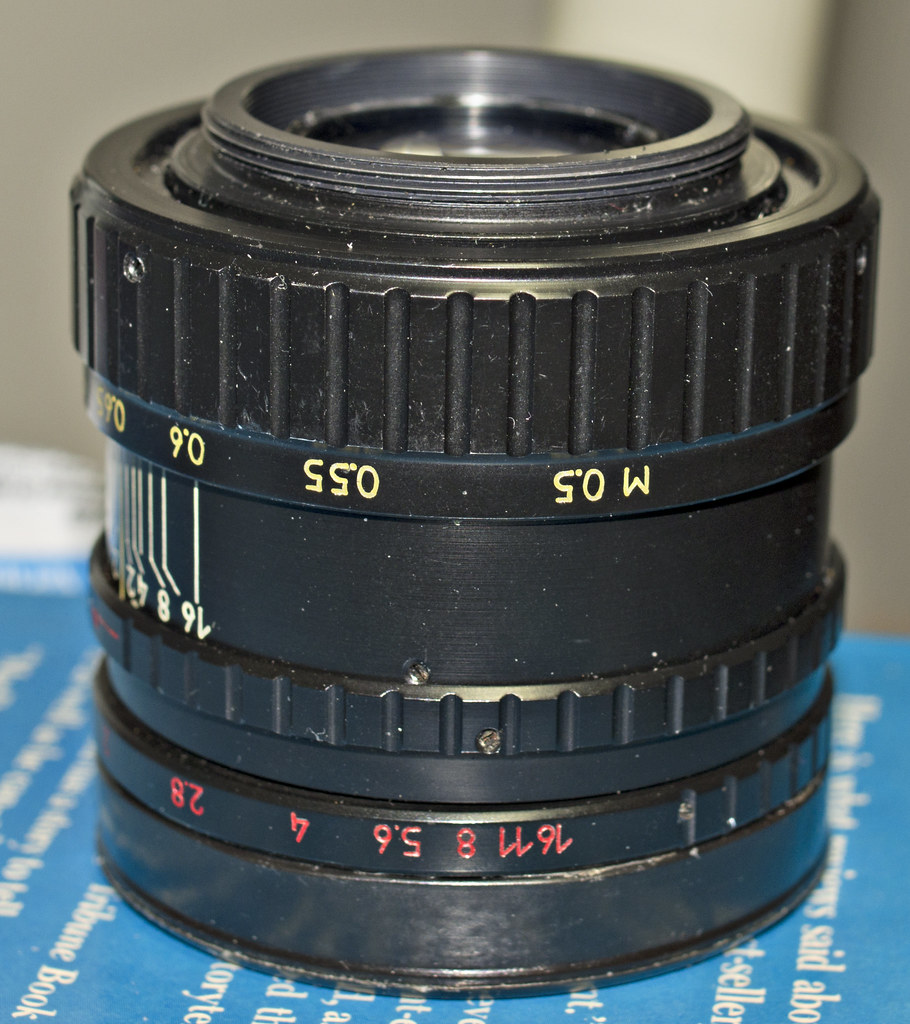
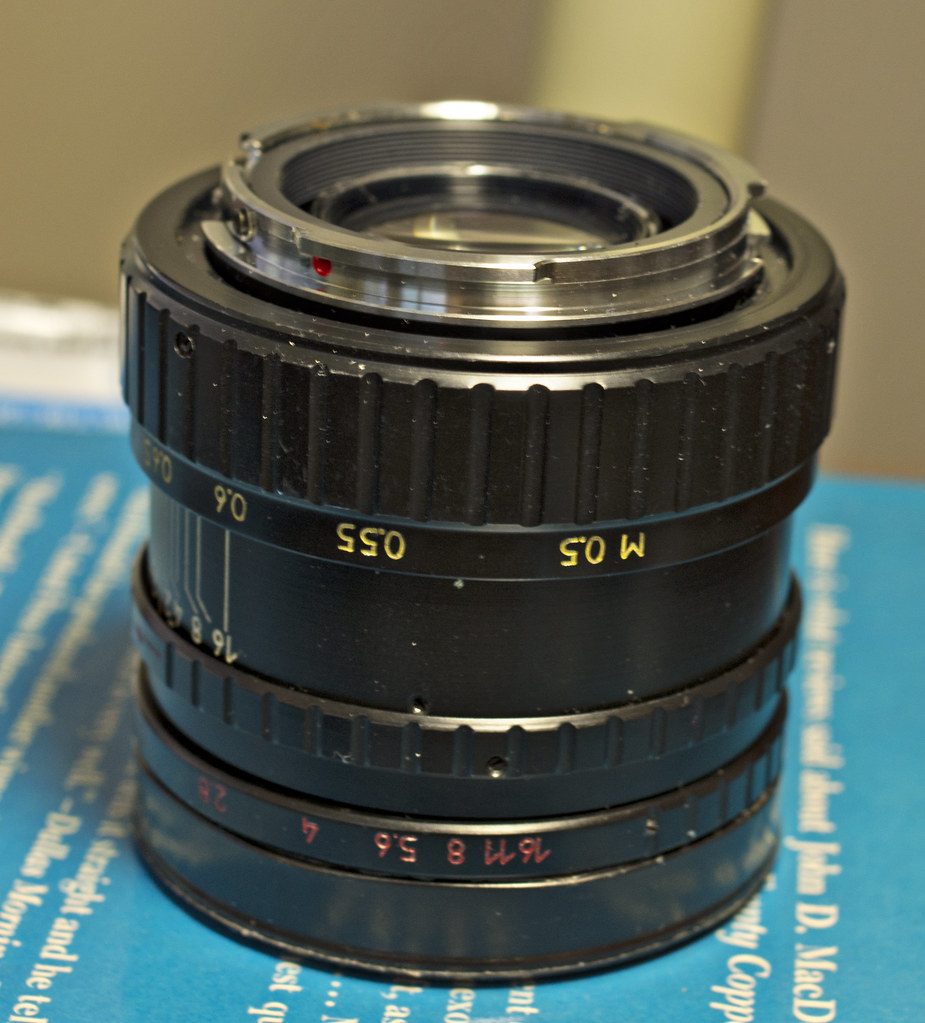
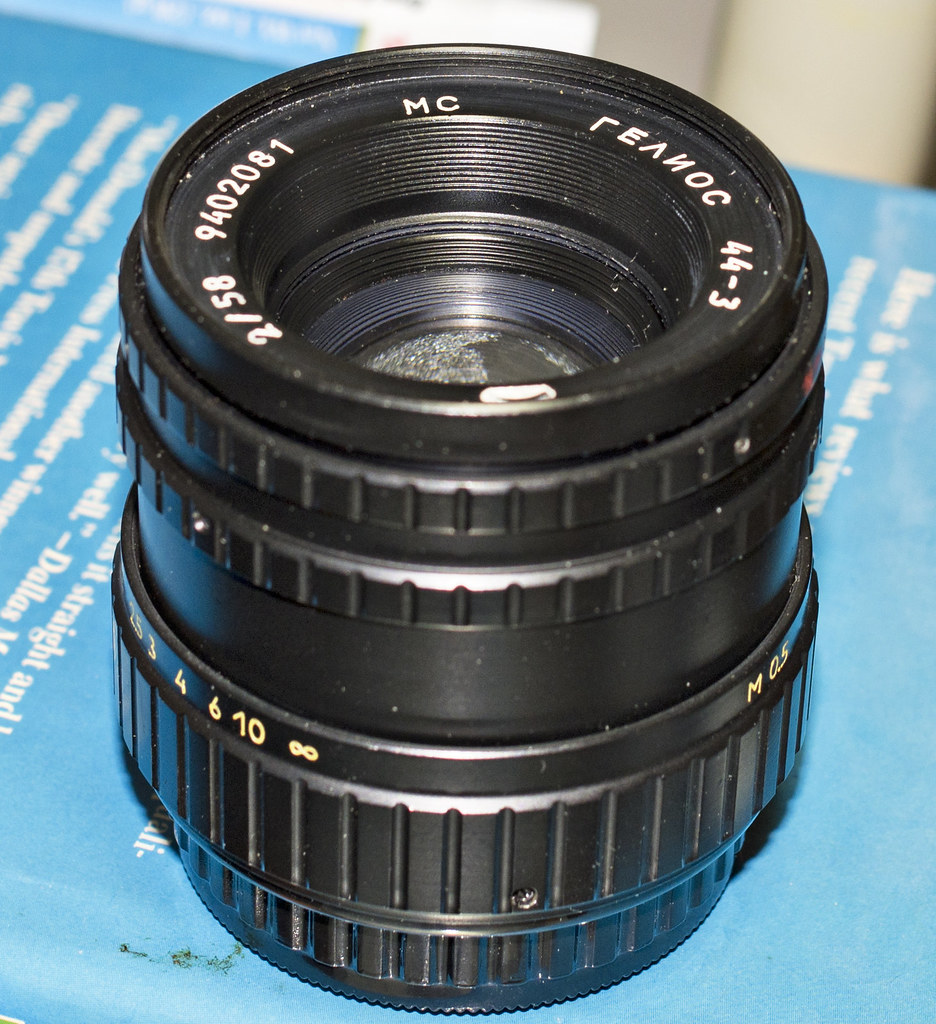
0) This is how the original lens came, with the recessed mount ring. It could not be mounted on a Pentax camera,
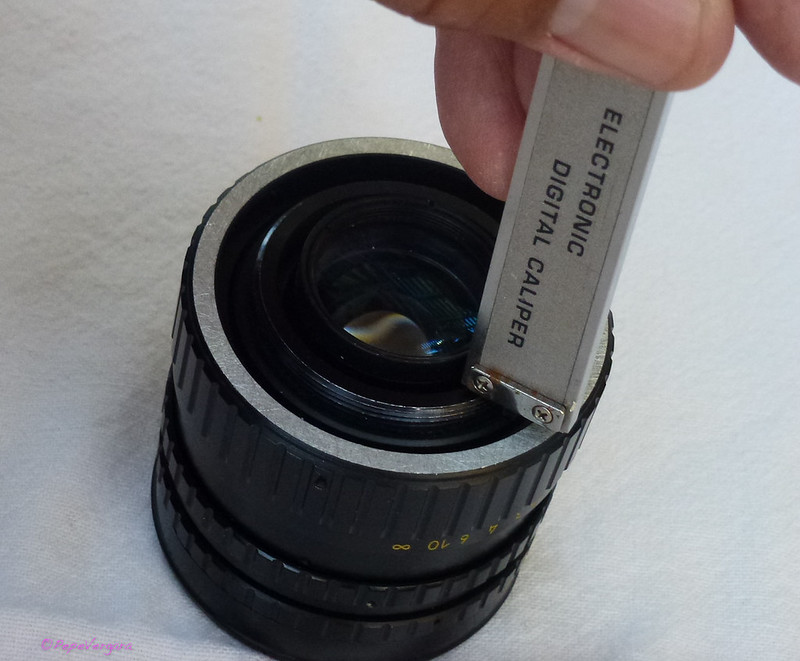
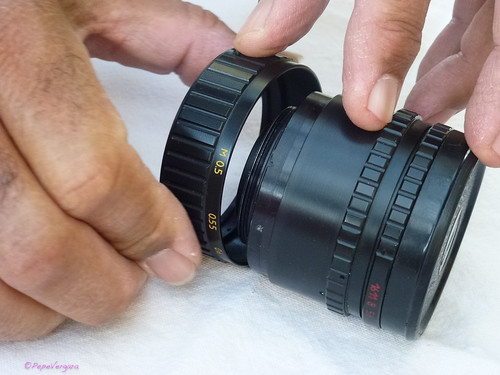
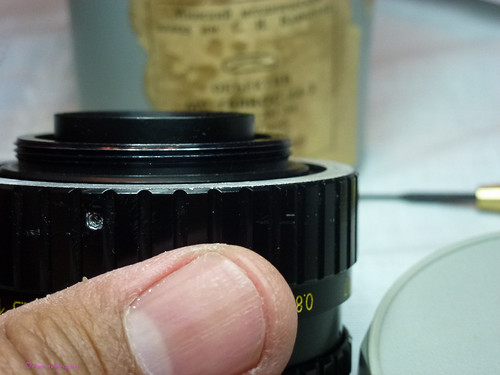
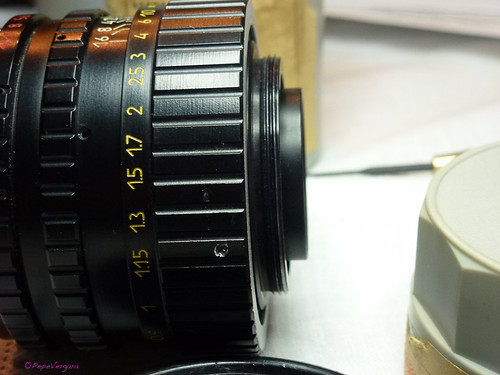
1) First, you measure how much you have to grind. (Note: I forgot to take photos prior to start, so I had to recreate the beginning when I started. Notice that surface is no longer black, it is because it already has several passes over the emery).
2) Losen the three screws that hold the focus ring (do not remove them, you may lose them)
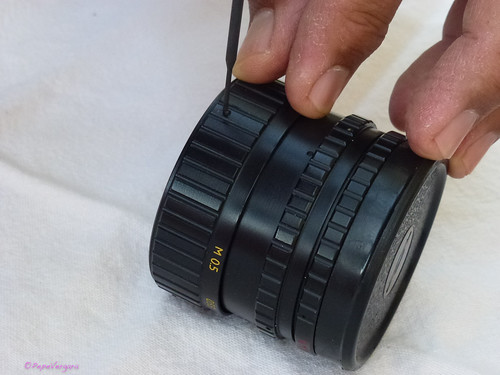
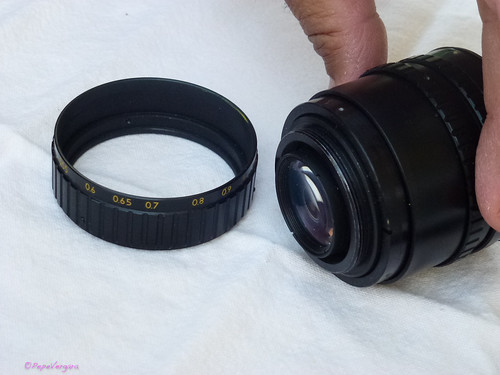
3) Remove the focus ring and make sure the screws are all the way in to avoid losing them
4) Make sure the lens is in infinite when you unscrew (not that it matter, but to help you remember). The three screws will have small marks etched onto the lens, so you will be able to use them as a guide line.
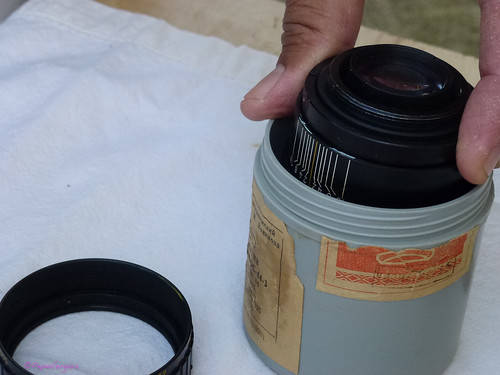
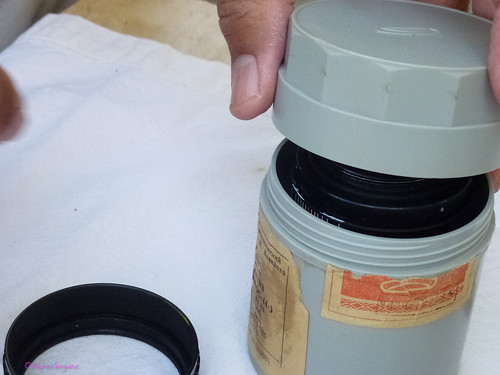
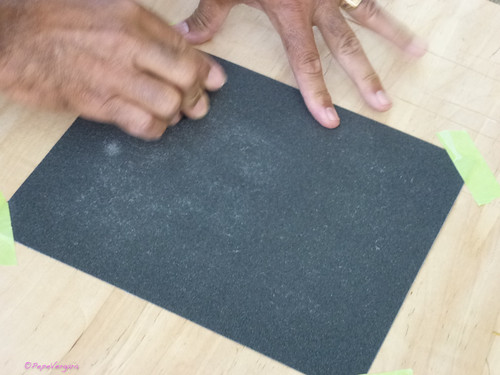
5) Make sure you protect the lens while you are working on the focus ring:
6) Start grinding against the emery (metal sand paper). Try to use steady pressure, circular movements to make sure your cut is even throughout.
7) The emery will start "eating" the aluminum quickly (so, I thought). See how shining it looks?
8) Well, it was taking too long, and I have some experience with the file, so I decided to use it:
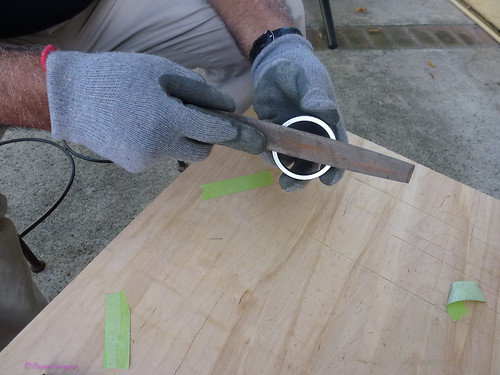
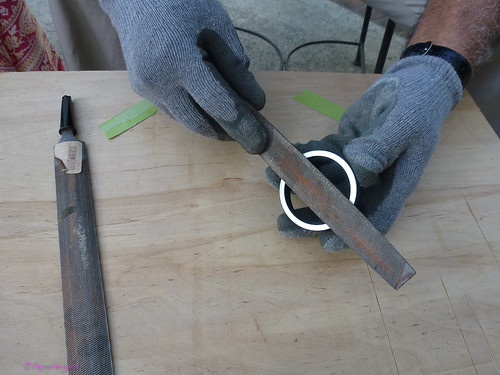
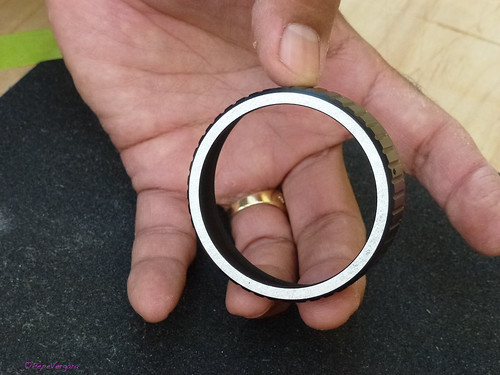
9) File is quick. However, make sure you are grinding evenly the circumference of the filter ring.
10) Now, put the focus ring back. You have to put the lens in the infinite position, that is when the lens is smaller. Then match the infinite sign on the filter ring with the center of the scale. You will find that the screws will match their own bed. Once done, examine the lens to ensure the job is done:
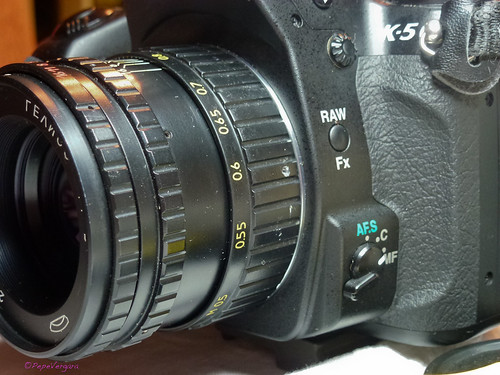
11) Finally, mount the lens on the camera. Make sure you have the genuine Pentax M42-K adapter on the camera already. Screw the lens and voila, look at the beauty:

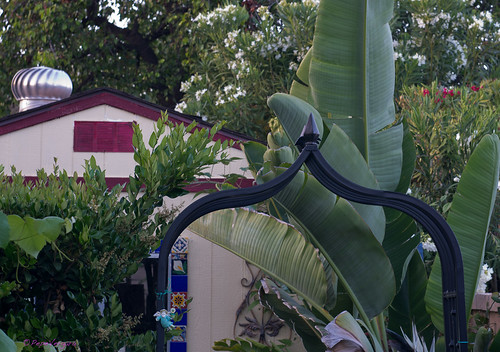
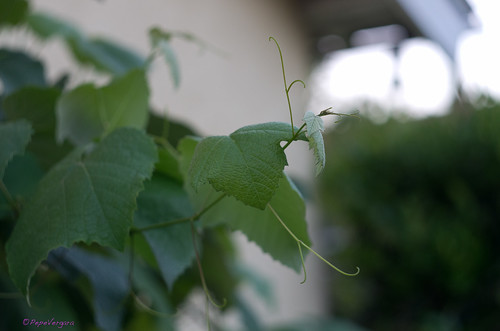
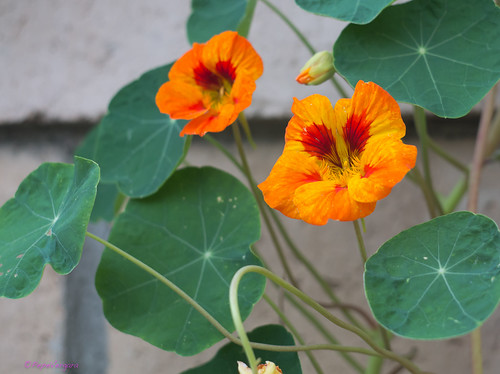
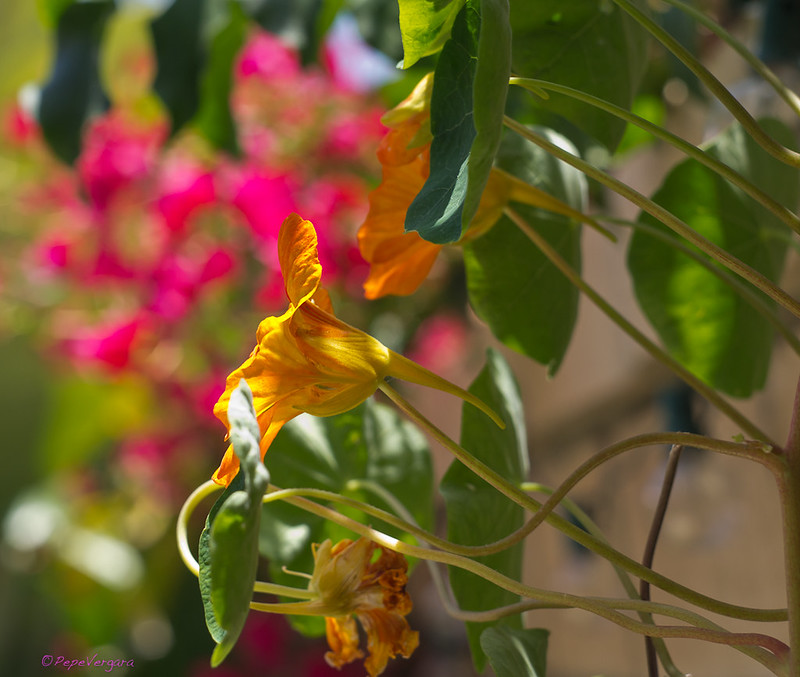
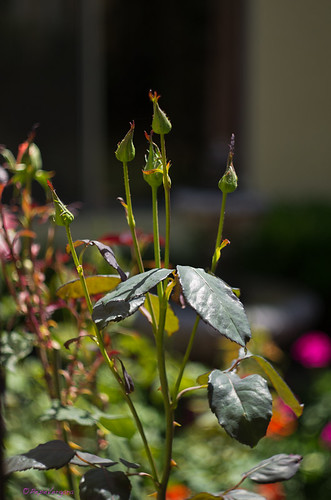
12) Now, let's see some examples of the photos taken with this lens. It is important to clarify that when I got the lens, I could not screw the lens all the way in. Therefore, I could not focus to near or infinite. I could not take any photos. After the job is done, these are some quick samples taken with my K5:


===========
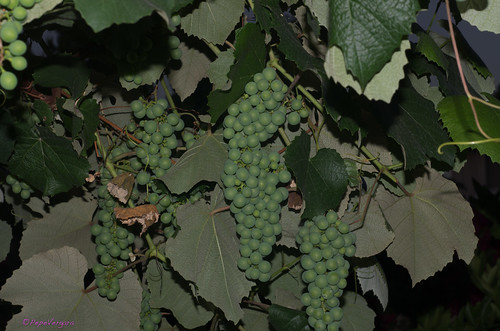
EDIT: JUST TO ADD MORE PHOTOS


 Similar Threads


