
Make Your Images Pop with Topaz Clarity
An easy way to enhanced color and contrast
By PF Staff in Articles and Tips on Dec 18, 2016
On a recent trip to Sedona, Arizona, we stopped by a gallery displaying paintings of scenery from the so-called Red Rock area, as the area around Sedona is known as. It was striking how most of the artists exaggerate the colors of the sky and the rock for effect. We thought that perhaps we should try the same with the photos from that day, in particular since the lighting during the shoot was somewhat flat.
After some false starts with Photoshop the Topaz Clarity plug-in came to mind and we thought we'd give it a spin. Here is the end result using one of the Landscape presets in Topaz Clarity:
 After applying the Clarity plug-in
The photo as we would usually develop it with no use of the plug-in:
 Before applying the plug-in (click to enlarge and compare)
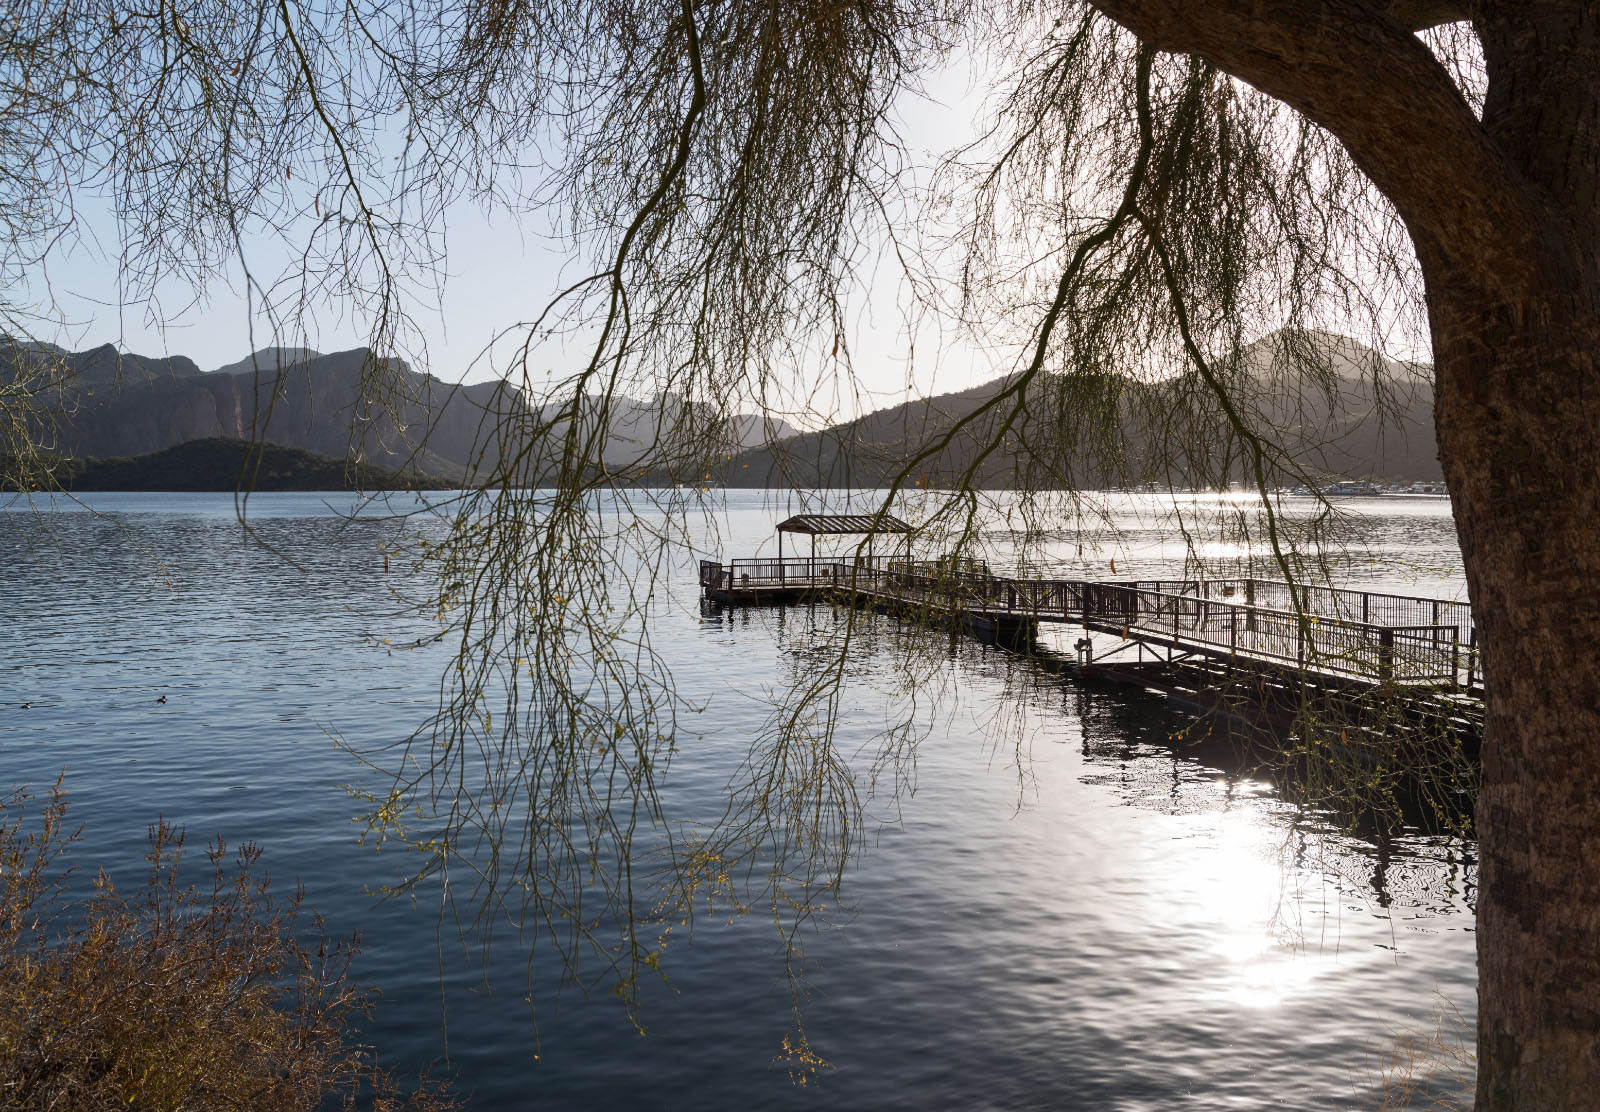
You don't need red rock or other colorful subjects to benefit from the Clarity plug-in. At a recent shoot late in the day of a back lit scene Topaz Clarity was also able to enhance the images quite some just by using one of its presets. The subject here is a fishing pier at Saguaro Lake, Arizona:
 After application of Clarity
We in particular like how the twigs stand out and light up in the image above after Clarity has done its work.
 Before use of Clarity (click to enlarge and compare)
Similar results can be achieved in Photoshop without the Topaz plug-in, but it takes much more time and effort, and one loses the advantage of the many presets of the plug-in, which allows for a quick try-out and comparison of the many different effects.
An added benefit of suing the plug-in from within Photoshop is that one can use layer masks to tone down the effect in some areas of the photo. In the example below the main subject again is the fishing pier, but the plug-in also enhanced the mountains in the background to a degree that takes focus away from the pier. With a mask in Photoshop we can remove the effect from the background (click an image to enlarge and browse):
 i - Before Topaz Clarity
 ii - After Topaz Clarity
 iii - Mask applied toning down the effect on the background
These are the steps involved when applying a mask to the result generated by the plug-in:
 Photoshop desktop with a layer mask (click to enlarge)
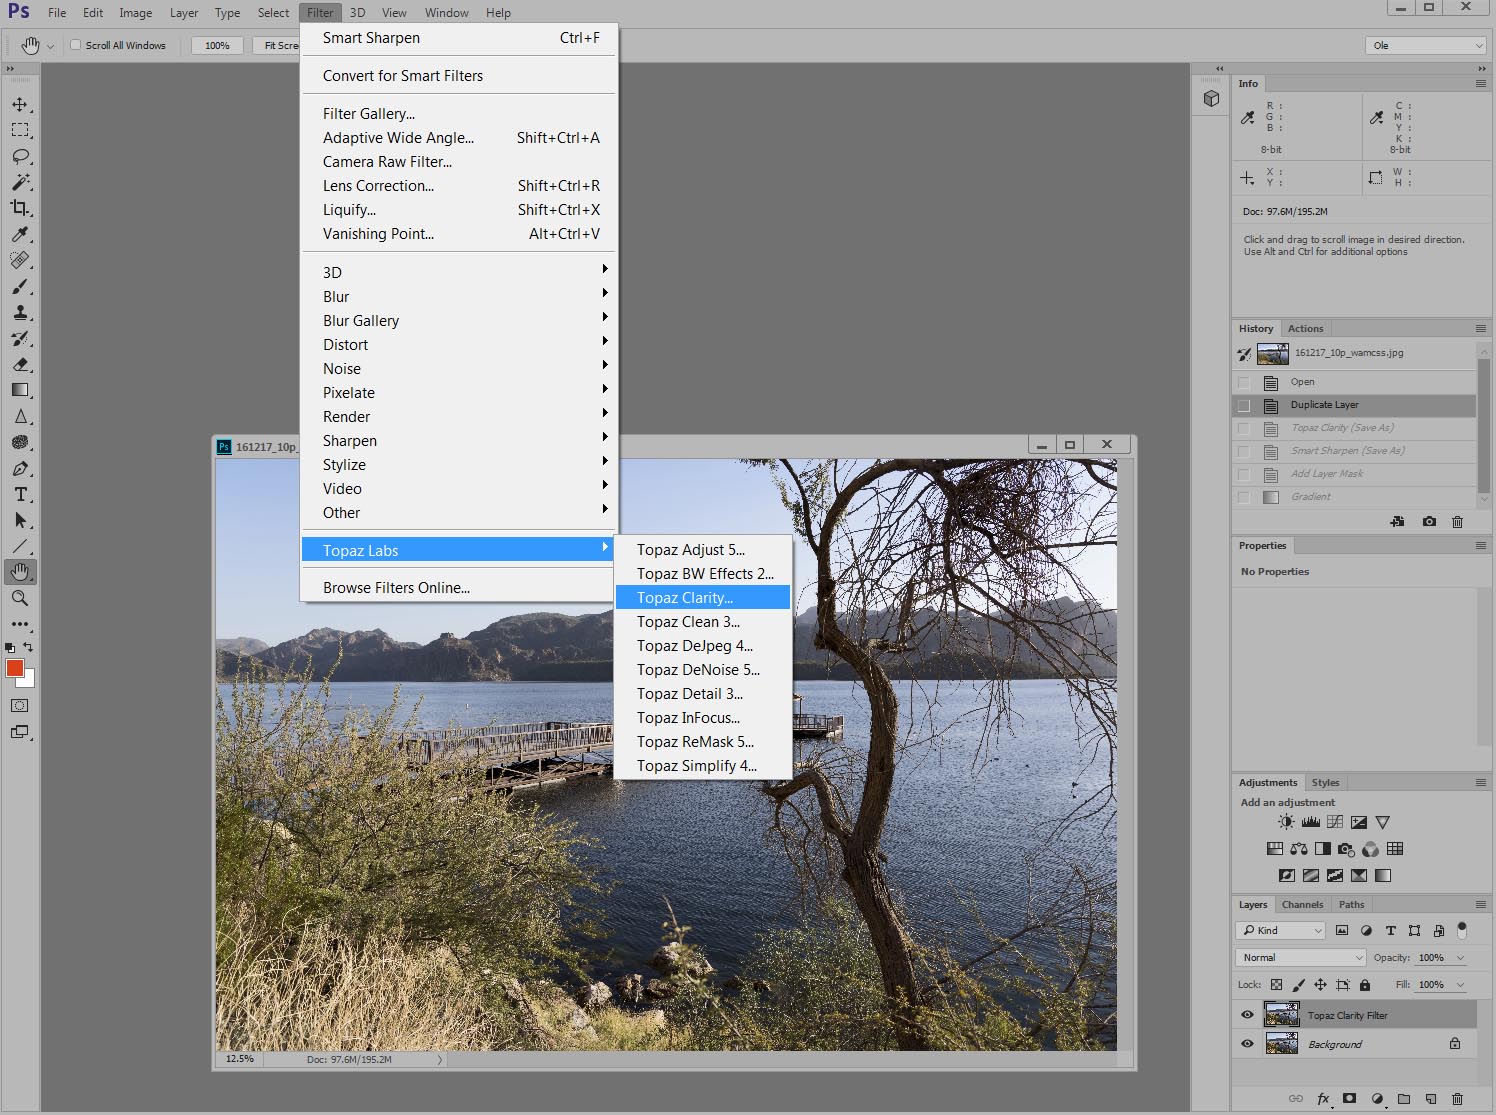
The Topaz plug-in for step 1 above is found under the "Filter" menu:
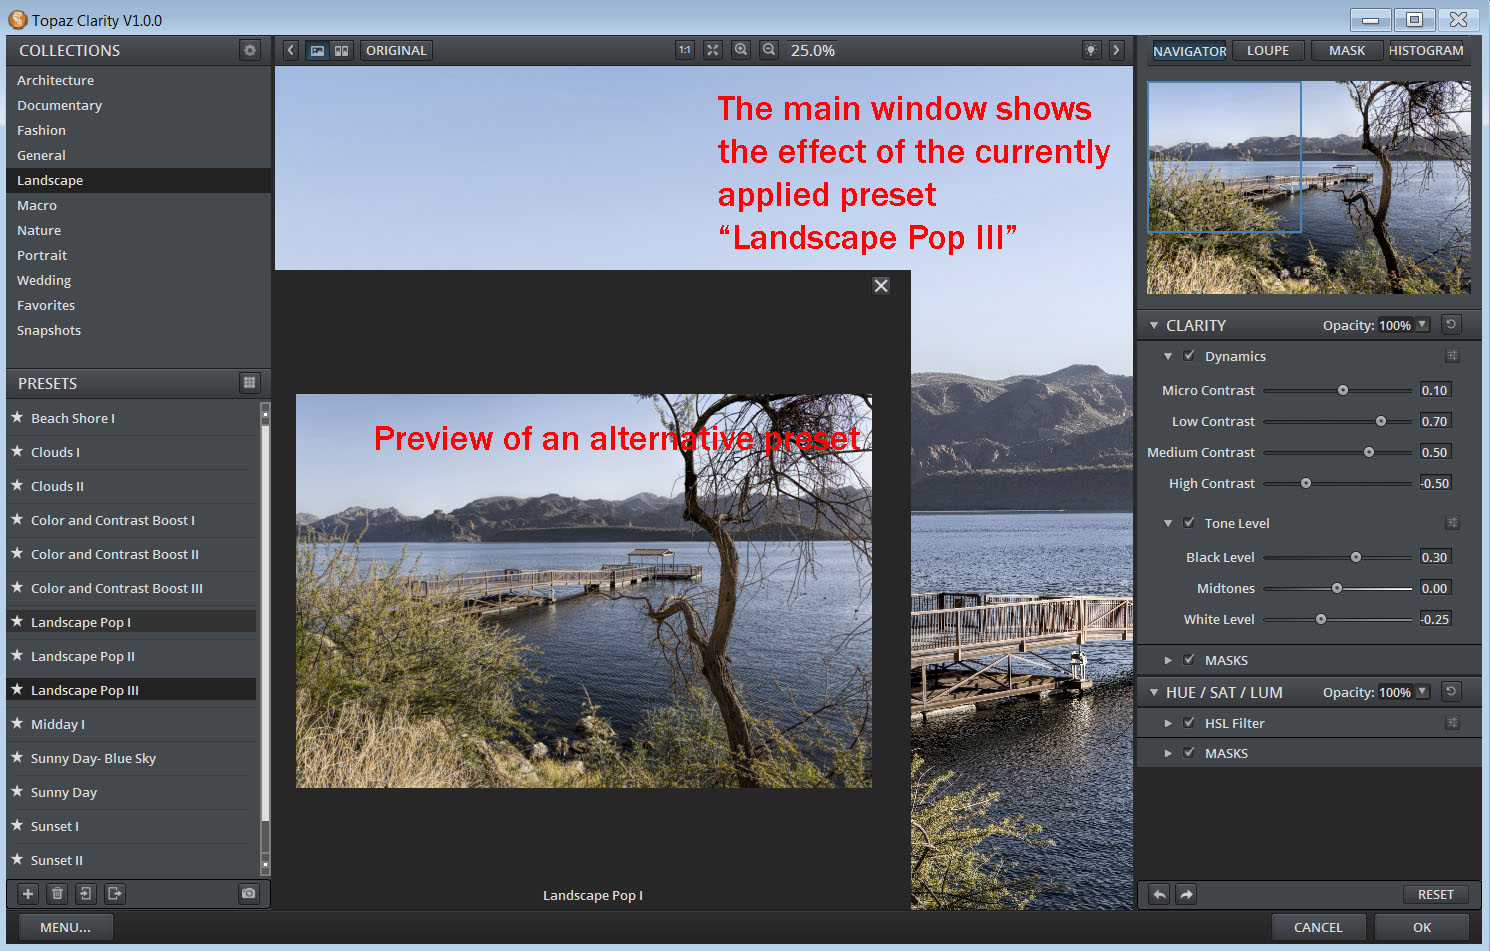
The Topaz Clarity desktop:
Another benefit of applying the Topaz filter to a duplicate image layer is that the effect can be toned down with the opacity slider should you have gone overboard with the filter.
For completeness let us finally mention that the images were shot in DNG raw with a Pentax K-1 with custom image set to Natural and developed in Adobe Camera Raw and then processed in Photoshop. The lens was our favorite travel lens for the K-1, the D FA 28-105mm.
Click here to try Topaz Clarity free for 30 days
More from the Pentax Forums Homepage
- March "Flowers up Close" Contest...
- HD FA 50mm F1.4 vs. SMC 50mm F1.4 Classic Review
- Announcing Our April, 2024 Photo Contest
- Introducing Pentaxify AI by PentaxForums.com
- The Making of "Autumn Draws"
- Ricoh launches the RICOH GR III HDF and RICOH...
- Join Ricoh for the April 6 GR Photo Walk in Las...
- The Making of "Gotcha!"

 Various writers regularly contribute articles to the Pentax Forums homepage blog. More recent articles are published under each author's forum username. We hope you enjoy our guides and news...
Comments