
The Making of "Beautiful Waterfall in the Heart of Adirondacks"
How the winning photo of the "Landscape in Color" contest was made
By awscreo in Photo Contests on Apr 29, 2019
 "Beautiful Waterfall in the Heart of Adirondacks" by awscreo
Hello, fellow Pentaxians!
First of all, I would like to thank everyone that voted for my photo, I appreciate you picking mine over other entries, all of which were spectacular. I’m definitely not as experienced as many amazing photographers on our forum (purchased my first camera in 2014), but I’m eager to learn and have picked things up rather quickly.
Brief Breakdown of My Process
My first step was researching the location. Back in 2018, I lived in the middle of Adirondacks Park upstate New York, a huge (6.1 million acres) park that includes more than 10,000 lakes, 30,000 miles of rivers and streams, green lush forests and a few fairly sizable mountains too. I constantly asked locals and visited galleries to find new locations within driving distance from my home, but the best find for me personally was an e-book by Chris Tennant and Adam Baker - Fall in the High Peaks Region. If anyone is interested in finding the best spots for photography in the Adirondacks region this book would be a very valuable guide.
One of the places in the book I instantly got interested in was the Adirondacks Mountain Reserve, a waterfall-dense region that is open for hiking with nice trails and a convenient parking spot (located near the Ausable Club that owns the land). I made sure to go during peak foliage season (early to mid-October is a good bet, but it’s changing slightly every year), you can check the foliage reports here.
So I geared up for the hike. Here’s the gear I took with me:
1. Pentax K-1 with a Markins L bracket.
2. Pentax DFA 15-30 2.8
3. Tamron 90 2.8 macro
4. Nisi S5 filter system with a Pro CPL (for the 15-30 2.8)
5. Nisi 10 stop ND filter for the S5
6. Vanguard Alta Pro 263AB 2+
7. Manfrotto MB PL-3N1-35 backpack
Once I arrived on location, I went on a West River trail at the gate. The hike was not too challenging, although it did get steep in around 2/3 of the way when I was close to the waterfalls. Overall it took me around 1.5-2 hours to get to the waterfall, but I did stop to take some pictures along the way and enjoyed nature, so you can get there much quicker.
The waterfall (Wedge Brook Falls) itself is located in around 2.8 miles on the trail. It consists of 3 cascades, the one in the picture is located underneath the bridge that is located on the trail. It was a bit sketchy climbing down the steep hill with my gear on my back, but thankfully there were enough roots and rocks for me to hold onto to make my way down there.
Once I set up, found the composition that I liked, I put the Nisi S5 on the lens and started taking exposures. I wanted a long exposure to smooth out the water (1.6s in this case), so I had to bump the aperture to f16 to balance out the histogram. I tried to record as much data as I could without losing the highlights. Thankfully the woods are rather dense around so even in midday it’s rather dark in there. F16 also helped with keeping the entire frame nice and sharp.
Originally I planned to blend exposures in Photoshop, so I took 3 frames (+1.5/0/-1.5) but I ended up using only the brightest exposure out of the sequence. I used the CPL only for this image, removing glare on water and rocks, and adding saturation to the foliage.
Post Processing
This is what I started with:
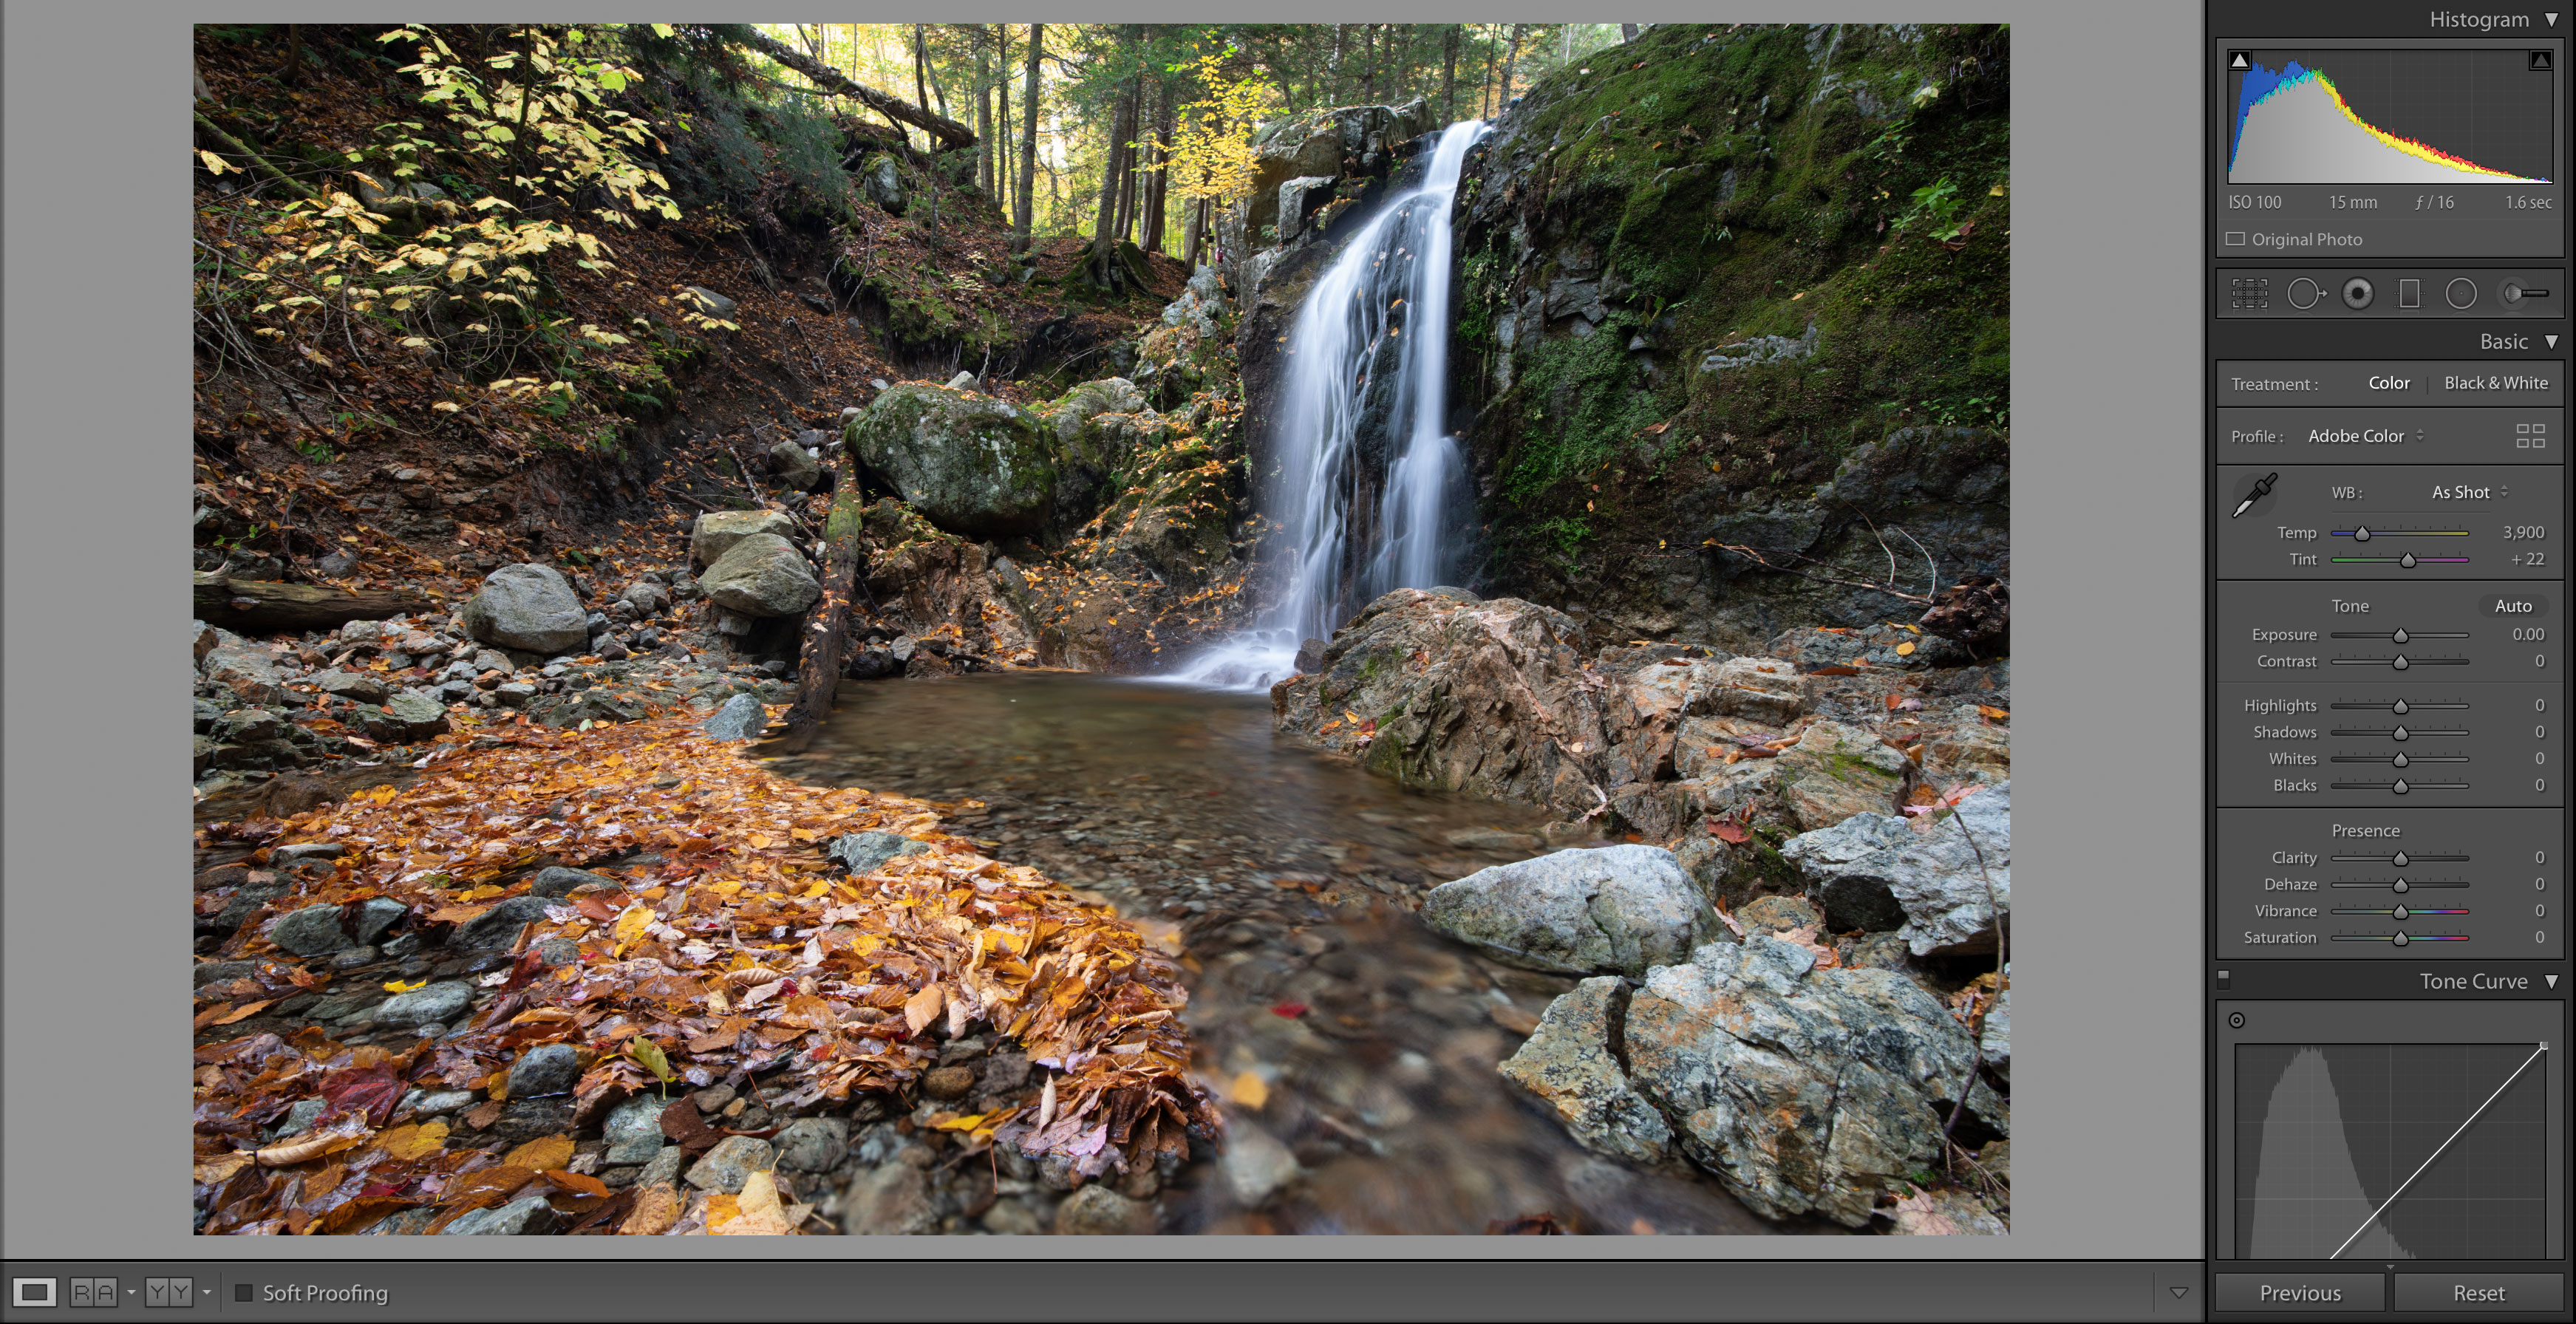
I followed my standard post processing routine - I usually take the raw’s to Lightroom for some initial adjustments (highlights, shadows, lens correction etc), nothing special, I just want a file that has a lot of dynamic range and detail when I take it to Photoshop where I do most of the work.
This is what I took to Photoshop:
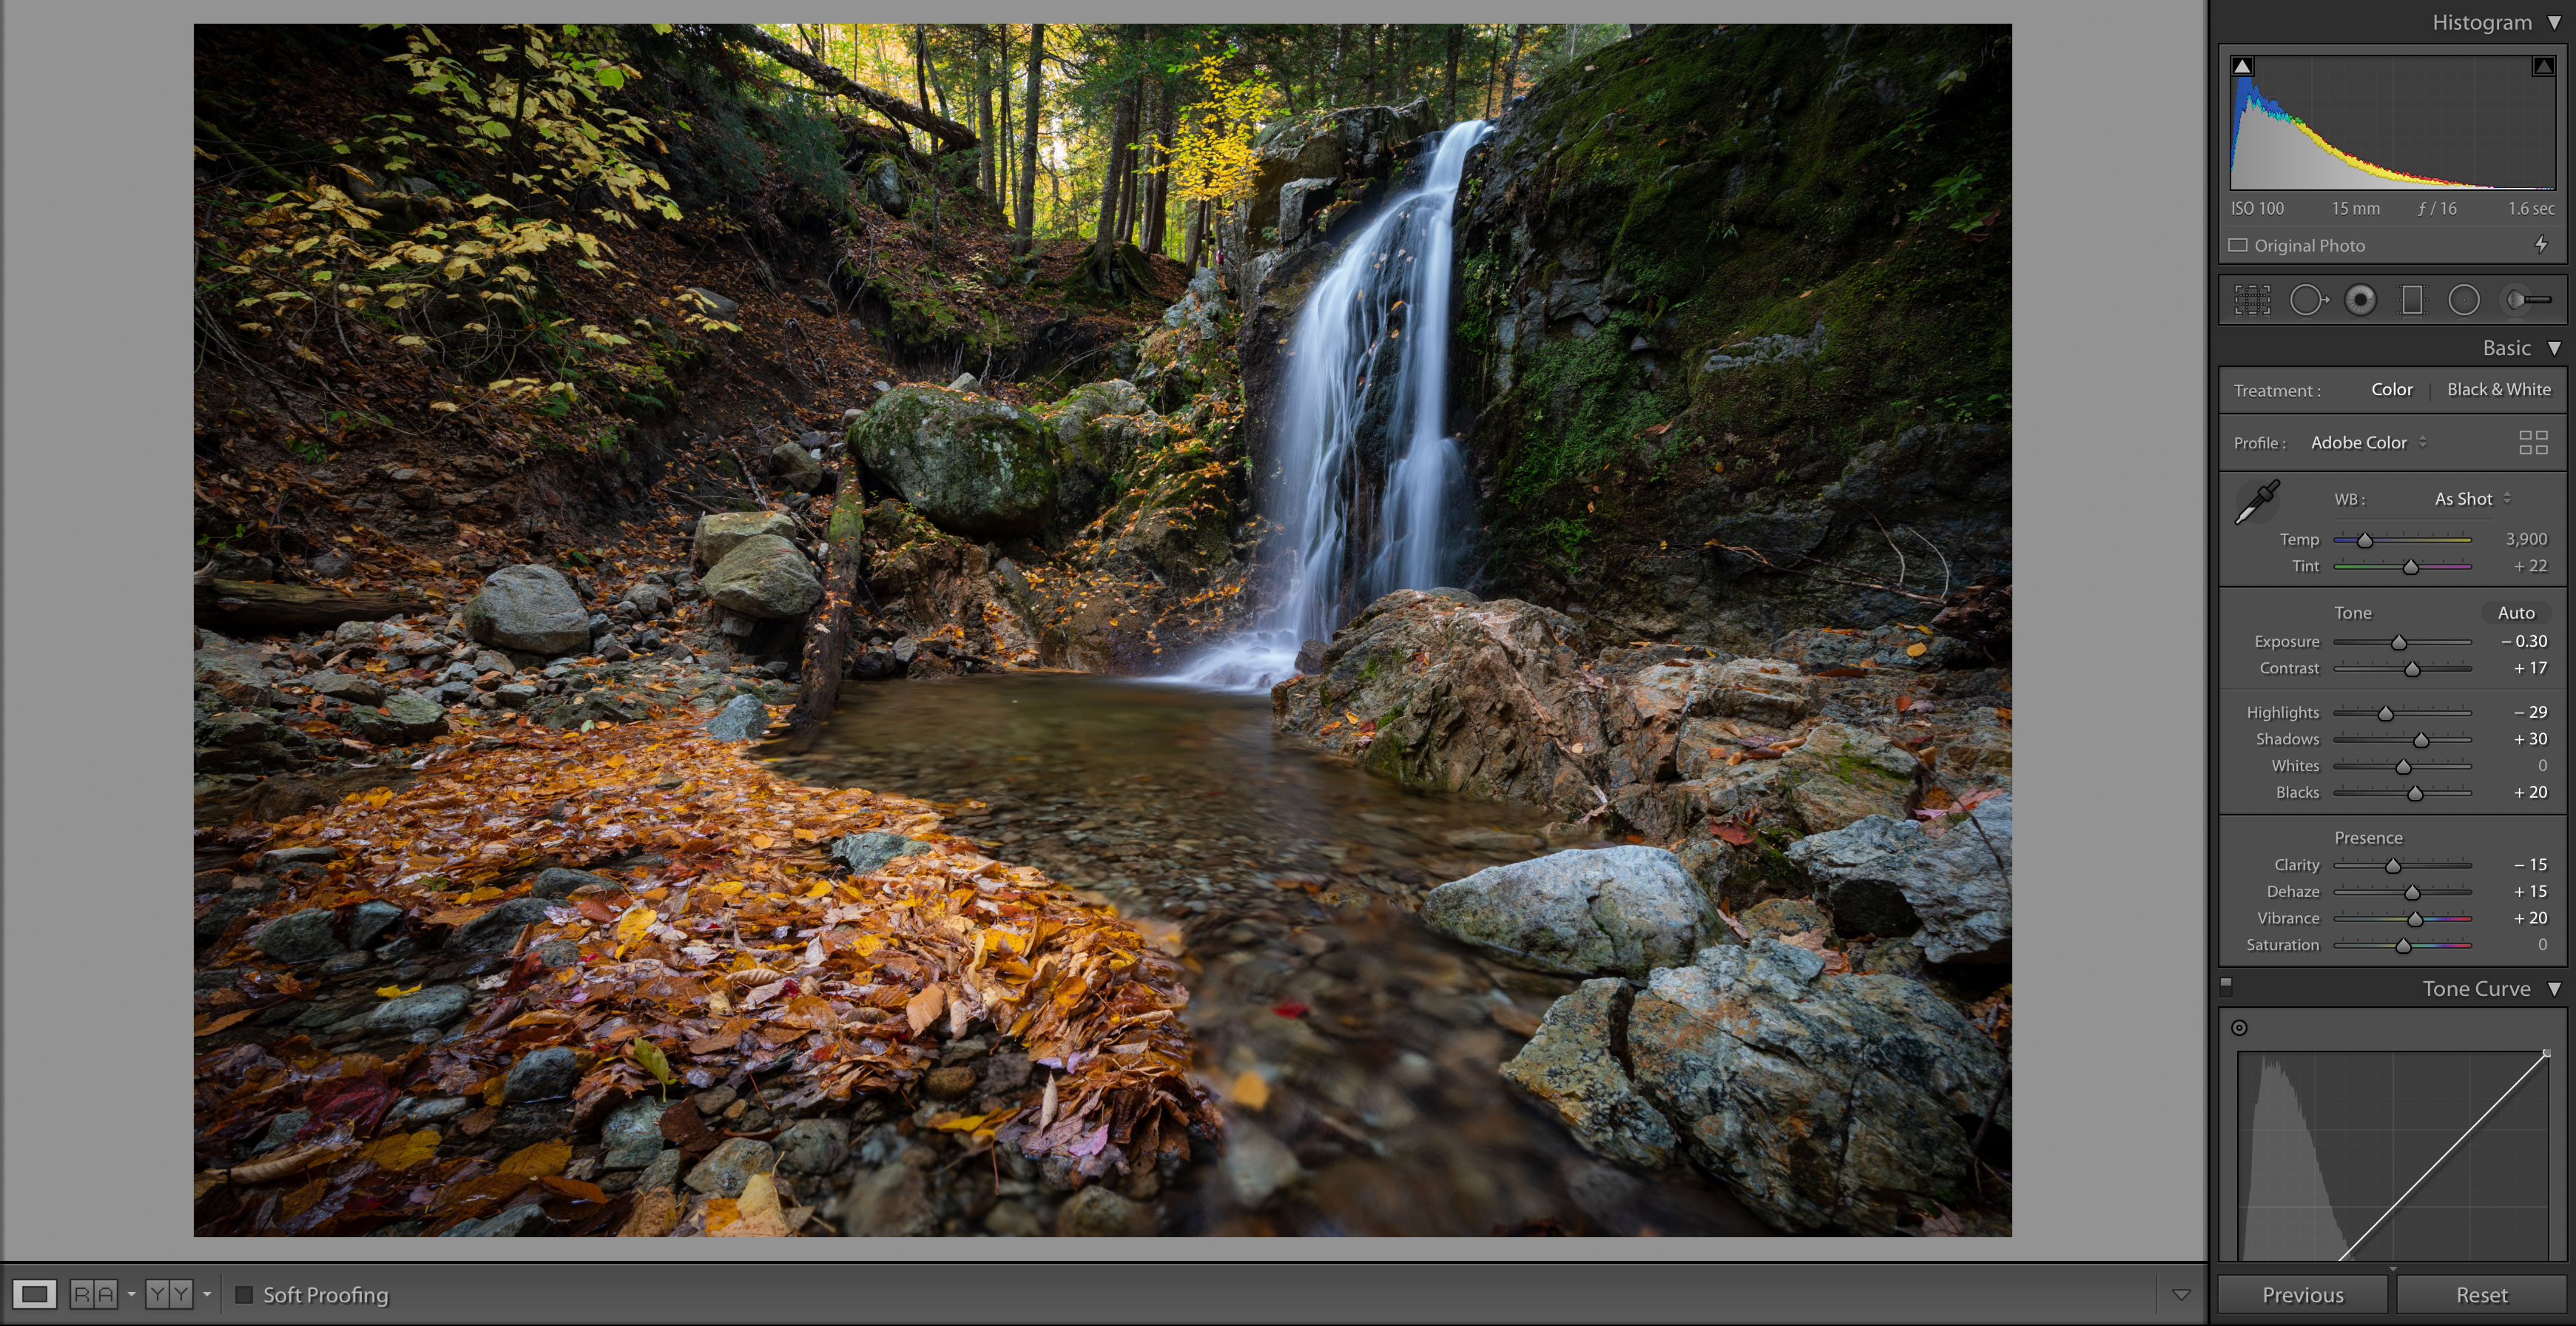
In Photoshop I use a panel created by a spectacular landscape photographer - Jimmy McIntyre, called Raya Pro. It’s similar to other such panels - there’s plenty of choice in that regard, the biggest one being TK panel. I usually use it for exposure blending via Luminosity Masks, but it has other useful features that speed up my workflow.
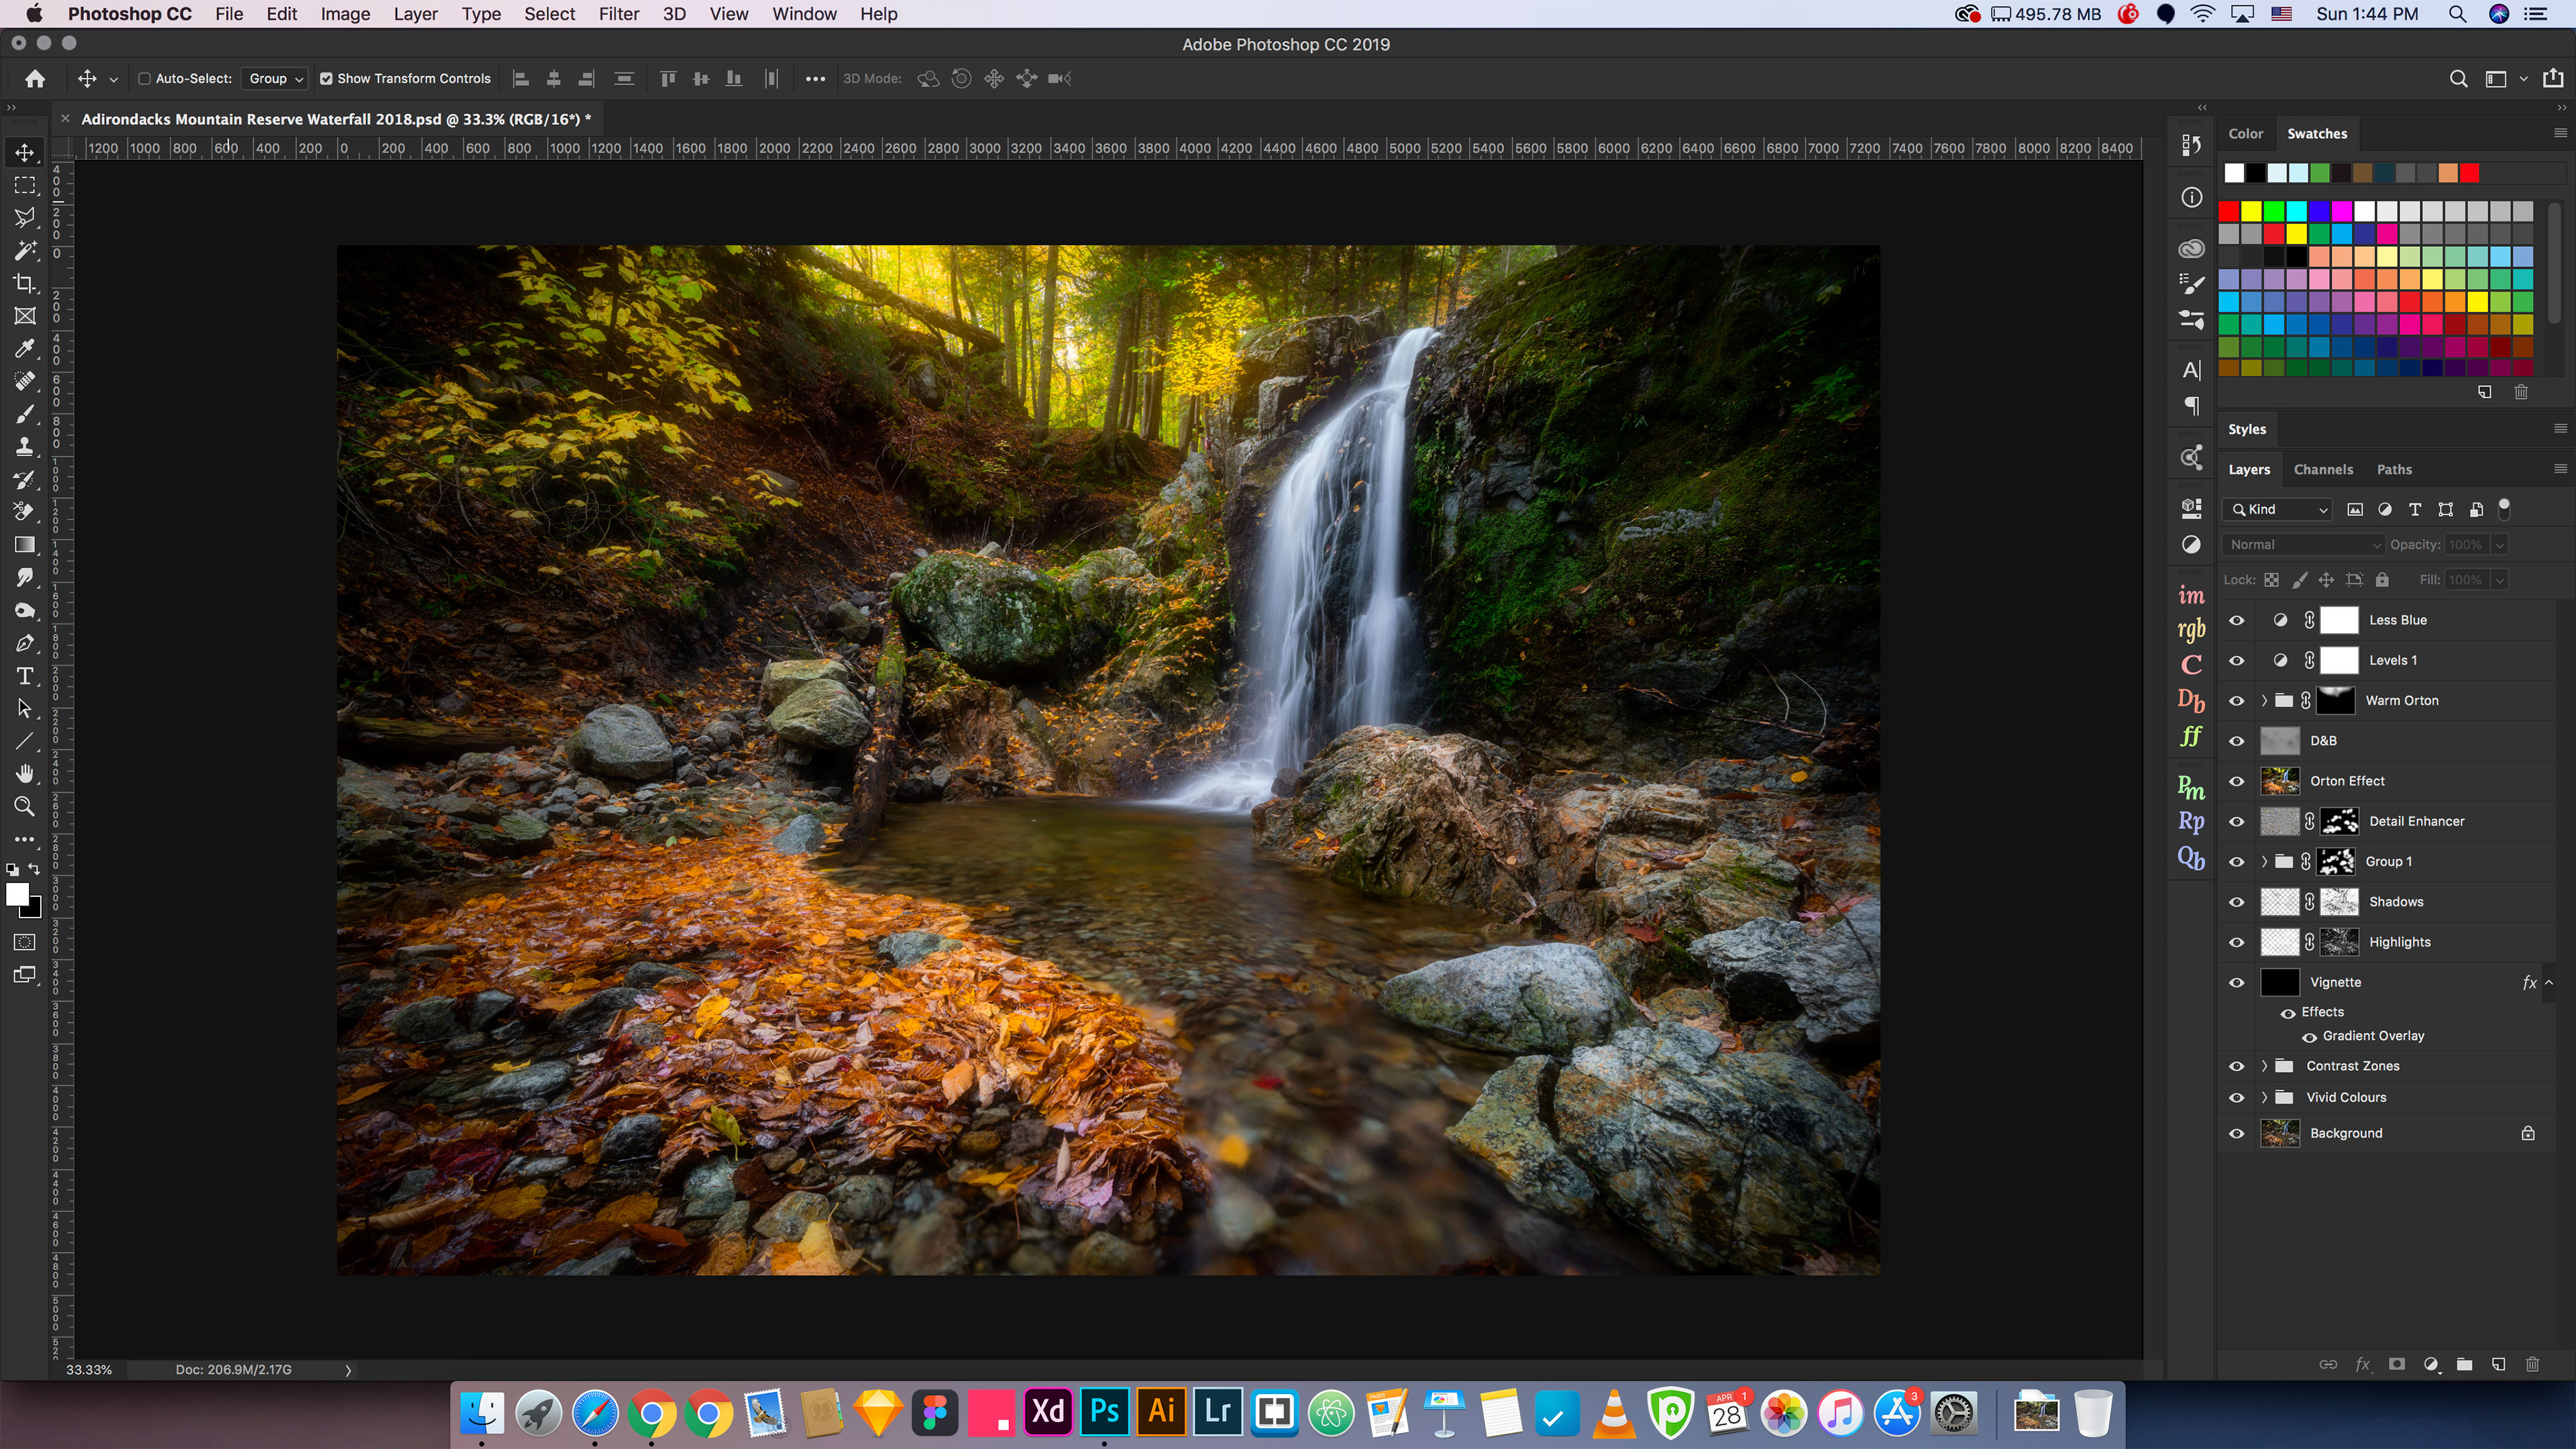
In Photoshop I balanced out the contrast as I saw fit, did some spot adjustments by dodging and burning certain areas of the image, added some detail to the rocks, a vignette, and added Ortons that I thought added to the fairy-tale look of the scene. I then balanced out the colors to my liking and exported the image for the web with some sharpening applied.
Here’s a screenshot with layers and masks:
That’s pretty much it. If you have any questions, do not hesitate to reach out to me via PM.
Thank you again for voting for my image!
- awscreo
More from the Pentax Forums Homepage
- March "Flowers up Close" Contest...
- HD FA 50mm F1.4 vs. SMC 50mm F1.4 Classic Review
- Announcing Our April, 2024 Photo Contest
- Introducing Pentaxify AI by PentaxForums.com
- The Making of "Autumn Draws"
- Ricoh launches the RICOH GR III HDF and RICOH...
- Join Ricoh for the April 6 GR Photo Walk in Las...
- The Making of "Gotcha!"


Comments