So I picked this lens up for $42.50 shipped. At some point it was dropped and the aperture adjustment ring was bent towards the body making it very hard to turn. I tapped it with a hammer next to the bend and it reshaped it enough to be useable. I may actually take it apart at some point to fix it properly, but don't want to chance messing it up.
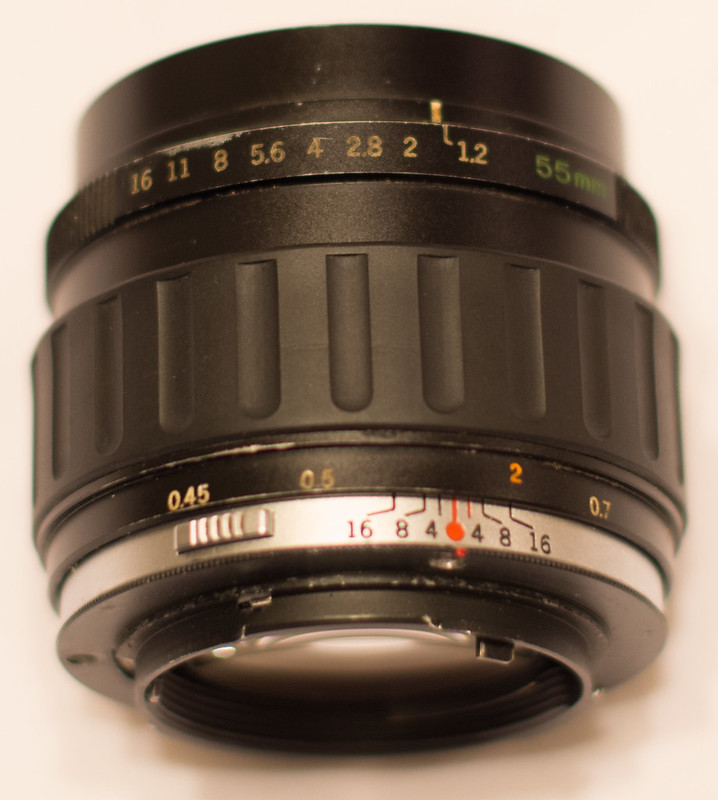
Ok, so here are some pics of the finished (for now) lens. I may redo the conversion at some point with a brass instead of aluminum adapter. Just depends on how the aluminum adapter hold up.
The lens was also missing the grip so I took one off of an old scrap Vivitar 35-70mm 1:3.5-4.8 lens. It is almost the perfect size except for it being a tiny bit wider than the original. It works just fine how it is though, so no worries.
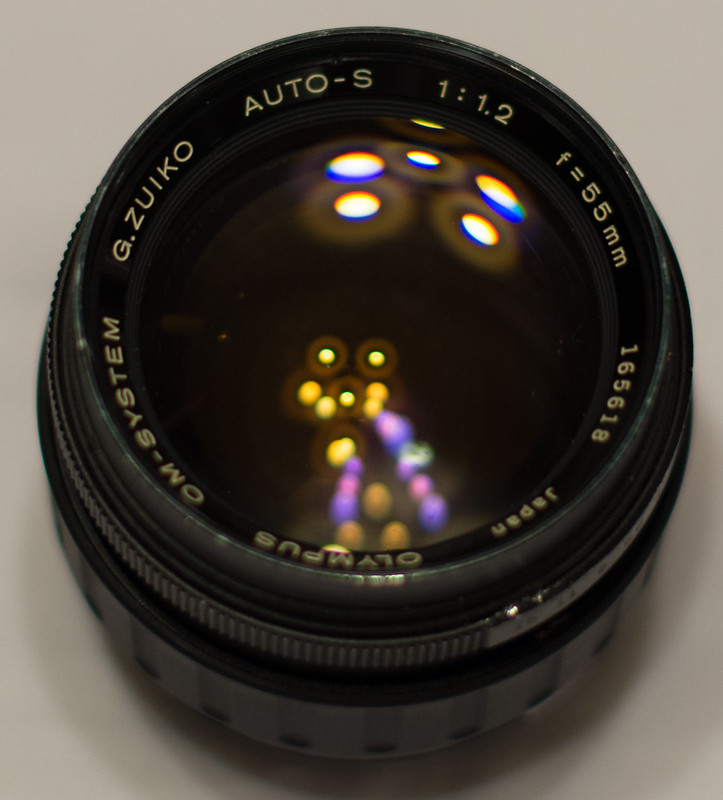
You can kinda tell in this pic where the ring was dented - the shiny spots.
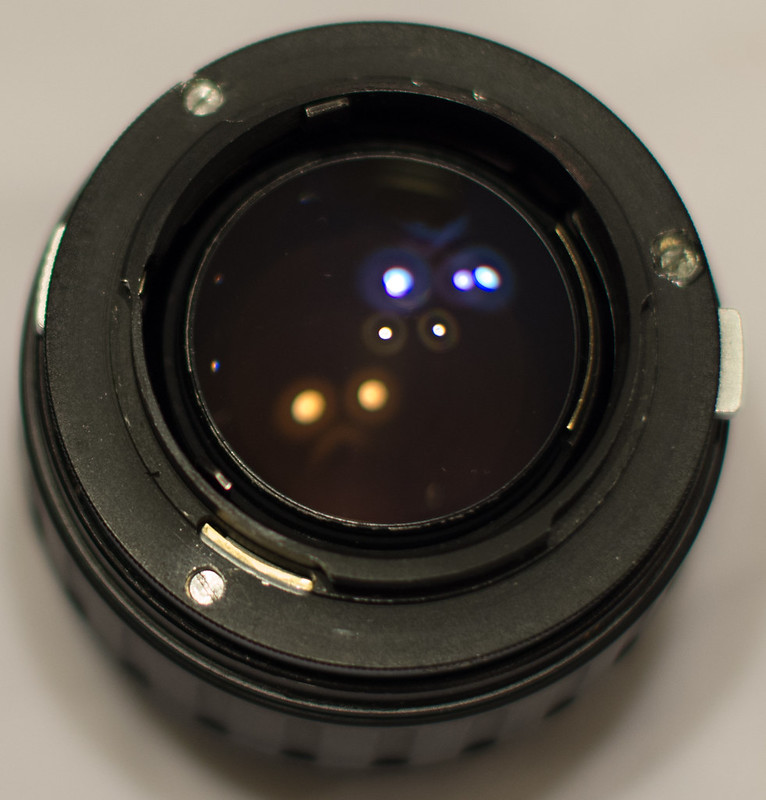
I lined up the adapter so it would mount in the same position as it would have by default.
Now for the conversion explanation.
Initial prep
1. I removed the mount from the lens and proceeded to cut off the original bayonet with my dremel tool and a cut-off wheel.
2. I then ground off most of what was left of the bayonet with a 4" grinder.
3. Then I finished it off with the dremel tool.
4. After that, I hand sanded it and the M42-K adapter with 400 grit sand paper
5. Next the original mount was installed back on the lens.
M42-K adapter modification - Note. If I did this again, it would be in a different order.
1. I lined up the adapter where it needed to be and used a sharpy to mark where I needed to file the threads off of the adapter so the levers and original lock release would clear.
2. Then I filed, tested, and filed again, repeating until it looked like I had enough clearance for everything to move freely.
3. Then I marked the M42-K adapter where I needed to drill the holes so the modified mount can still be removed if need be.
4. I then drilled the holes and then filed the lock hole so it looked like everything would work.
M42-K adapter and original mount joining.
I used JB Weld ClearWeld to join the two parts together.
It is super easy to use, super strong, and is really thin before it starts to set.
I let it dry for about 2 hours before starting the next step.
Mounting the modified mount.
1. I did a test screw fit and found that I needed to make the holes a big bigger, mostly because they didn't line up exactly, so I pulled out the dremel again and used a diamond bit to fix the holes.
2. After I got all the screws to go into the holes, I tried to mount it and found out that I needed to take some more metal off for everything to clear.
3. Once I got everything to clear, I busted out some Testor flat black model paint and painted the M42 mount where I had filed it. I let that dry for a while.. probably about an hour.
4. I then installed the mount and found that the screw hole that was right next to/part of the lock hole for the mount was was allowing the lens to rotate quite a bit because it was way too big.
5. After trying a couple different things (glue and small bits of plastic) to try to make the hole the right size I gave up.
6. I then decided to just fill in the hole with some JB Weld Clearweld and then use a dremel diamond bit to remake the mount lock hole. This worked out great.
Aperture operation.
I wanted the lens to look mostly stock and I also wanted to be able to have full light when composing no matter what f-stop I was going to use so I left the DOF preview button in a functional state instead of jamming the aperture control in the closed position.
So when I am shooting, it always gives f1.2 unless I depress the DOF preview button. It works great like this. The DOF preview button ended up being right where the lens lock release on the camera body is.


 J
J


 Similar Threads


