Forgot Password
Pentax Camera Forums Home
 

Reply
Show Printable Version 1 Like Search this Thread
04-08-2015, 07:08 AM   #1
Forum Member
Tickolas's Avatar

Join Date: Dec 2014
Location: Stockholm, Sweden
Posts: 67
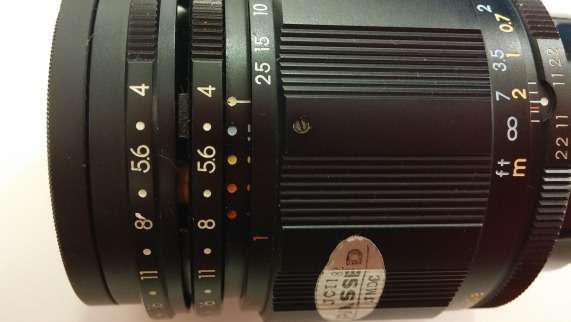
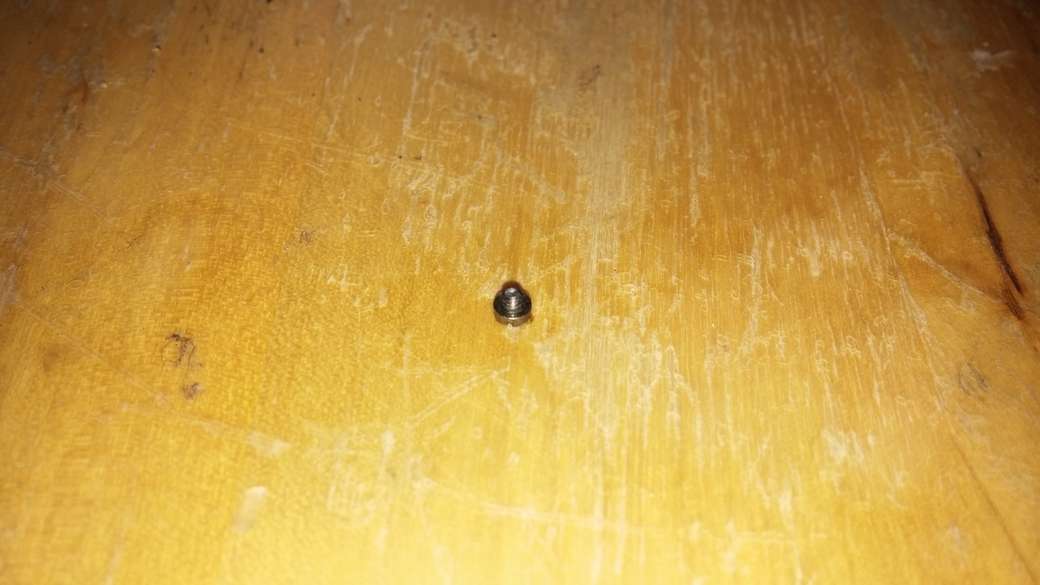
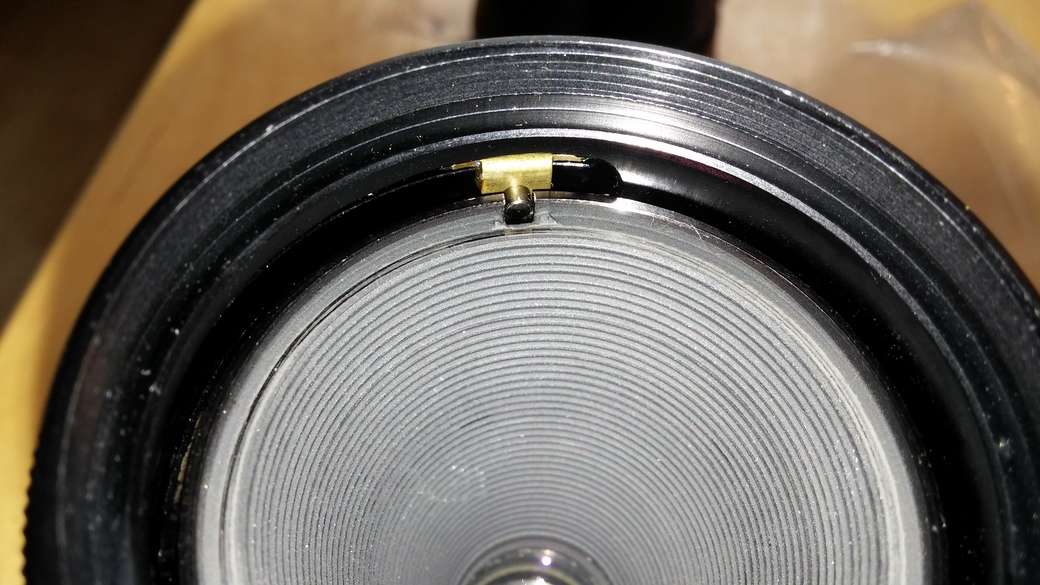
Repairing a Takumar 50mm f4 Macro

Hey all,

Something seems to have happened to my prized 50mm Macro Takumar lens. It's the version with the dual aperture rings on the front of the lens. It seems that some part that keeps these rings in alignment has broken, resulting in separation between the two. See the attached picture.

Does anyone have any idea on how to disassemble this thing? Can't seem to find a way to do it from the front. Do I need to take it apart starting at the back? Any tips are appreciated!

Attached Images
 
04-08-2015, 07:51 AM   #2
Veteran Member
tvdtvdtvd's Avatar

Join Date: Jan 2010
Posts: 1,665
You'll need to get the nameplate ring off to expose the screws underneath. You'll need some sort of friction tool. I've found a roll of electrical tape is
the perfect diameter for many lenses and provides ample grip.

I've not disassembled that lens, but my guess is that a screw has come loose inside. Remove the nameplate ring and proceed slowly. Document
the disassembly to insure you can get it back together, (and to contribute to the lens repair database!).
Indeed, you might want to consult the database to get an idea of what you might encounter.
04-08-2015, 08:52 AM   #3
Pentaxian
Dartmoor Dave's Avatar

Join Date: Aug 2012
Location: Dartmoor, UK
Photos: Gallery
Posts: 3,882
QuoteOriginally posted by Tickolas Quote
It seems that some part that keeps these rings in alignment has broken, resulting in separation between the two. See the attached picture.
Could you clarify what you mean by this? On a preset lens like this, the two aperture rings are not supposed to be permanently aligned with each other. You preset the ring with click stops to the aperture you want to shoot at, then use the second ring--the one without click stops--to open up the diaphragm to focus. When you want to shoot, you close down the second ring and it will only stop down as far as the preset aperture on the first ring.

My apologies if you already know this, but I just wanted to clarify the problem.
04-08-2015, 08:56 AM   #4
Veteran Member
tvdtvdtvd's Avatar

Join Date: Jan 2010
Posts: 1,665
QuoteOriginally posted by Dartmoor Dave Quote
Could you clarify what you mean by this? On a preset lens like this, the two aperture rings are not supposed to be permanently aligned with each other. You preset the ring with click stops to the aperture you want to shoot at, then use the second ring--the one without click stops--to open up the diaphragm to focus. When you want to shoot, you close down the second ring and it will only stop down as far as the preset aperture on the first ring.

My apologies if you already know this, but I just wanted to clarify the problem.
From the photo, it looks like a gap has opened up between the preset and aperture rings. Compare picture above with the image in the database.

04-08-2015, 09:00 AM   #5
Forum Member
Tickolas's Avatar

Join Date: Dec 2014
Location: Stockholm, Sweden
Posts: 67
Original Poster
QuoteOriginally posted by tvdtvdtvd Quote
From the photo, it looks like a gap has opened up between the preset and aperture rings. Compare picture above with the image in the database.
Yes, that's exactly right. They are loose and easily get shunted out of alignment, meaning that the interplay between the two rings no longer works as Dave describes unless you force them together prior to turning.

---------- Post added 04-08-15 at 06:07 PM ----------

QuoteOriginally posted by tvdtvdtvd Quote
... Indeed, you might want to consult the database to get an idea of what you might encounter.
Ah, thanks for the link. The guide to disassembling the 55mm Tak should give a decent idea of what I'll be facing. No doubt if I take off the name ring and lift off the very front of the lens barrel the damage should become visible. I'll be sure to take some pictures, although since the subject is the lens I usually use for the purpose, documentation will be slightly trickier ^^

Last edited by Tickolas; 04-08-2015 at 09:09 AM.
04-09-2015, 03:19 AM - 1 Like   #6
Forum Member
Tickolas's Avatar

Join Date: Dec 2014
Location: Stockholm, Sweden
Posts: 67
Original Poster
So, I managed to repair it! As it turns out disassembly was fairly simple. Writing a guide to the repair here first, if you all feel it's of use I can move it to the disassembly database.

----

So, my Takumar 50mm f4 Macro started suffering from separation between the aperture rings, as seen here:


Below you will find the steps I took to repair this problem.
  1. First take off the nameplate ring using a friction tool. I made one from a roll-on deodorant cap with electric tape wrapped around the edge. If you happen to have used exactly the right amount of tape earlier the tape roll will work fine too!
  2. Now, you can lift out the "funnel" going down towards the lens. Note the brass pin that is used to drive the aperture blades.

  3. This is what the interior of the lens looks like. Of note are the pin on the very left end of the picture and the slot just to the right of it. The funnel from earlier slots into both these to drive the aperture blades. Also note the missing screw.
  4. As you may have guessed, that screw turns out to be the cause of my problems. In fact it, along with another small screw, were rattling around the barrel. As you can see from this picture it had been broken off at some point, allowing other screws to be loosened over time.
  5. I removed the loose bit of the screw and tightened the other screws. This fixed the problem.
  6. To reassemble, insert the funnel and make sure it slots into its proper places. If it looks like this, and the aperture rings work as expected you will have fixed the lens.

Last edited by Tickolas; 04-09-2015 at 03:45 AM.
04-09-2015, 03:25 AM   #7
Pentaxian


Join Date: Apr 2011
Photos: Albums
Posts: 8,742
QuoteOriginally posted by tvdtvdtvd Quote
You'll need to get the nameplate ring off to expose the screws underneath. You'll need some sort of friction tool. I've found a roll of electrical tape is
the perfect diameter for many lenses and provides ample grip.

I've not disassembled that lens, but my guess is that a screw has come loose inside. Remove the nameplate ring and proceed slowly. Document
the disassembly to insure you can get it back together, (and to contribute to the lens repair database!).
Indeed, you might want to consult the database to get an idea of what you might encounter.


I found a way to get very sticky name plates off.


Find some double sided adhesive foam tape (I think a hardware shop is the place to look). Cut 3 or 4 very small pieces, narrow enough to only touch the name plate. Stick them to the name ring and then (for 49mm filter mount) take a rear lens cap and stick it to the other side as the wrench. virtually no risk of slipping and doing damage.

04-12-2015, 02:44 PM   #8
Moderator
Not a Number's Avatar

Join Date: Mar 2012
Location: Venice, CA
Posts: 10,526
If you were able to remove the shaft of the broken screw you may be able to find a replacement from Micro Fasteners. If not you may have to be buy a screw extractor. I think Micro-Tools has small ones that will do the job.

Micro Fasteners :: Metric :: Machine Screws :: Cheese Head
04-12-2015, 03:06 PM   #9
Forum Member
Tickolas's Avatar

Join Date: Dec 2014
Location: Stockholm, Sweden
Posts: 67
Original Poster
QuoteOriginally posted by Not a Number Quote
If you were able to remove the shaft of the broken screw you may be able to find a replacement from Micro Fasteners. If not you may have to be buy a screw extractor. I think Micro-Tools has small ones that will do the job.

Micro Fasteners :: Metric :: Machine Screws :: Cheese Head
Thanks for the tip! Actually, the lens holds together fine without that screw. If this happens again in my lifetime I'll try and replace it =)
04-12-2015, 04:30 PM   #10
Site Supporter
Site Supporter
rayallen's Avatar

Join Date: Jul 2007
Location: Forresters Beach, NSW, Australia.
Photos: Gallery | Albums
Posts: 3,014
Thank you for the photos and the clear explanation. I was just comparing my lens to the photo of yours and the gap between the rings on yours is very obvious.
I hope this does not happen to my lens but, if it does, the repair looks to be rather simple.

Thanks again and I am glad you were able to bring your lens back to working order.

Last edited by rayallen; 04-12-2015 at 04:30 PM. Reason: Fix typo.
04-12-2015, 07:34 PM   #11
Moderator
Not a Number's Avatar

Join Date: Mar 2012
Location: Venice, CA
Posts: 10,526
You might want to lock down the remaining screws with a touch of nail polish or thread lock.
04-14-2015, 11:43 AM   #12
Veteran Member
tvdtvdtvd's Avatar

Join Date: Jan 2010
Posts: 1,665
Wonderful! Glad you got the lens repaired and thanks for sharing the experience.
04-16-2015, 11:50 AM   #13
Forum Member
Tickolas's Avatar

Join Date: Dec 2014
Location: Stockholm, Sweden
Posts: 67
Original Poster
QuoteOriginally posted by tvdtvdtvd Quote
Wonderful! Glad you got the lens repaired and thanks for sharing the experience.
Thanks for the help! Hope my little guide is of use to someone =)

Oh, and threadlock sounds like it might be a good idea. I'll open it back up after using it a few more times, see if any of the screws have started coming loose again.
04-14-2016, 08:42 AM   #14
New Member


Join Date: Jun 2014
Posts: 2
sorry to bump such an old thread but just want to say thank you for posting! I have the exact same issue, was slightly loose when I got it and then made the mistake of putting it in my bag outside the case. Been like that for a while and never thought of looking it up until now.

ended up using the top of one of those shaker chargeable flashlights. Was using the electrical tape method for an hour and then that worked instantly haha.

Last edited by slyman; 04-14-2016 at 10:14 AM.
Reply

Bookmarks
  • Submit Thread to Facebook Facebook
  • Submit Thread to Twitter Twitter
  • Submit Thread to Digg Digg
Tags - Make this thread easier to find by adding keywords to it!
50mm, database, front, idea, k-mount, lens, lens repair, macro, pentax lens, rings, slr lens, takumar, takumar 50mm f4, takumar 50mm macro

Similar Threads
Thread Thread Starter Forum Replies Last Post
For Sale - Sold: S-M-C MACRO-TAKUMAR 50mm f4 m42 bradsarno Sold Items 5 09-02-2013 07:43 AM
For Sale - Sold: Super-Multi-Coated Macro Takumar 50mm F4 Rmel26 Sold Items 2 08-19-2013 08:47 AM
For Sale - Sold: SMC Macro Takumar 50mm/F4 maxwell1295 Sold Items 8 09-15-2009 09:29 PM
For Sale - Sold: Super-macro-takumar 50mm f4 qqspm Sold Items 6 10-30-2008 01:22 PM


All times are GMT -7. The time now is 08:58 PM. | See also: NikonForums.com, CanonForums.com part of our network of photo forums!
  • Red (Default)
  • Green
  • Gray
  • Dark
  • Dark Yellow
  • Dark Blue
  • Old Red
  • Old Green
  • Old Gray
  • Dial-Up Style
Hello! It's great to see you back on the forum! Have you considered joining the community?
register
Creating a FREE ACCOUNT takes under a minute, removes ads, and lets you post! [Dismiss]
Top