 Originally posted by aiki76
Hi, a question: in the shot with astrotracer on, an object in the background will be bigger than in the shot with the astrotracer off, because in the first shot the object will be slightly moved-stratched. How do you manage this point during the merging?
thanks
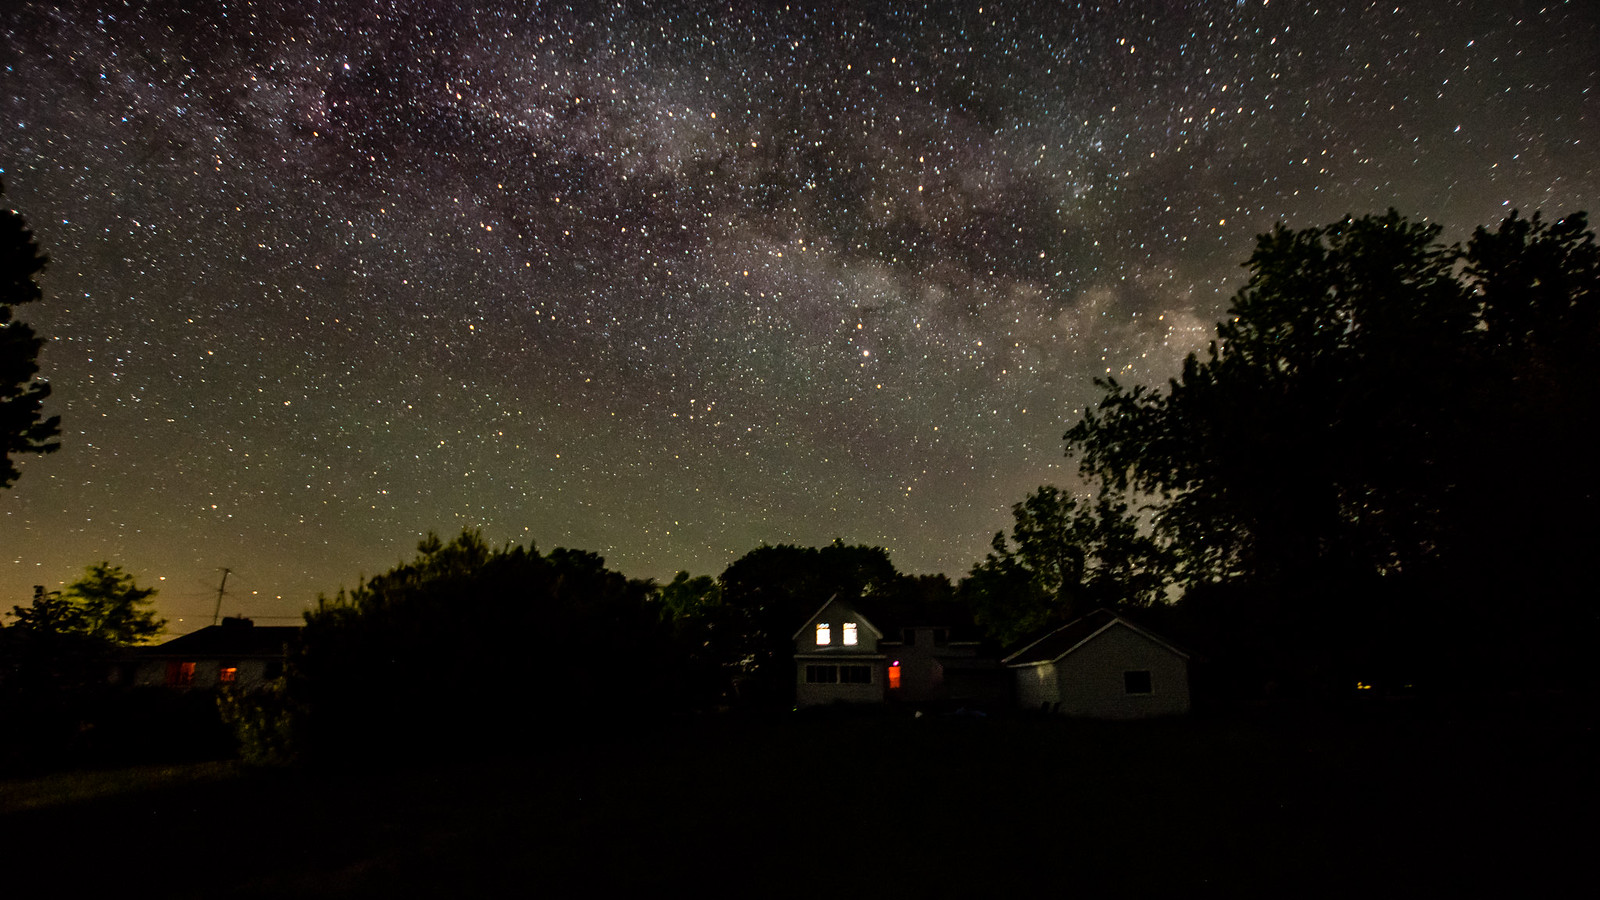
For a standard landscape astro shot, the stars are in the background, the distant landscape is in the midground, and the objects near to the camera are in the foreground.
When you have the astrotracer turned on, the background remains still while the midground and foreground experience sensor motion blur. With astrotracer off, the background stars blur due to their own motion, and you get still foreground and midground.
The setup in photoshop is very simple. I use the astrotrace-on layer as the base layer/background. Stars are still, everything in front is blurry.
Immediately on top of that, I add the layer with astrotracer off. With a stable tripod, everything is stacked exactly where it should be without resorting to computer layer alignment.
For the mid/foreground layer, I add a quick mask to this layer and dump it black. If you're not familiar with layer masks, it's a digital shortcut to make parts of a layer visible or invisible. When the layer mask is painted black, it's invisible. When it's painted white, it's totally opaque. Any value of gray between them is a corresponding value of partial opacity/transparency.
So you dump the layer mask to black. This makes the layer invisible. Then I paint using a white brush into the layer mask for all the foreground/midground objects that I want visible. If you paint too much, switch to a black brush, and you can make your layer mask neater or try it again. You can change your brush shapes for different sizes or hardness of edges.
The reason it's important to expose the non-astrotracer layer exactly the same (or barely different) than the astrotracer layer is that you want the images to be identical in terms of brightness. So when you're painting in the edge of where a mountain or horizon meets the skies, you can paint a little past the mountains without having to be pixel-perfect. The sky (as long as there aren't stars) will be exactly the same regardless of which layer is showing through.
Obviously where you have stars hitting the horizon lines, you need to be a little more careful.
When you're using a really, really long shutter speed with the astrotracer or a mid to telephoto lens, I guess you could get a scene where a perfectly level horizon tilts somewhat due to the sensor movement. In that case, paint in your mask on the still midground/foreground layer, then using the Nudge tool, just shift it up a few pixels.
It gets more complex if you've got tree branches close to the camera, because they may blur a little more. This is where (again) the value of matching scene exposures exactly between frames is very handy. You can over-paint a little beyond the limits of the still tree. As long as there aren't stars, you're painting in a few pixels of the moving sky to cover up the moving tree below, but it's dark sky. Without a star, you don't know if it's moving or not.
I sort of buzzed through that explanation and wasn't very succinct at all. If this isn't intuitive, I can take a screenshot at home of what I'm talking about, and hopefully that will illustrate where plain words come up short.


 , you may also notice that even at 10mm the stars are slightly elongated because of the long exposure (144secs).


 Similar Threads


