I went through this process recently with absolutely no experience or familiarity with 3D printing, materials, or online services.
After doing a bit of research, I used
Sculpteo | Online 3D Printing Service for your 3D designs.
After creating an account and uploading the 3D file without the cutout from the article referenced above, I chose the Multijet Fusion PA12 material and added the matte black Color Resist dying as I was not interested in painting the baffle myself. The price for a single baffle without the cutout was $8.40 USD. Unfortunately, the minimum cost for the dying process was $15.00 USD. To meet the minimum cost for the dying process, I ordered two of the baffles for a total of $16.80. Shipping to the US was an additional $6.50 resulting in a grand total of $23.30 for two baffles to be printed, dyed, and shipped to the US.
I created the account, uploaded the files, and placed the order on Jan 31, 2020. The notice that the baffles shipped was sent on Feb 6, 2020. The baffles were delivered by UPS on Feb 10, 2020.
The baffle was installed the next day on Feb 11. My experience was not quite as straightforward as I had hoped.
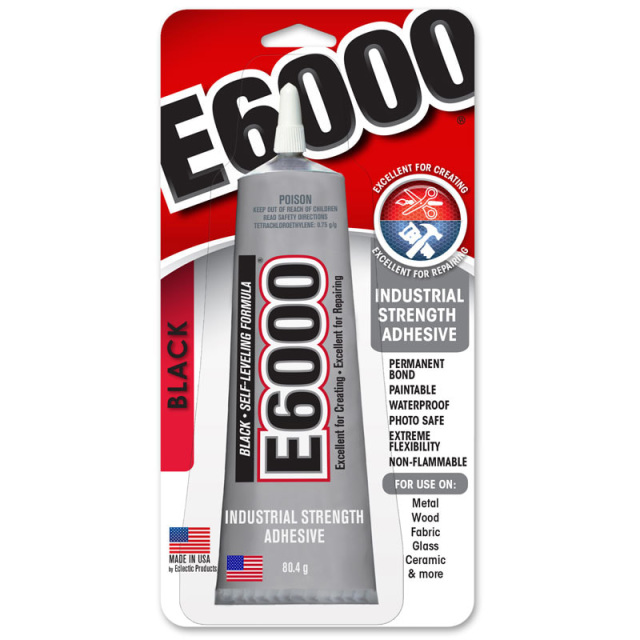
Following the instructions from article, the baffle assembly was easily removed from the lens and the baffle was easily removed from the plastic ring. Unfortunately, the 3D printed baffle was ever so slightly larger that the ring into which it was supposed to be inserted. Using really fine automotive sandpaper, I slowly worked the outer edge of the baffle until it could be successfully snapped into place. At some point, I removed a little too much of the material and effectively lost the ability to "snap" it into the ring. Since I had a second baffle on hand, I started the process over again using the second baffle. Without a second baffle on hand, I would have been far more careful and deliberate the first time. At some point, the baffle would snap into the plastic ring. The baffle seemed as if it would/could "pop" out a little more easily than I was comfortable with. As suggested in the article, I applied silicone sealer the keep the baffle affixed to the plastic ring. Once the silicone sealer dried, the baffle assembly was cleaned and re-installed in the lens.
I am not particularly handy, so your experience will likely be much smoother/easier. Preliminary tests yielded results consistent with the other threads and I am very happy with the end result.


 Post #14 by Sakura
 Similar Threads


