Staff note: This post may contain affiliate links, which means Pentax Forums may earn a small commission if a visitor clicks through and makes a purchase. If you would like to support the forum directly, you may also make a donation here.
Has anyone had experience printing with color? I mostly shoot color film, and wasnt particularly impressed with the digital workflow options Ive worked with in the past. I develop my own C-41 with zero issues, but Ive never used an enlarger.
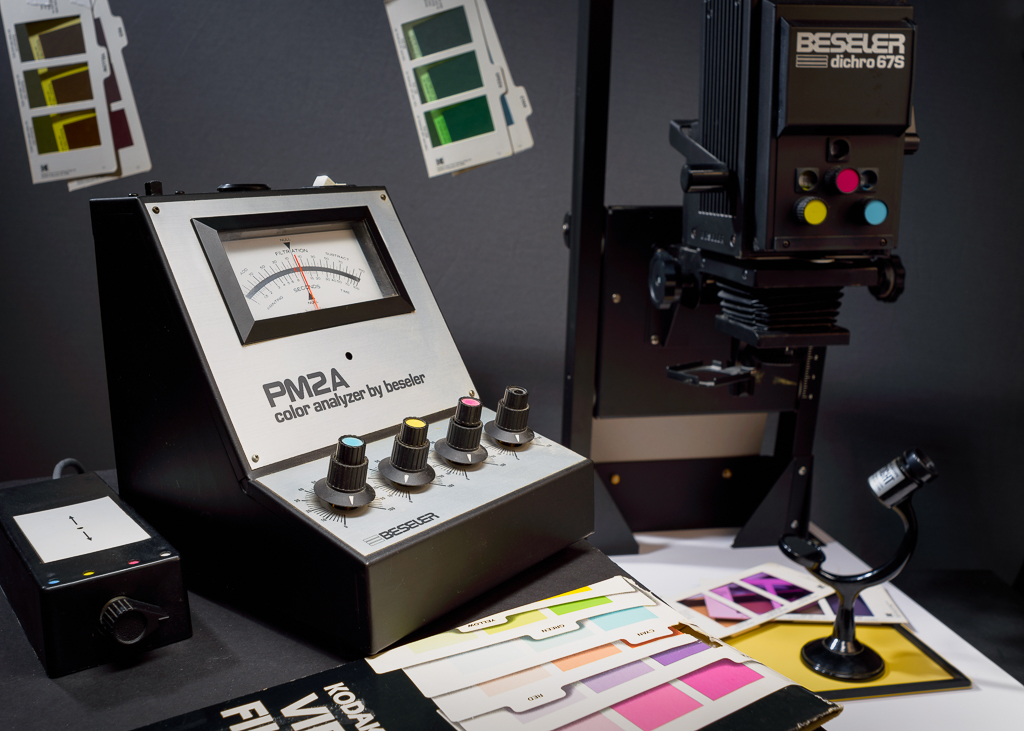
Ive gathered that I'll need an enlarger with a dichronic head (and a good bulb), lens, darkroom timer, tongs and trays, negative tray, easel, grain finder, contact printing frame, paper, chemistry.
Did I miss anything? How much can a beginner's kit expect to cost used?
Honestly, it seems like a lot going on, so I see why the only darkroom even remotely within traveling distance is purely B&W.


 Post #2 by Kelvin 5500
 Similar Threads


