Bored with your pictures?
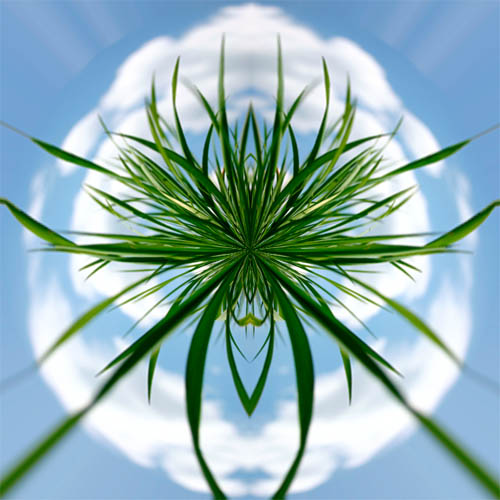
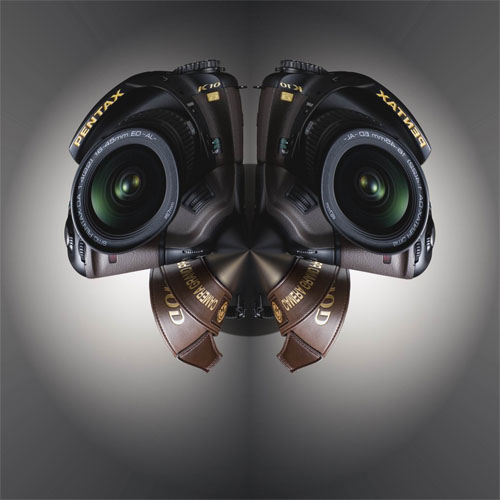
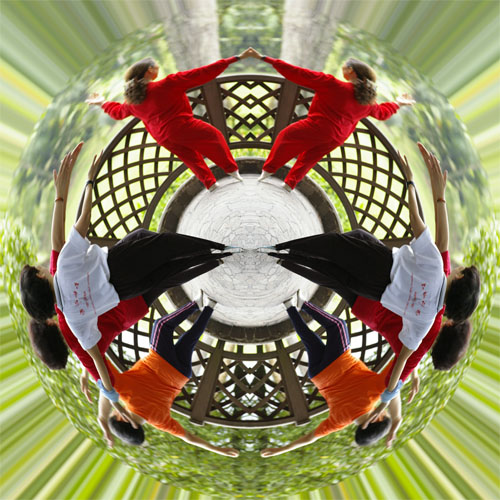
Here's a method to transform any picture into something quite extraordinary. Basically it uses the Polar Coordinates filter in Adobe Photoshop to create what has been sometimes described as the Orb or Orb of Life. Cool kaleidoscope effect from any image!
 How To Do This
Pick any image from your library.
It doesn't have to be very high resolution and it shouldn't be very big as the process requires that the canvas size of the image to be doubled in size. A good size is 800 x 600 pixels and I will use this size to illustrate. Please note that the same image can come out very differently if you rotate of flip the image 180 degrees.
Step 1 - Unlock Background Layer
Open your image, and double click on the Background layer to unlock the layer
Step 2 - Increase Canvas Size
Go to Image->Canvas size and take note of the width of the image. If the image is 800 pixels, you must multiply it by 2, which will be 1600 pixels. For this reason, it isn't a good idea to start off with too big an image. Click OK and your canvas is now doubled in width.
Step 3 - Duplicate image & align
Your image is now on the blank canvas.
Press Ctrl+A to select all,
Press Ctrl+C to copy the layer,
Press Ctrl+V to paste the layer
You can alternatively right click on the layer and select Duplicate layer.
You now have 2 layers of the same image.
Click on the bottom layer,press Ctrl+A to select and proceed to, Layer->Align layers to selection, LEFT edge
Click on the top layer, Ctrl+A if everything not selected,Layer->Align layers to selection, RIGHT edge
You are using the 2 identical images to fill up the canvas side by side. Next go to Edit->Transform->Flip horizontal to flip 1 of the image so they now appear symmetrical.
Step 4 - Merge Layers, Change Image Proportions
Click on the topmost layer, and merge the layers (Ctrl+E) or Layer->Merge Down
If your image appears inverted, the next step is to invert the image
Image->Transform->Flip vertical
Go to Image->Image size and look at the width and height.
Un-check constrain proportions box and change the height to be exactly the same as the width. If you started off with a 800 pixel image, you will now have a 1600 pixel image that is stretched.
Step 5 - Use the Polar Coordinate Filter!
Go to filter->Distort->Polar Coordinates
Select Rectangle to Polar and press OK.
If the image is too big, resize proportionately to a smaller size (eg. 500 x 500 pixels)
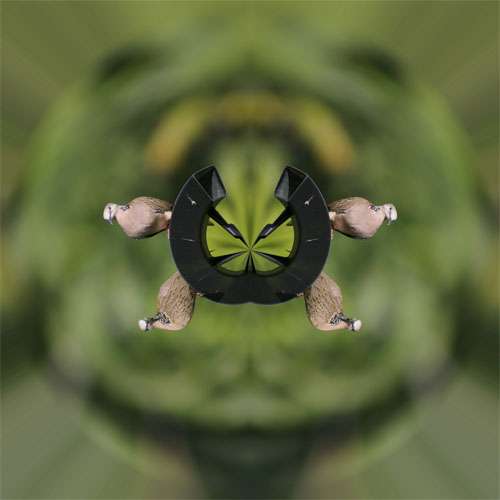
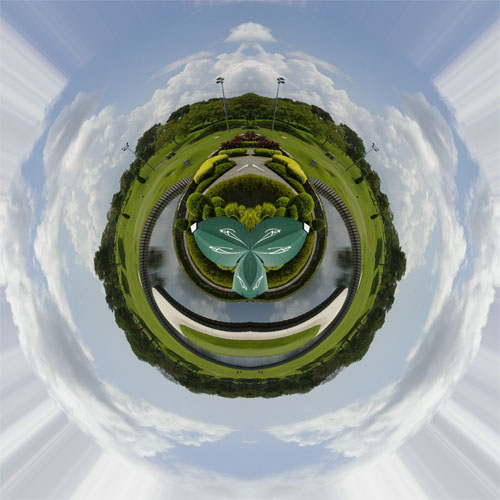
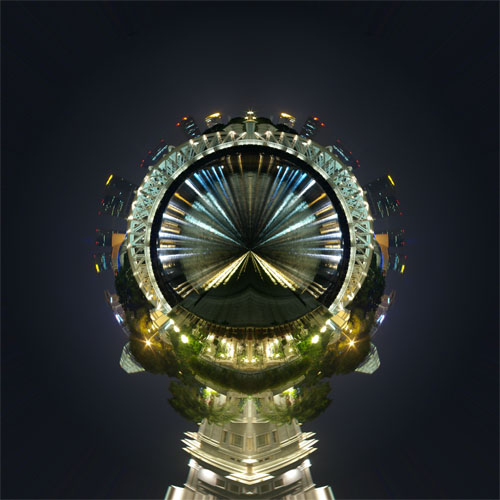
You now have a masterpiece! Give it a try.
As this is done in Photoshop, it can be made into an action very easily to save time (which is what I've done). Download here
ideastoprint - Downloads 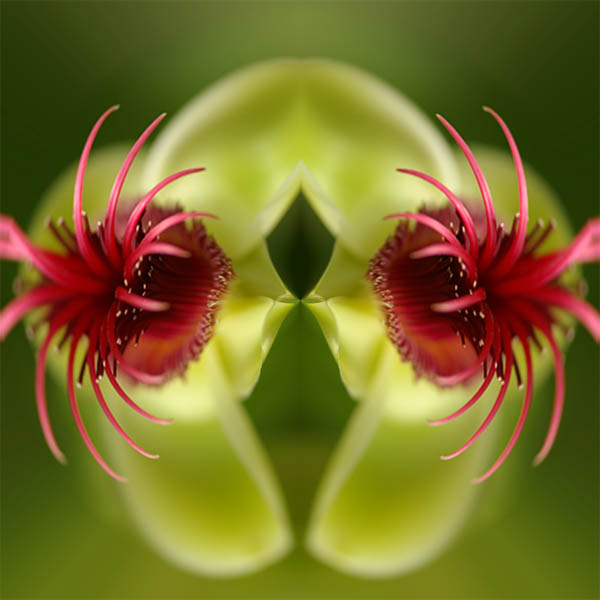


 Will give it a go.


 Similar Threads


