 Originally posted by aliasant
Nice setup Stone.
I cant help wondering over the DOF when using that kit?
Is there anyway we can get some sample shots taken of that ruler but from say a 45degree angle?
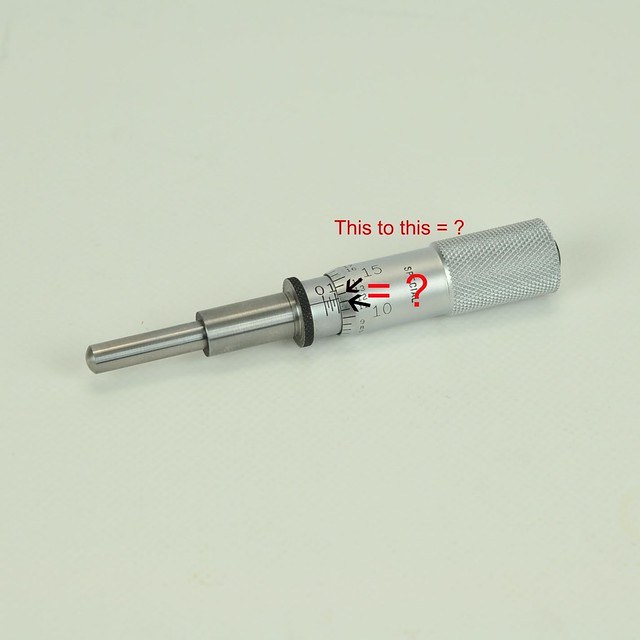
So, in response to your request and as promised, here's a quick-and-dirty test setup for DOF with the ruler at a so-so 45 degree angle to the sensor plane:

Idealy the horizontal centerline of the ruler should have been exactly parallel with the do. sensor centerline, and ideally the focus point should have been at the center of the field of view at all times but, well, I was in a bit of a hurry to make this tests.
Let's say, then that this mimics a "real-life situation" with the following results:
 M = 1.3 : 1
  M = 1.7 : 1
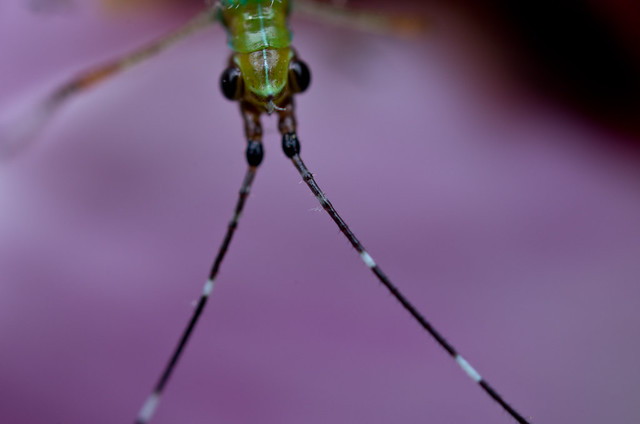
  M = 2.6 : 1
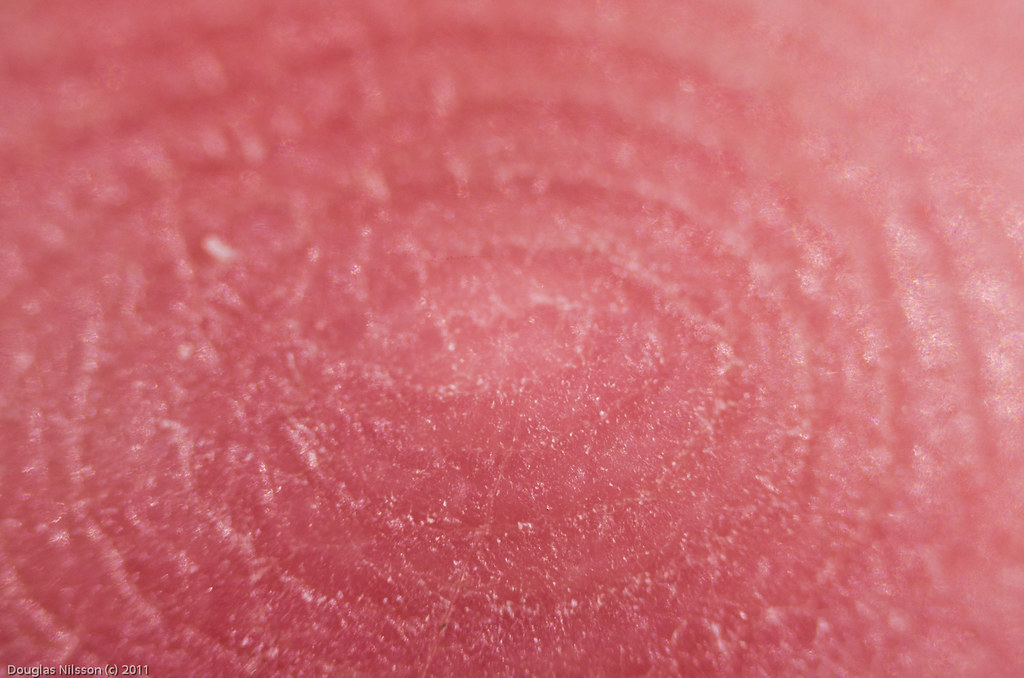
  M = 3.9 : 1
(For those of you not so familiar with geometry, the 45 degrees tilt means that over 5 mm on the ruler, the lower part will be approx. 3.5 mm closer to the sensor plane than the upper)
You can readily control the M-ratios shown: The sensor is 15.7 mm high
Lens, camera and eyepiece is the same as in my original post. The lens was stopped down to f/8 (as it also was for the original test images).
I hope this responds adequately to your speculations?


 Thanks for the info on the diffuser, crewl1, and the info on stacked lens magnification, yeatzee!
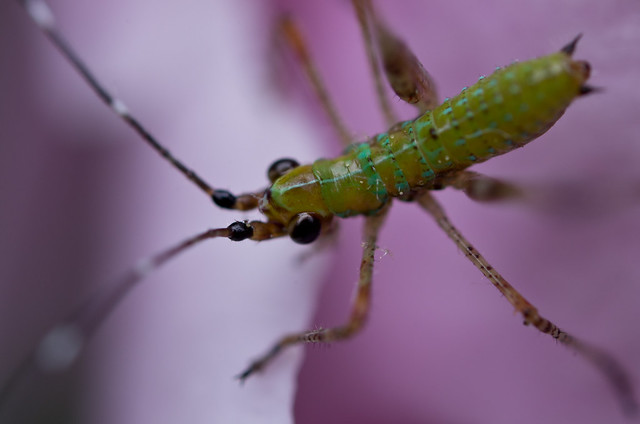


 Post #399 by Audi 5 cyl
 Similar Threads


