PROJECT 52-7-34- Subject-Glass
Images for Project 52-7-34 are to be taken between the 6 October 2015 Tuesday and 13 October 2015.
Rules
1. Anyone and everyone interested in the challenge is eligible. The goal continues to be have fun and share comments, concepts, insights, and techniques
with fellow Pentaxians.
2. Each week will feature a Theme and Sub-concept for you to explore.
3. Post your single picture in Project 52-7 thread for the week. Explain what motivated you to take the picture and/or how you feel it represents the weekly
theme.
4. Some post-processing is OK (adjusting white balance, exposure, color saturation), but let's try to stay away from heavily PP'ed images here. Try to
keep the creativity to photographic techniques and the captures themselves.
5. Since this project is about technique, and not camera, shots taken by non Pentax cameras are allowed.Cameras may be SLRs, DSLRs, Point & Shoot,
Medium Format, et cetera.
6. There is one Theme Concept labeled black and white, but feel free to post black and white, sepia, monotone, etc., for any of the other themes.
7. The picture you post should be taken during the week in which the theme is active to be eligible for judging.
8. Any picture taken from thread start date to listed closing date is acceptable. You may request to submit a photo outside of the time frame, but its
acceptance is dependent on the judge of the week. Please try and keep to within a day or two (either way) of the week. This is to make allowances for
those that would like to participate, but for one or other reason, are not able to do so during the time given for the challenge, such as illness, weather,
travelling etc.
9. The WINNER of each weekly challenge is the JUDGE of the next week's Project 52-7
10. JUDGE may participate the challenge, but the picture of JUDGE will be comment by 2nd and 3rd WINNER, and there is no podium place for JUDGE's picture. *** New Rules ***
11. The Facilitator (in this case scomatic) may participate in the challenge, provided he/she is not the judge.
12. Closing date for the challenge is Monday at midnight in your time zone, this will encourage people to snap the picture during weekend and post it up on next days. Late entries are accepted but subject to the acceptance by the current weeks JUDGE. ** Amendment **
JUDGE need to provide either with Option A or Option B or Both AB options criteria when during JUDGEMENT *** New Rules ***:
OPTION A (Just provide 1-10 point on each criteria and average out is the overall point)
Technical criteria
- Exposure Focus/sharpness
- Colour and/or tonal rendition
- Contrast
- Lighting
Visual and aesthetic criteria
- Framing and choice of viewpoint
- Background
- Design elements and principles
- Visual impact
Content
- Emotion / Mood /Feeling
- Relevance
Viewers response
- Excitement
- Interest
OPTION B (Good / Bad comment)
Example:
the good: Composition is perfect, I like your lighting. blah blah blah
the bad: I think leveling the horizon would be better, the blown out highlights on top left are distracting to me. blah blah blah.
Overview:
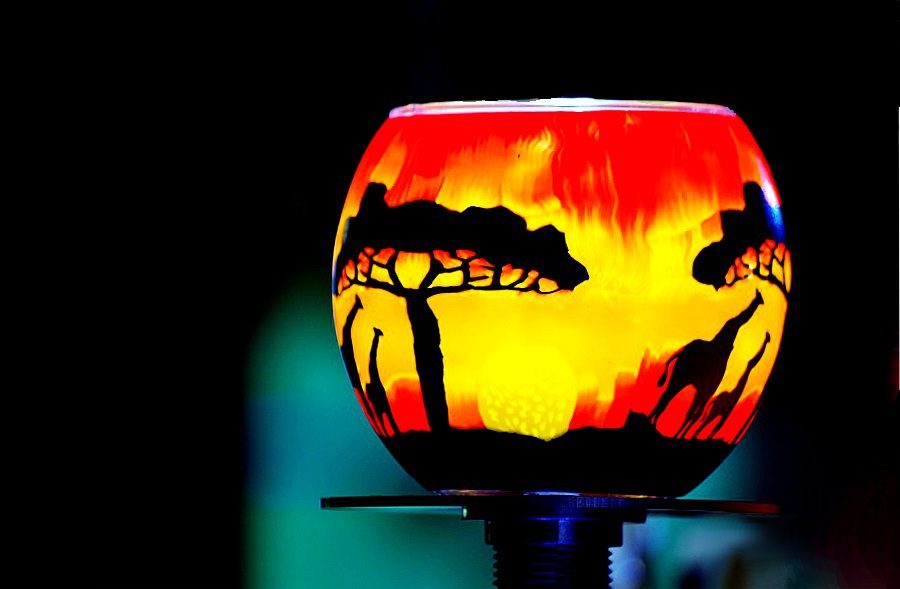
Taking good quality pictures of glass or translucent objects can seem a great deal of fun actually. There are some simple techniques which even amateur photographers can use to obtain dramatic results with minimal effort. The following examples show several basic setups that should allow anyone to achieve results they can be proud of. The first technique is a favorite of many hired professionals who need to get instant, fast, clean shots of clear glass using a graduated background. The underlighting technique covered, is a personal favorite of mine, and where I believe the fun comes in! Working with underlighting and/or backlighting. Under lighting and/or backlighting translucent glass or acrylic objects can give you very dramatic, impressive results.The other techniques discussed illustrate dark field and light field photography (dont be intimidated by the terminology the techniques are actually quite simple). The technique you choose depends on the style you prefer and the results you are trying to achieve.
A CLEVER WAY TO PHOTOGRAPH GLASS
please refer to
here
Sample Picture


 Post #6 by noelcmn
 Similar Threads


