 Originally posted by Wired
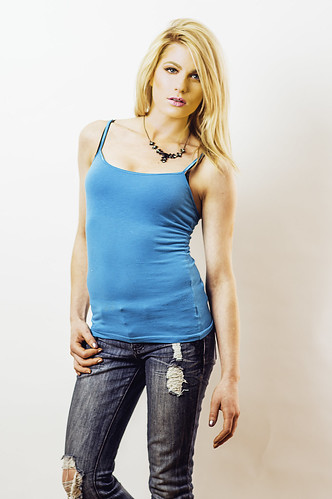
A lot of the local and area pros seem to got the mantra of "get it right in camera and model" before getting into photoshop...
Preparation is the mother of all good and fast results

; I like that mantra myself.
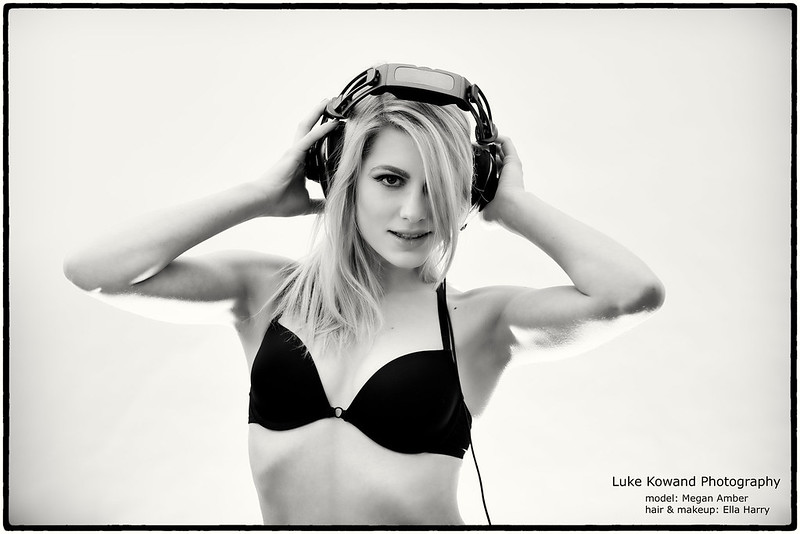
Originally posted by Wired I find a lot of the Edmonton Fashion group photographers I've talked to just don't like being in photoshop more than they have to, and I get that. It can be really time consuming.
That is true... as you already find out
. That's why like you have said, preparing and getting the photo right can make a big difference on the final outcome.
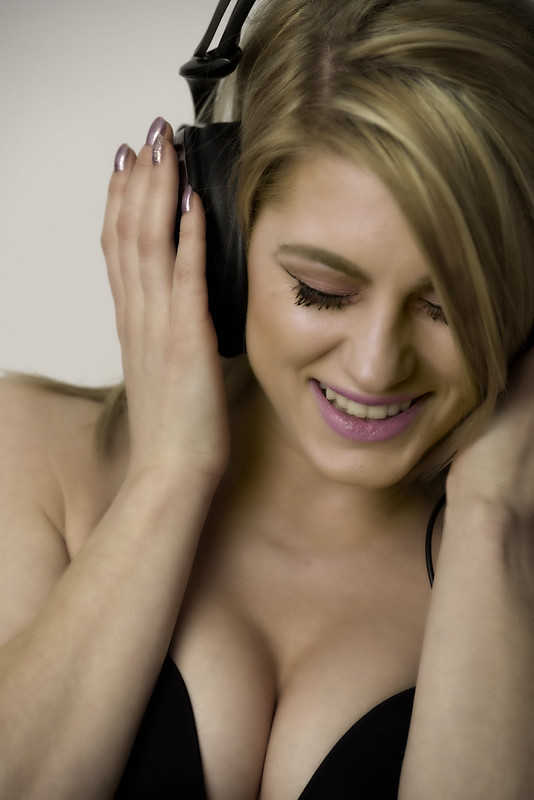
Mind you, your photos are still quite salvageable... they just need a lot of more work.
I think the most difficult part is to match the colors for her face and body - don't do a blend between them... it will look very weird and unnatural.
Once you crack the perfect solution for one of the photos, applying to all the others will be much faster.
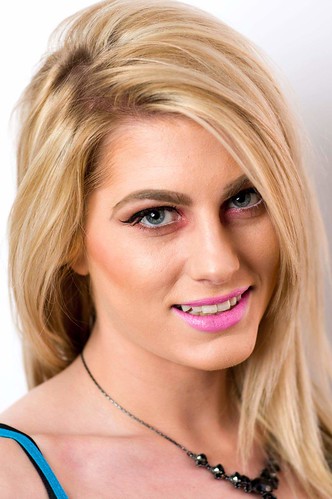
@dcshooter - nice results, but you can still see the colors separation between her body and face.
And you've lost a little sharpness on her clavicle area.


 ... moving on I guess.


 Post #20 by dcshooter
 Similar Threads


