 Originally posted by Rturbett
Green button did it- but I now will see if the bulb mode can be set to a timer- better yet,will order a handheld shutter release tonight. Birthday is coming, will ask for a real tripod.
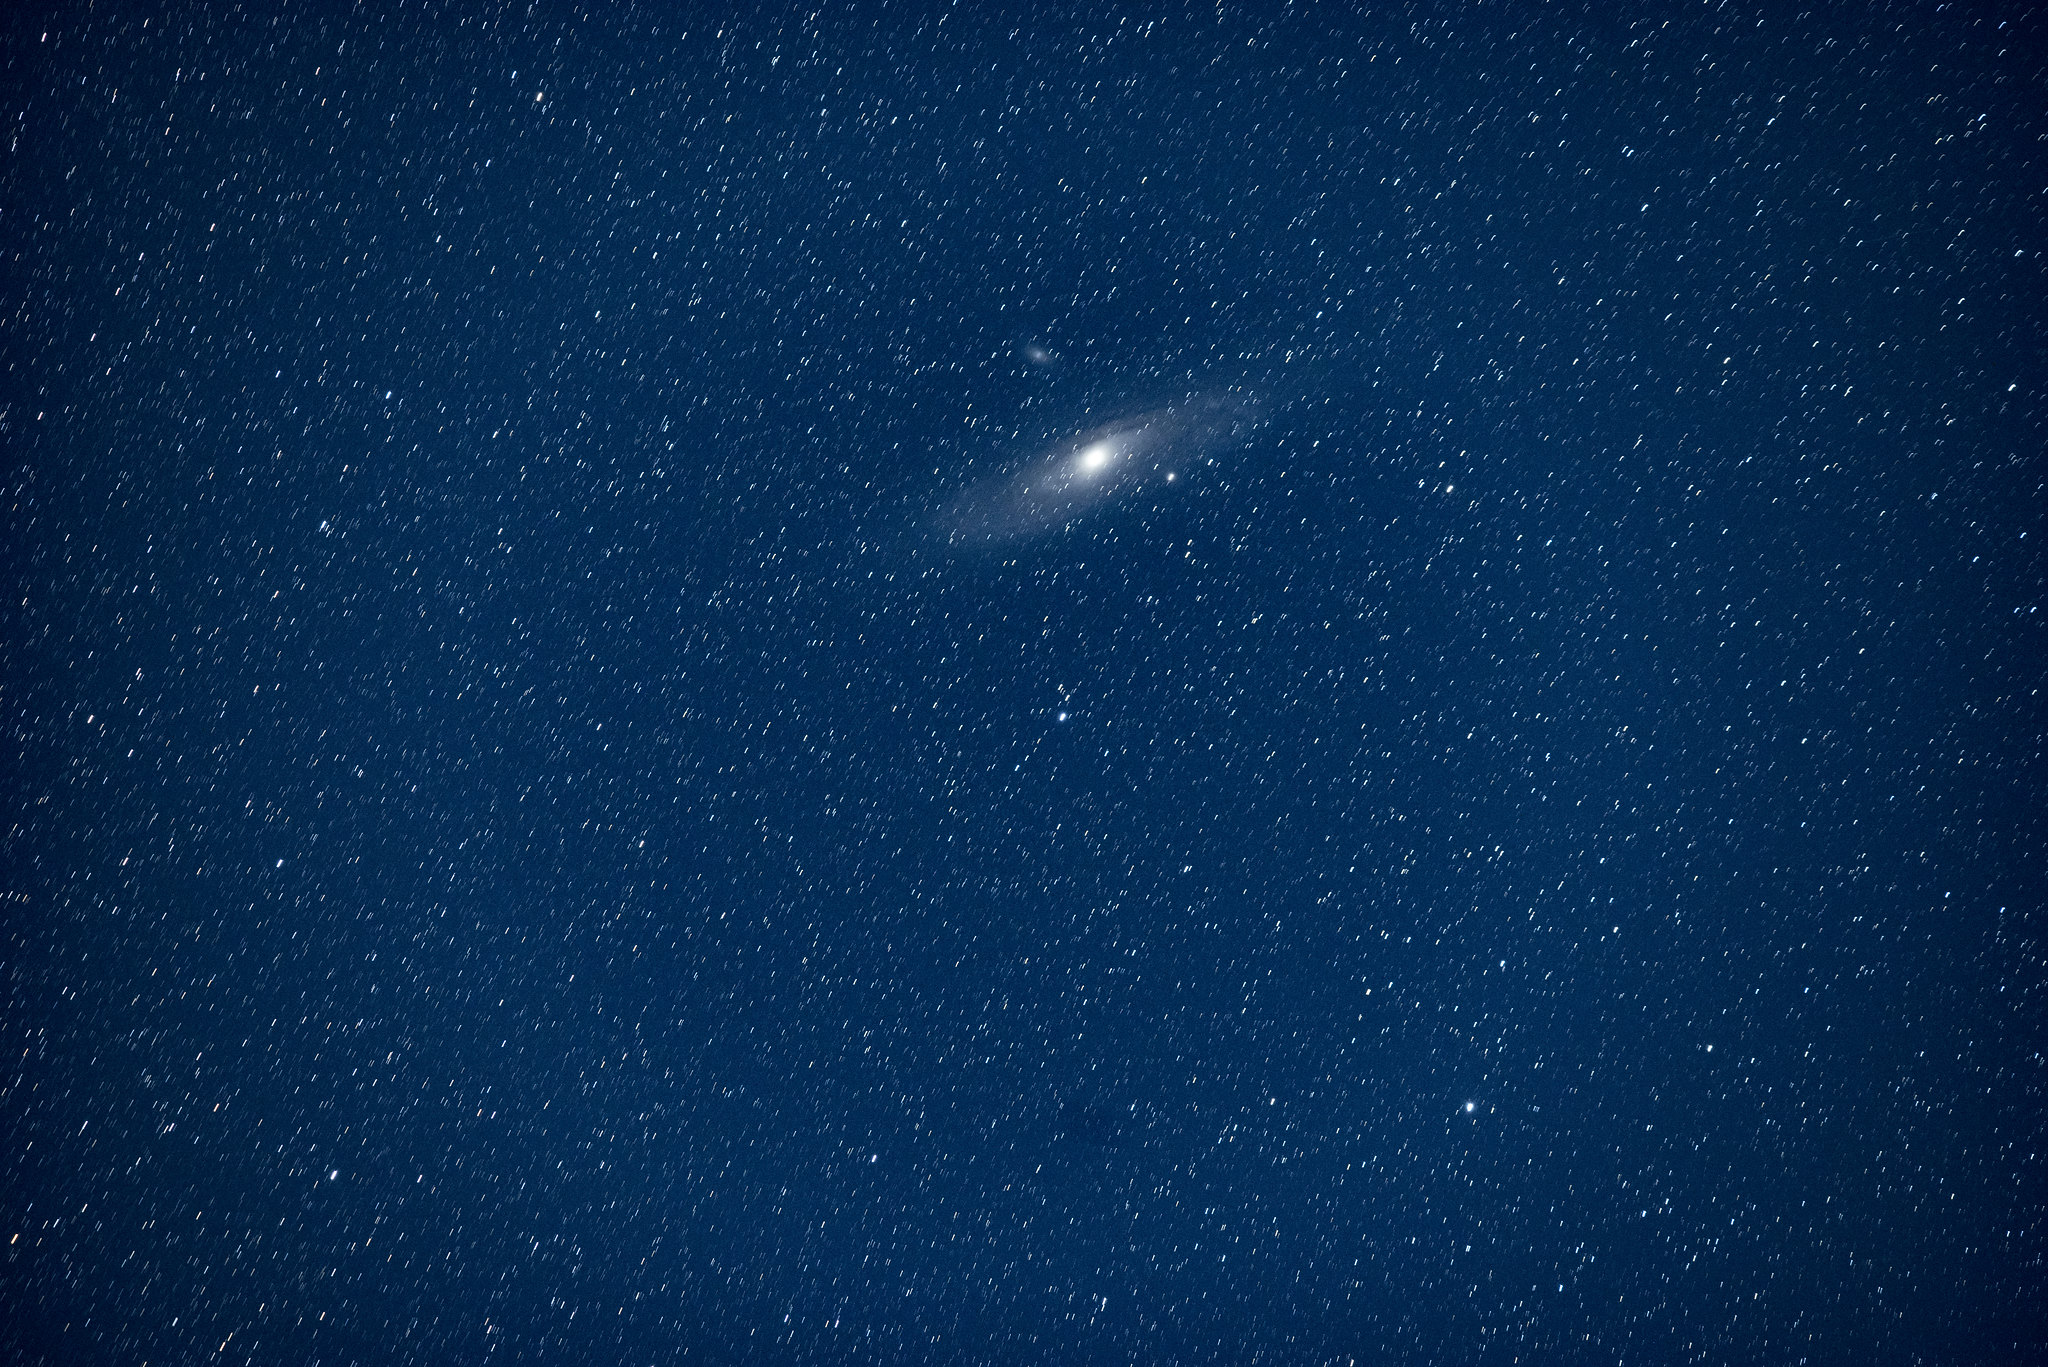
The moon- nearly full, was behind this- ignore the exposure- about 1min 20 I will work on focus, but no star trails compared to what I was seeing before.
Thanks for making this happen for me- I'm very excited.
Rob
Good to hear!
Just to clarify:
While in Bulb mode: Use the green button to toggle between regular bulb mode and timer mode. You can then use the index dial to increase the time on the timer.
Bulb mode with Astrotracer turned on, adds this additional feature of the timer. You can use Astrotracer with regular bulb mode or the additional timer feature (in bulb mode).
Both Bulb mode and Bulb Timer Mode can exceed the maximum sensor time, but once you do the star trails will suddenly be introduced as the sensor hits its maximum travel.
The reason to step away from the camera and tripod is to avoid any additional shake to the system. It won't do much to the compass as long as you don't have a lot of metal on you.
I use this $10 remote shutter. This remote works best with the timer mode. I found that if you use bulb mode (with one shutter press starting bulb open and one shutter press stopping bulb mode - Found in C Menu) you will be in a perpetual shutter release. The remote emits a long signal when the button is pressed. Pressing the remote button once will start the shutter open event. When pressed again, the shutter will close, and since the remote releases a long signal, trigger another shutter open even. You then have to turn the camera off to get things to stop. Which means calibrating everything from start again. But in timer mode (which can go up to 10 minutes) everything works great and it lasts long enough for most capabilities of the Astrotracer tracking.
For focusing:
First set your F-stop to what you would like it to be. I like using the sharpest setting that the lens can operate at with the lowest F-stop value. For that look at this website:
Lense Sharpness
Find your lens and then look for the focal length you are going to use, and locate the F-stop column that has all dark blue or mostly dark blue. This comes down to your preference here.
Now onto focusing: I go into Live View, then hit the OK button to go into zoom mode. Love the tilt screen here!!! I use the Thumb dial to zoom out and try to find a bright star (play with the thumb dial here so you are not too zoomed out to start with). You might have to play with the focus here to locate something. I then zoom in (thumb dial) a bit and then start playing with the focus. Your aim is to get the star to appear as small as possible. This is one of those other dancing parts, playing with the thumb dial to locate a star and the focus ring to get the focus. The smaller the star is the more in focus it is. Once you have this sorted, you most likely won't have to touch the focus again. Just to make sure I don't touch the focus, I flip the switch on the side of the camera to Manual Focus. You can now look into any direction in the sky and all the stars will be in focus. This is the true infinity focus point of your lens at that temperature. You will note the lens can go far beyond what the infinity focus is. This is to accommodate adapter rings (and such items) as well as accommodate temperature changes. If the temperature changes dramatically, while you are outside with the camera, you might have to refocus. This is why it helps to let your camera sit outside for a few minutes before you begin the whole process. Pro Astro-Photographers will do this between 30 minutes to 60 minutes, for their gear, but this is to avoid heat waves coming off their system and distorting the optics.
Locating what you want to shoot:
I use the Sky Map app (Android Google Play Store) to look around for where objects are in the sky. I then target that area as close as I can with the setup and take a short 15 second exposure. I then can look at my picture and see if the object is actually there. I then re-adjust the position until I have the object in sight and then I increase my exposure time.
Yeah, a solid tripod is a good investment! What to do after Astrotracer has hit its limit:
It is good to know what is involved as you go beyond the K-1's capabilities. Including the cost of items. Lots and lots of costs!
I found the information in these videos below useful even for my K-1 Astrotracer. It helped me understand the importance of a solid tripod, and the issues related to tracking.
If you get more interested in Astrophotography then look at these three videos, they give a good insight into what is involved, as you step up your game:


 Post #9 by Jeffvan
 Similar Threads


