 Originally posted by Sluggo
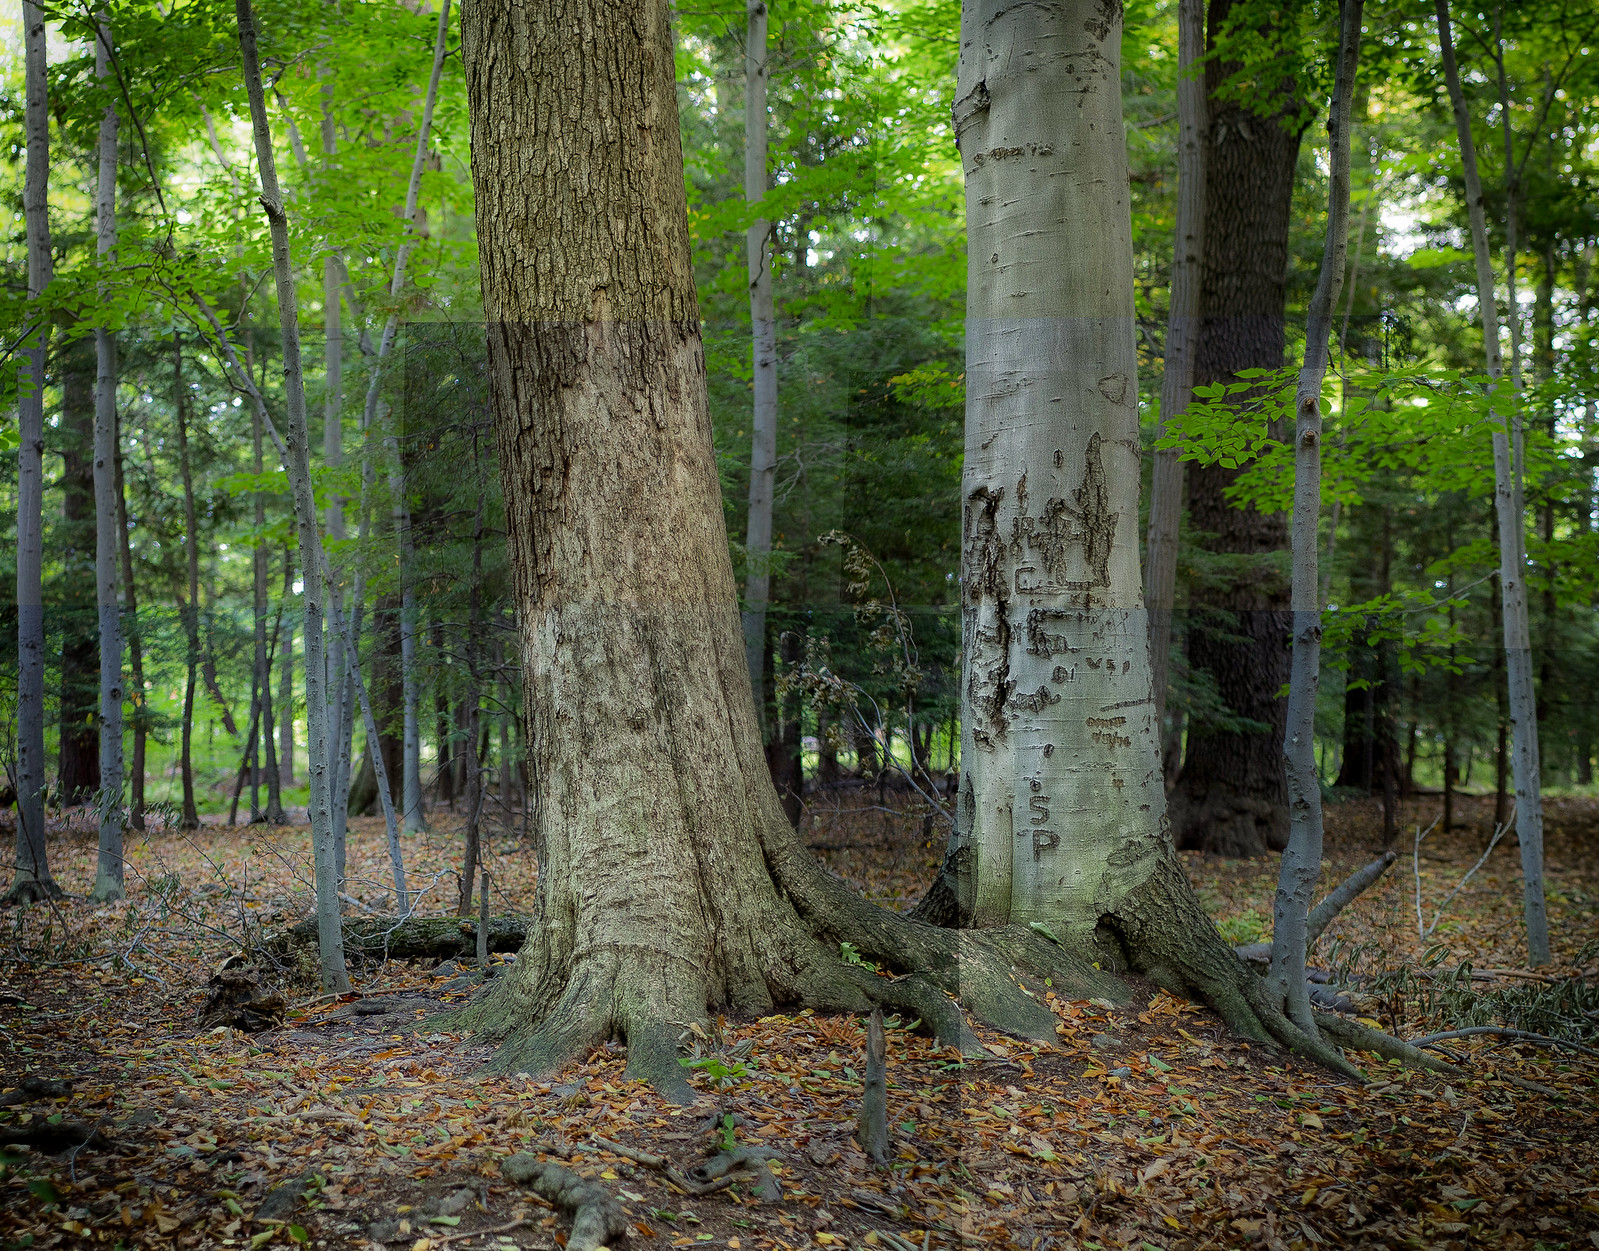
My first
successful Brenizer composite, taken last night in the cold. It's nothing special as a photo but I'm happy to have (mostly) figured out the process now after a couple of false starts.
Theatrical Shop, West Des Moines 58 shots, K-01 with Tokina RMC 135/2.8 at f/4, combined with Hugin It's hard to say what constitutes a 'successful' Brenizer shot, for me it has to have that uber 3d punch somewhere in the shot and not just a successful stitch job. Not critiquing your shot here at all, I am guilty of doing many a brenizer shot and feeling that the results ended up flat, much like my most recent effort here;
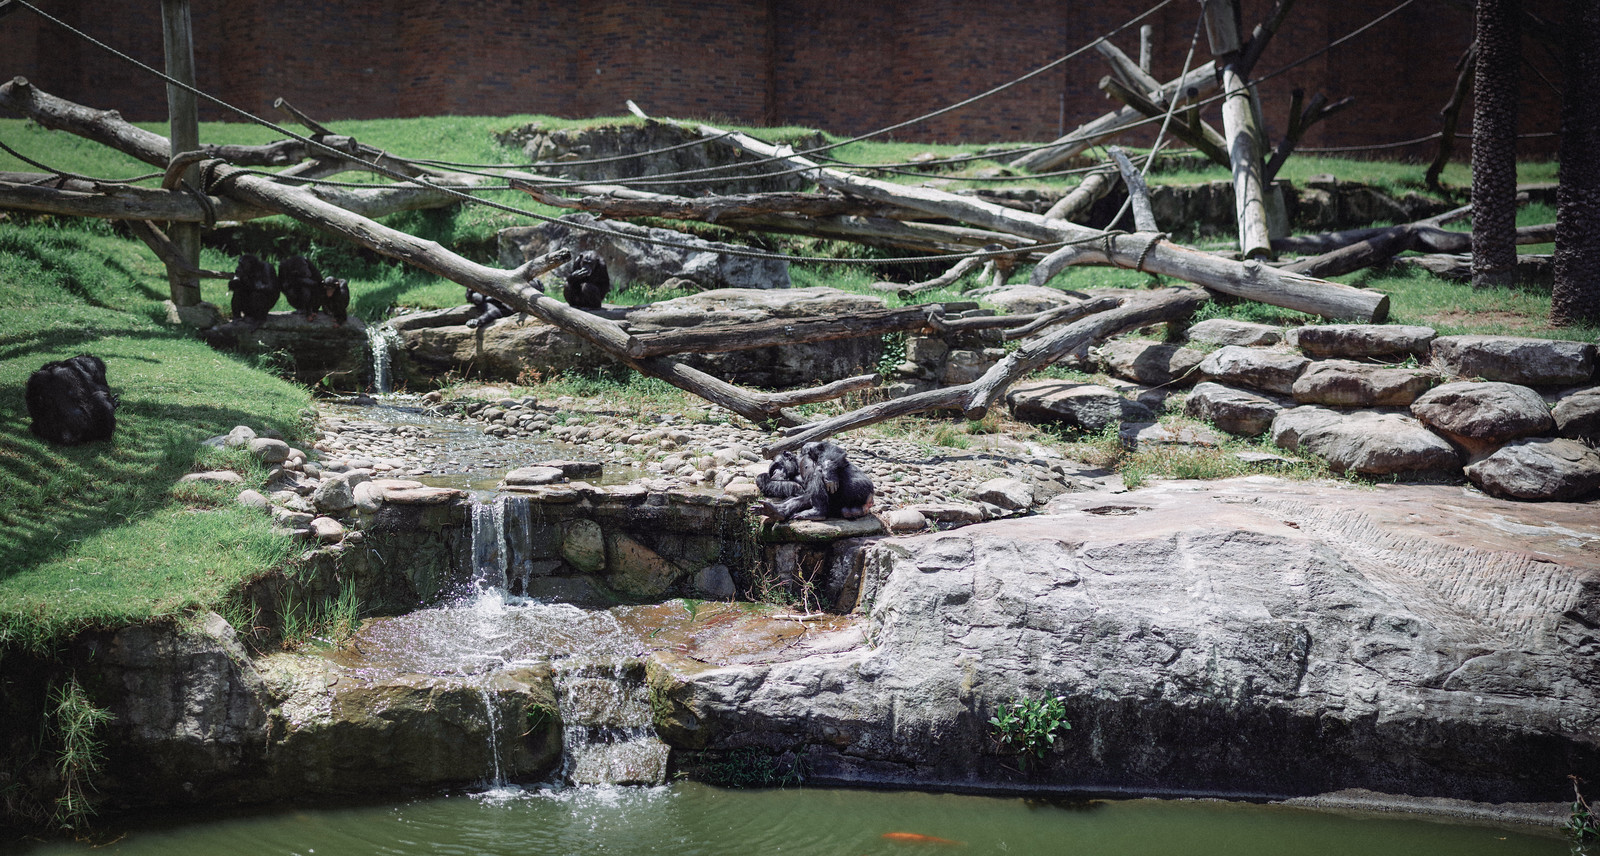
134mp shot here, taken at f1.8 with the FA77, it's quite a nice panorama but I'm not really feeling the brenizer vibe, not like for example some of my only 3 stitched portrait shots a few posts back! If I can offer any advice I think shooting wide open is typically a key component, you took yours at f4, try the widest aperture next time (of any lens really). I think also try and pick a single object out and be relatively close to it (unlike here with my shot, the centre chimp is too far away really). I think the brenizer is most successful when you feel yourself
really panning around, like shooting quite far away from the subject matter indeed. If you feel (like I did with this zoo pic) that you didn't pan around that much despite taking 30-40 shots, it's probably going to fall a little flat (especially if the focus object is pretty far away as well).
Originally posted by er1kksen Bruce, these are great. Very practical application of the technique, with the results being excellent portraits on their own, rather than more or less just a showcase of the effect.
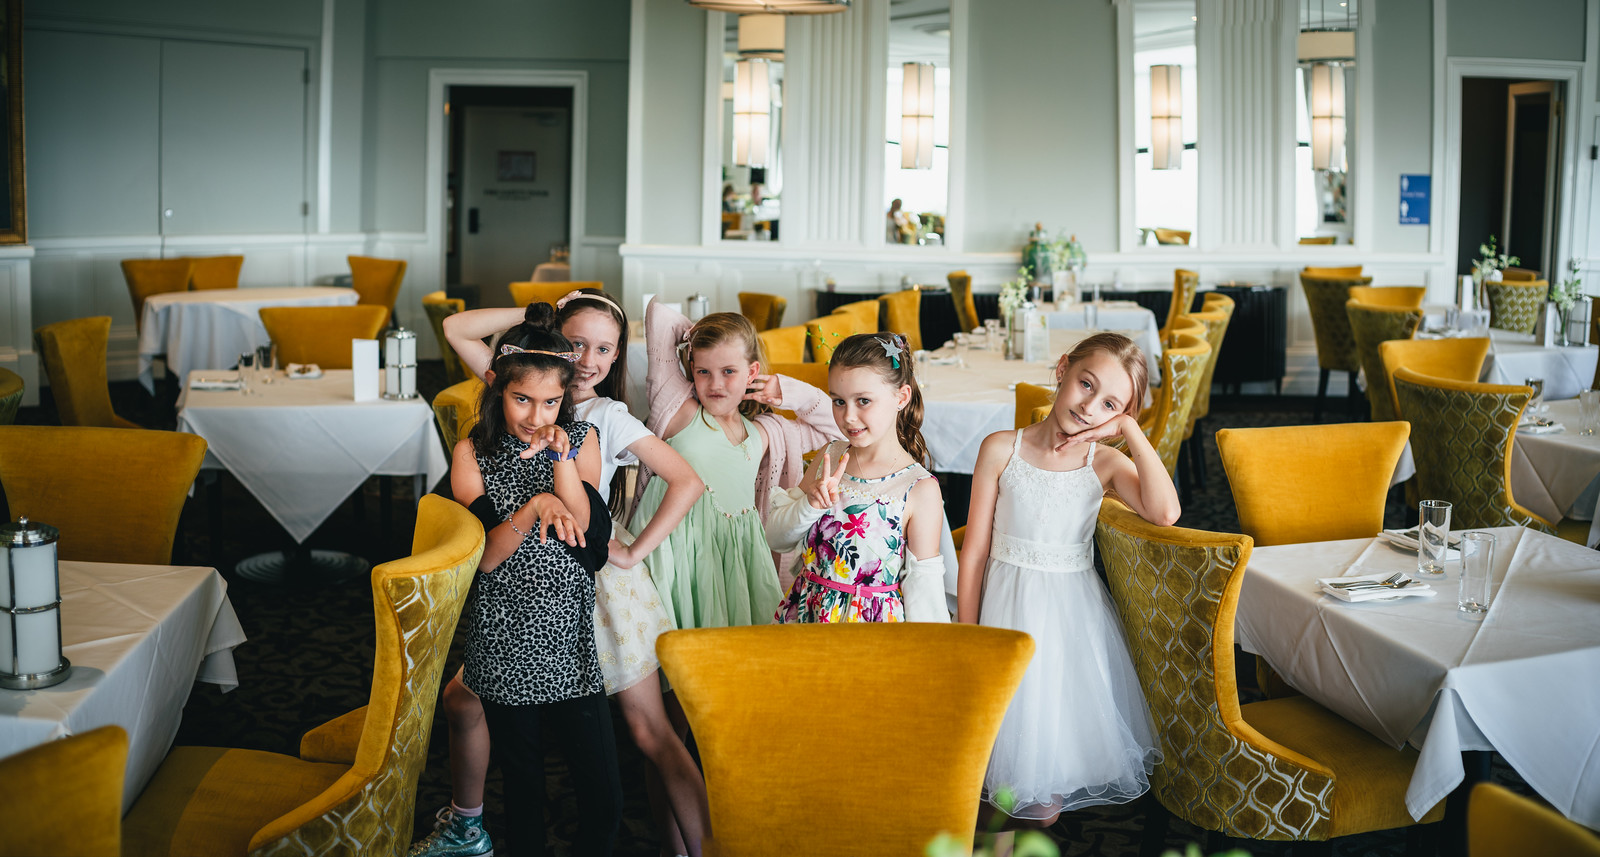
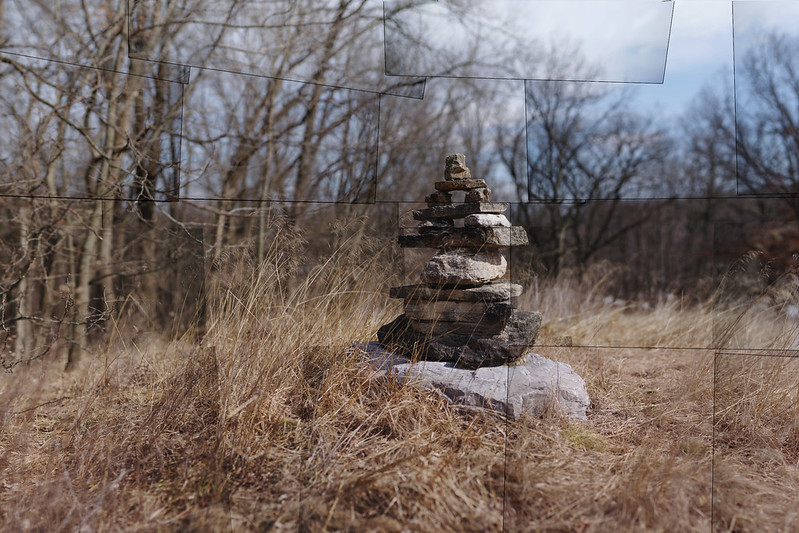
I just rediscovered a nonhuman portrait I made some time ago, before I knew what a "brenizer" was but had worked out the concept nonetheless. The one glitch was that I forgot to lock the exposure, so even after some adjustment (I think it was about 20 frames) I was not able to equalize the exposure and you can see the stitch lines- but the more I looked at the result, the more I kind of liked it. K-x with M 50mm f1.7
Thank you for the kind words. I am just experimenting really, exploring the idea of just taking portrait shots with 1-2 extra frames to assist with composition. If I rely on my centre point AF for a shot it's the most accurate AF point, but the framing is not so great, so adding an additional frame afterwards is my thought process to giving a better shot, even if it lacks the brenizer vibe.
I quite like your little accident here, I especially like how the stitching lines appear very rectangular! I would like to know more because I quite fancy trying a deliberate attempt of a more drastic nature of this kinda shot, which software gave you such rigid 'rectangular frame' stitching? It's almost like it's not overlapping but just put together like a jigsaw! Cool indeed!


 Post #217 by irek83
 Similar Threads


