| Pentax/Camera Marketplace |
| Pentax Items for Sale |
| Wanted Pentax Items |
| Pentax Deals |
| Deal Finder & Price Alerts |
| Price Watch Forum |
| My Marketplace Activity |
| List a New Item |
| Get seller access! |
| Pentax Stores |
| Pentax Retailer Map |
| Pentax Photos |
| Sample Photo Search |
| Recent Photo Mosaic |
| Today's Photos |
| Free Photo Storage |
| Member Photo Albums |
| User Photo Gallery |
| Exclusive Gallery |
| Photo Community |
| Photo Sharing Forum |
| Critique Forum |
| Official Photo Contests |
| World Pentax Day Gallery |
| World Pentax Day Photo Map |
| Pentax Resources |
| Articles and Tutorials |
| Member-Submitted Articles |
| Recommended Gear |
| Firmware Update Guide |
| Firmware Updates |
| Pentax News |
| Pentax Lens Databases |
| Pentax Lens Reviews |
| Pentax Lens Search |
| Third-Party Lens Reviews |
| Lens Compatibility |
| Pentax Serial Number Database |
| In-Depth Reviews |
| SLR Lens Forum |
| Sample Photo Archive |
| Forum Discussions |
| New Posts |
| Today's Threads |
| Photo Threads |
| Recent Photo Mosaic |
| Recent Updates |
| Today's Photos |
| Quick Searches |
| Unanswered Threads |
| Recently Liked Posts |
| Forum RSS Feed |
| Go to Page... |
PentaxForums.com → Photo Sharing and Galleries → Mini-Challenges, Games, and Photo Stories
→
Thematic Brenizer Method photos
 |
| 345 Likes | Search this Thread |
| 03-18-2019, 11:48 AM | #196 |
 I really like that first one...IMHO, it really showcases what the Brenizer Method is all about. Well done | |


| 03-18-2019, 11:53 AM | #197 |
| Much appreciated. I'm now going back and reading this whole thread, having just scanned the last couple of pages at first. It's interesting watching everybody learn. This is really a different way to think about photography. What amazes me is how well it can work even with moving water, as in this case, or with live subjects, as in a lot of BruceBanner's examples.  | |


| 03-27-2019, 12:23 PM - 2 Likes | #198 |
|
Okay, my latest attempt with a Pentax FA 31mm f/1.4 Limited on a K-3ii. Kind of my first attempt at this. I should have had a polarizer to do this right but managed to squeak f/1.8 out of this bright set of 25 shots.  | |
| These users Like CharLac's post: |

| 03-27-2019, 12:44 PM | #199 |
| Much appreciated. I'm now going back and reading this whole thread, having just scanned the last couple of pages at first. It's interesting watching everybody learn. This is really a different way to think about photography. What amazes me is how well it can work even with moving water, as in this case, or with live subjects, as in a lot of BruceBanner's examples.  ) ) I've tried it a couple times but never ended up with anything I liked. Discouraged, I gave up on it for a bit. I am due to try again Okay, my latest attempt with a Pentax FA 31mm f/1.4 Limited on a K-3ii. Kind of my first attempt at this. I should have had a polarizer to do this right but managed to squeak f/1.8 out of this bright set of 25 shots. Try a longer focal length shot wide open and orientate the camera in portrait orientation rather than landscape and try perhaps something as simple as 10 shots, 2 rows of 5. Even mild brenizers can be fun. Currently I want to master 2-3 shots only, something I feel I could do often and are easier to stitch. For example, we know that when shooting wide open the centre focus points are the most sharpest and accurate, so I want my first shot to have the subject in the middle, but then for context I want to add either a couple of frames one side or one additional frame on each side, just to get some more frame and compositional context. | |
| 03-27-2019, 12:49 PM | #200 |
| Typically I have seen the most successful shots performed with something like a 77mm or 85mm shot wide open, and then of course a lot of frames and stitching. Even some say using 50mm lens it's harder to produce the effect, so with 31mm it's a hard task indeed. | |
| 03-27-2019, 01:02 PM - 3 Likes | #201 |
| My third attempt at Brenizer
My first two attempts didnt work, the first time my background was way too complicated for the computer (and myself) to line up the photos correctly, the second one had holes, but the 3rd time I had all the pictures needed and Affinity Photo for IPad could line them all up correctly. My daughter allowed me the extra time needed to try this technique. Im hoping I remember to use the technique more often in other locations. | |
| These users Like PancakeFlipper's post: |
| 03-27-2019, 08:44 PM - 2 Likes | #202 |
|
I just discovered this thread (thanks to Charlie for referencing it elsewhere)... Now, does the subject needs to be centered in order to qualify as using the method, or can it be off centered? While I stiched (the computer did) the following shots (about 4-5 per image), I do not think they're wide enough to fit into the category... but this is my first try. I also need to find software to stitch in a table manner (rows/columns). Anyways, here they are: 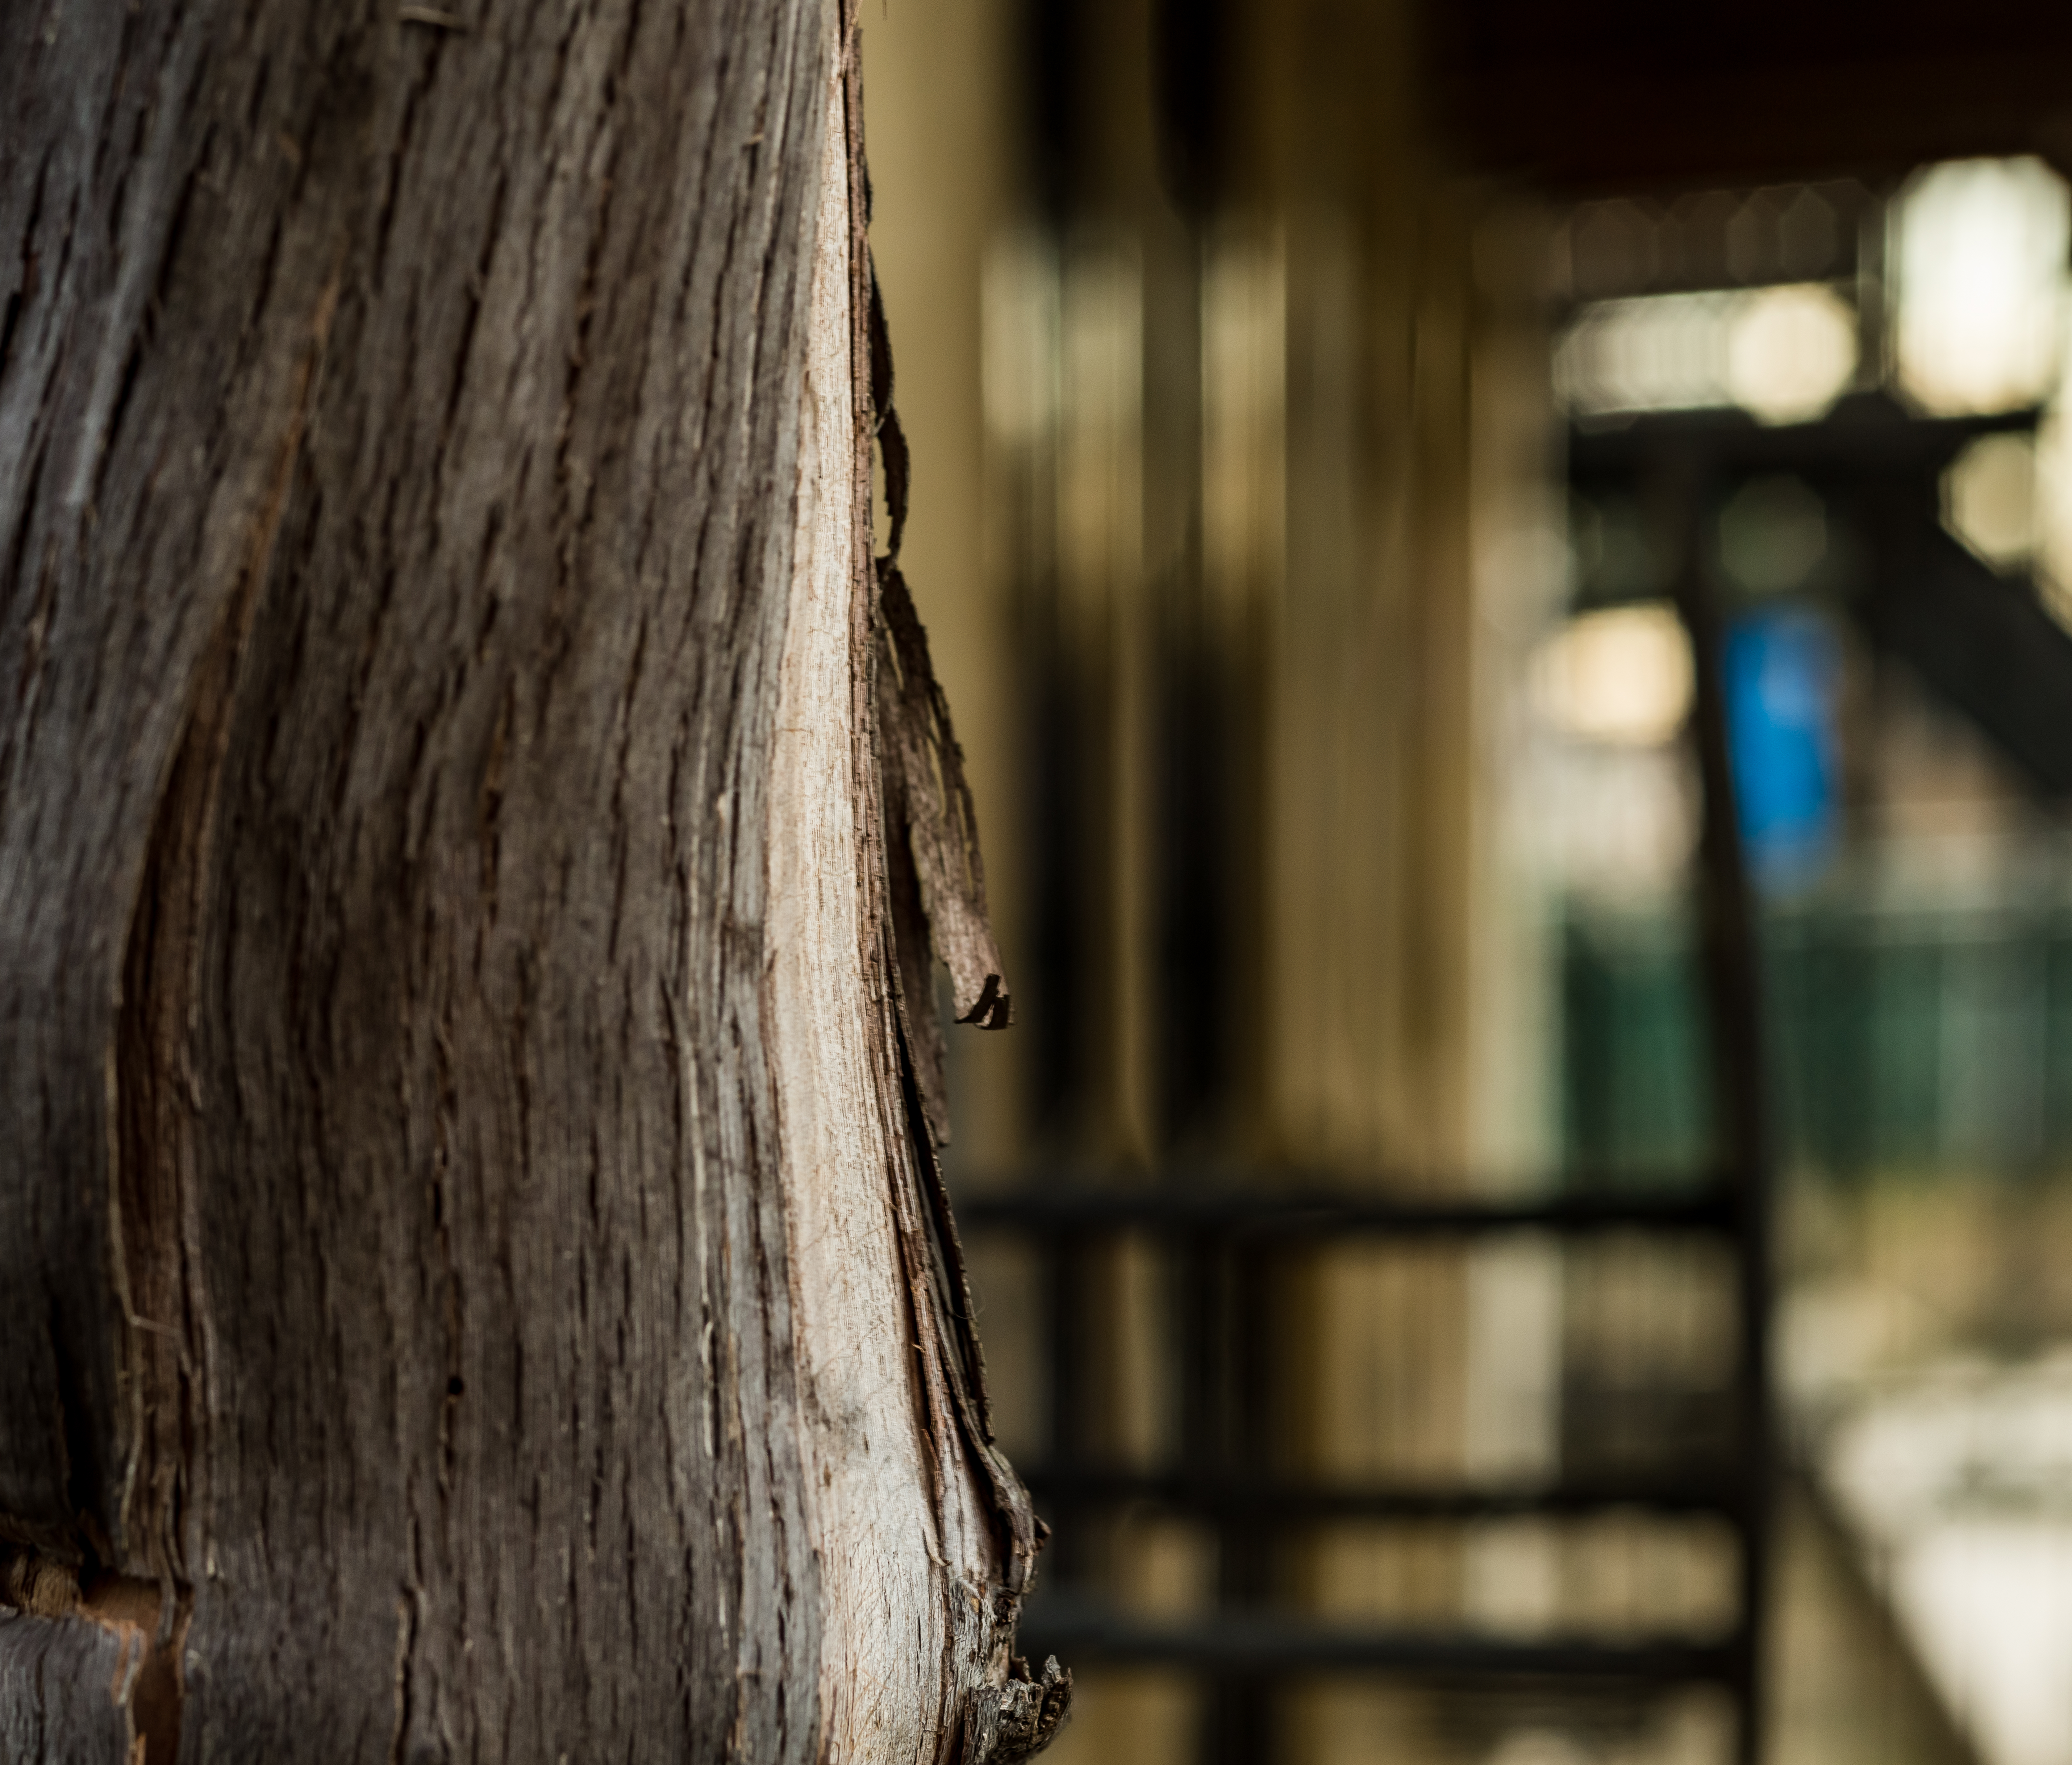 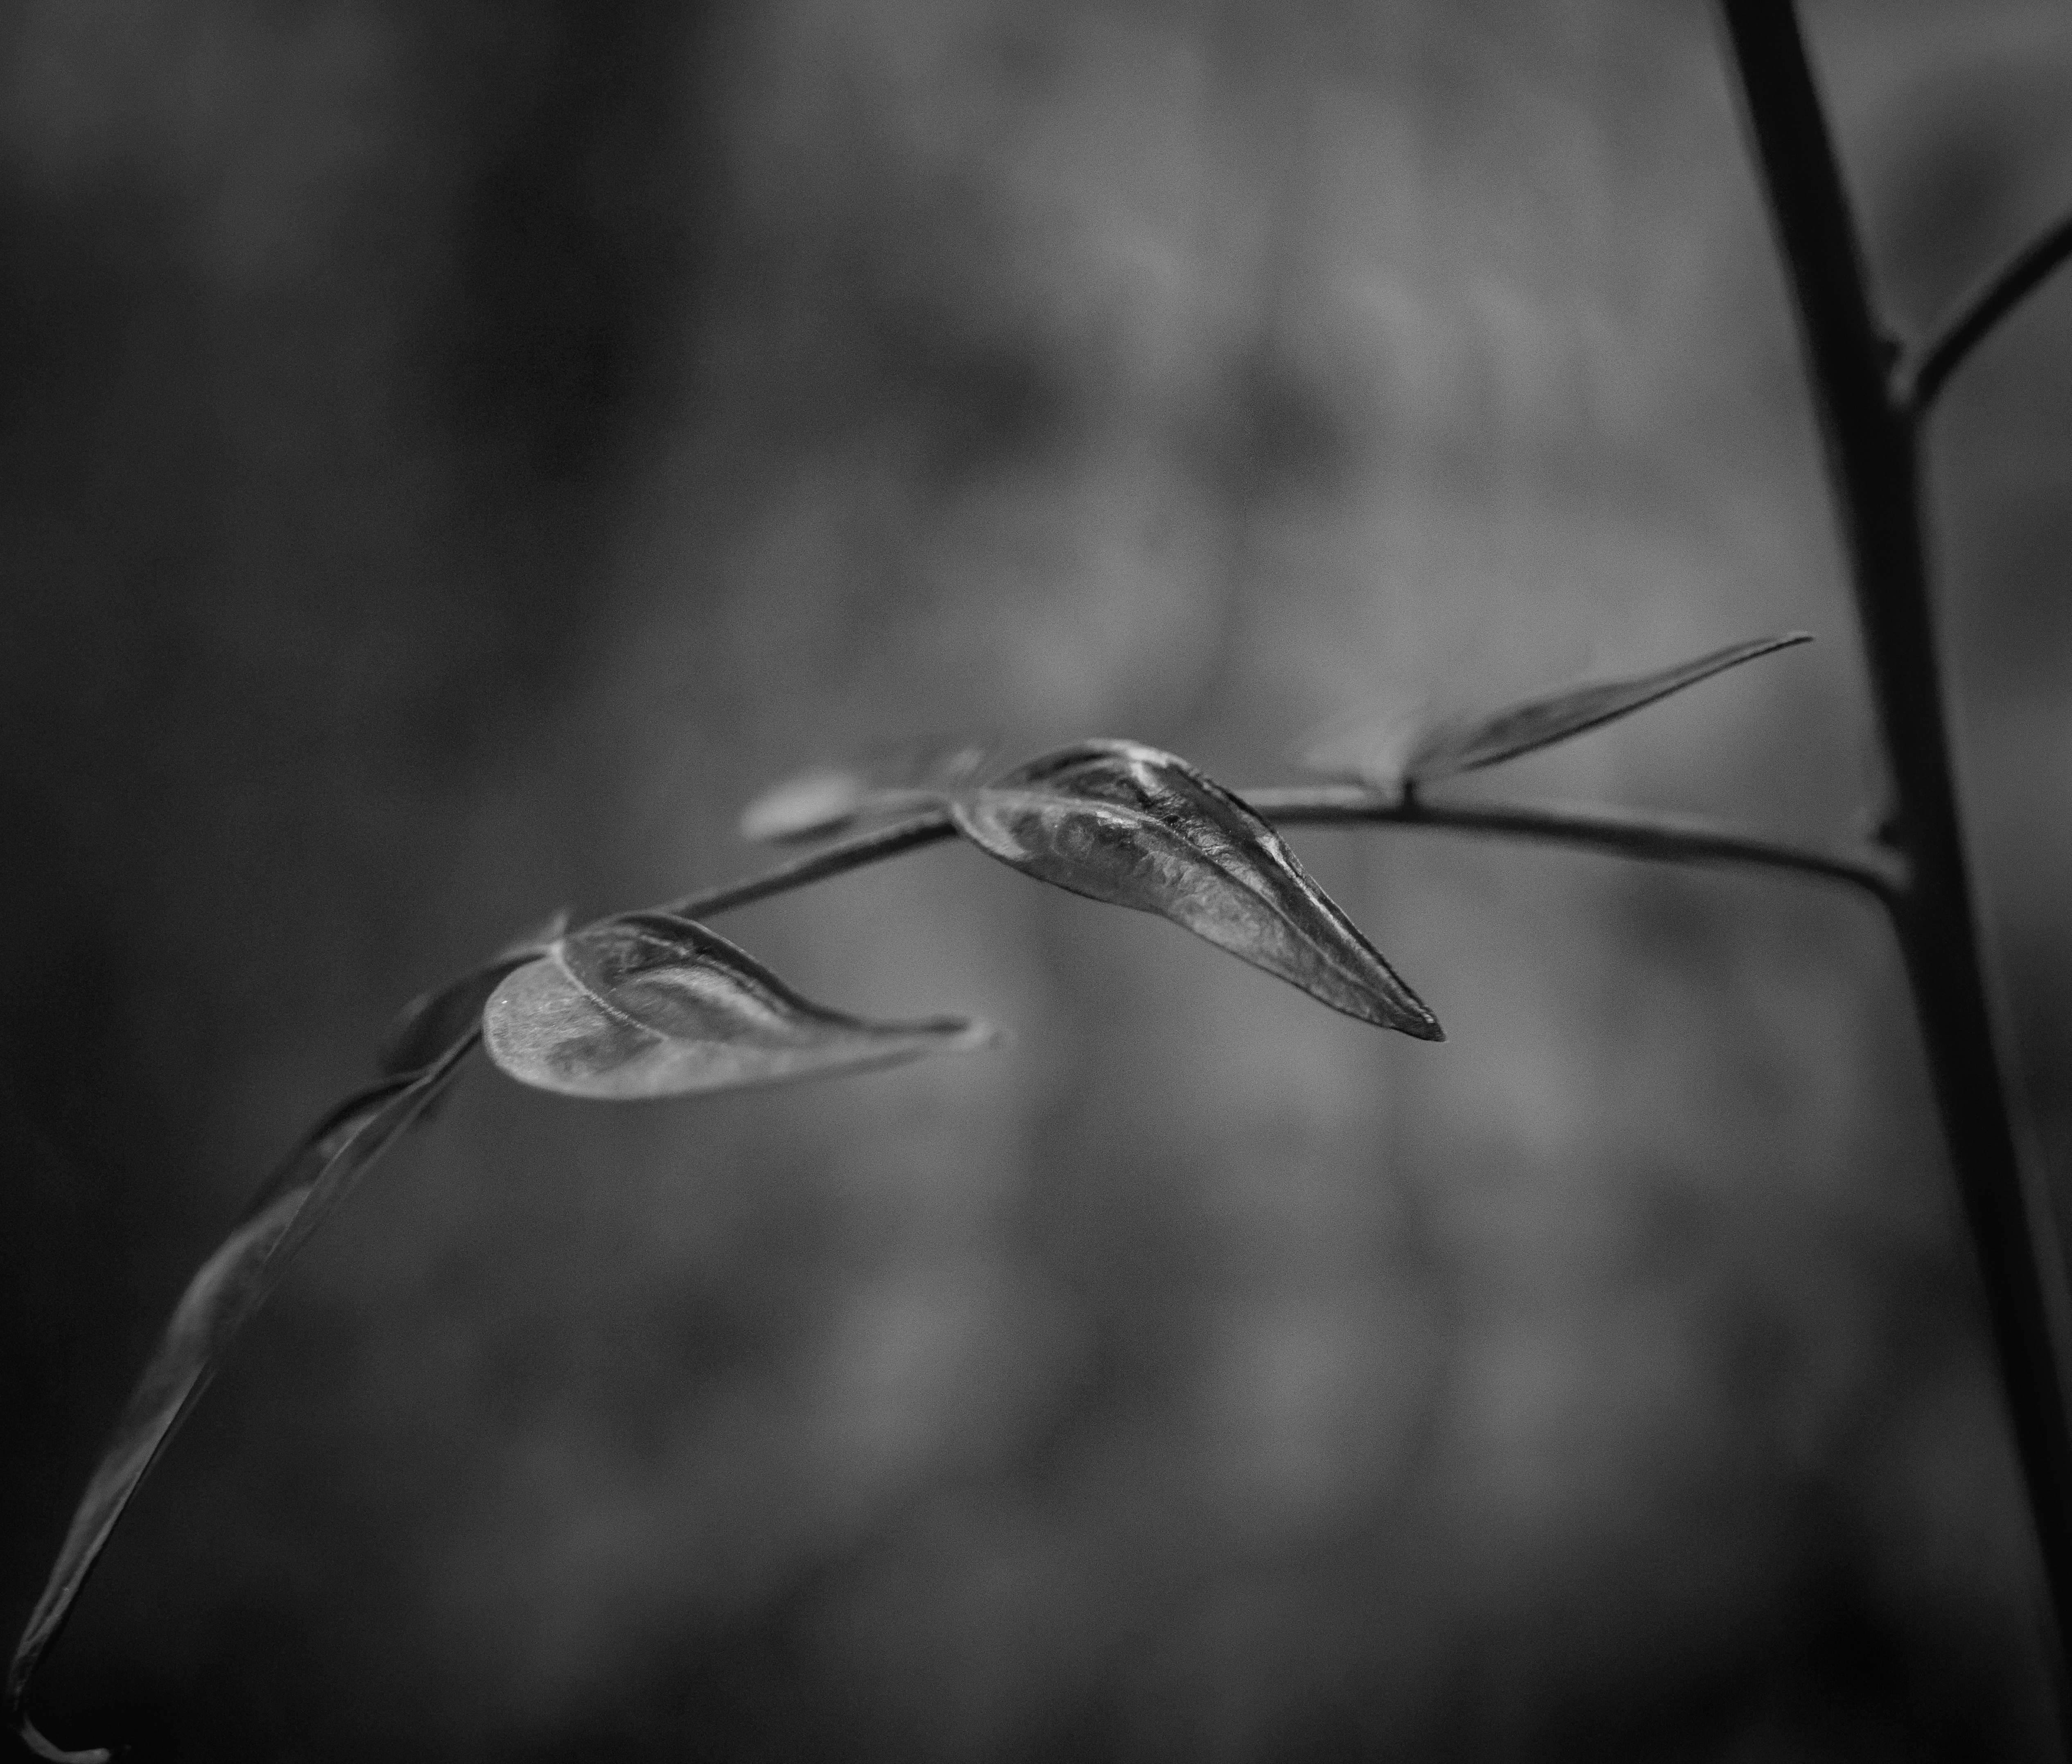 | |
| These users Like edom31's post: |
| 03-28-2019, 06:25 AM - 2 Likes | #203 |
| When you speak of 77 or 85 being a sweetspot, would that be on a FF or APS-C? I just discovered this thread (thanks to Charlie for referencing it elsewhere)... Now, does the subject needs to be centered in order to qualify as using the method, or can it be off centered? While I stiched (the computer did) the following shots (about 4-5 per image), I do not think they're wide enough to fit into the category... but this is my first try. I also need to find software to stitch in a table manner (rows/columns). Anyways, here they are: | |
| These users Like Jonathan Mac's post: |
| 03-28-2019, 06:40 AM | #204 |
| I use 85mm on APS-C but I can only imagine that on FF it would be "better". For the results of this technique the size of the sensor is of less importance - essentially what I do with the 85mm f/2 on APS-C is capture the parts of the image that I'm "missing" by not having a FF sensor, and also beyond that field of view. Essentially you're increasing the size of the sensor but filling in the image bit by bit, and a FF sensor will do exactly the same job as an APS-C one, but in fewer shots. No reason for the subject to be centred, composition is the same as it would be for any other image. | |
| 03-28-2019, 06:47 AM - 1 Like | #205 |
| I understand that the sensor size is inconsequential. I was more wondering if you were saying that true FF 85mm focal length was a sweet spot or the 1.5x 125mm perceived focal length is the sweet spot. Sounds like 125 to me. | |
| These users Like Jonathan Mac's post: |
| 03-28-2019, 07:05 AM | #206 |
| I'd say it's because it's long enough (and there are fast enough lenses) that it's possible to put the picture together without (A) distortion, which is produced when using shorter focal lengths, or (B) having to do too many shots or easily losing your place and leaving gaps, which is always a risk with Brenizers. | |
| 03-28-2019, 04:57 PM - 3 Likes | #207 |
| When you speak of 77 or 85 being a sweetspot, would that be on a FF or APS-C? My first two attempts didn’t work, the first time my background was way too complicated for the computer (and myself) to line up the photos correctly, the second one had holes, but the 3rd time I had all the pictures needed and Affinity Photo for IPad could line them all up correctly. My daughter allowed me the extra time needed to try this technique. I’m hoping I remember to use the technique more often in other locations. 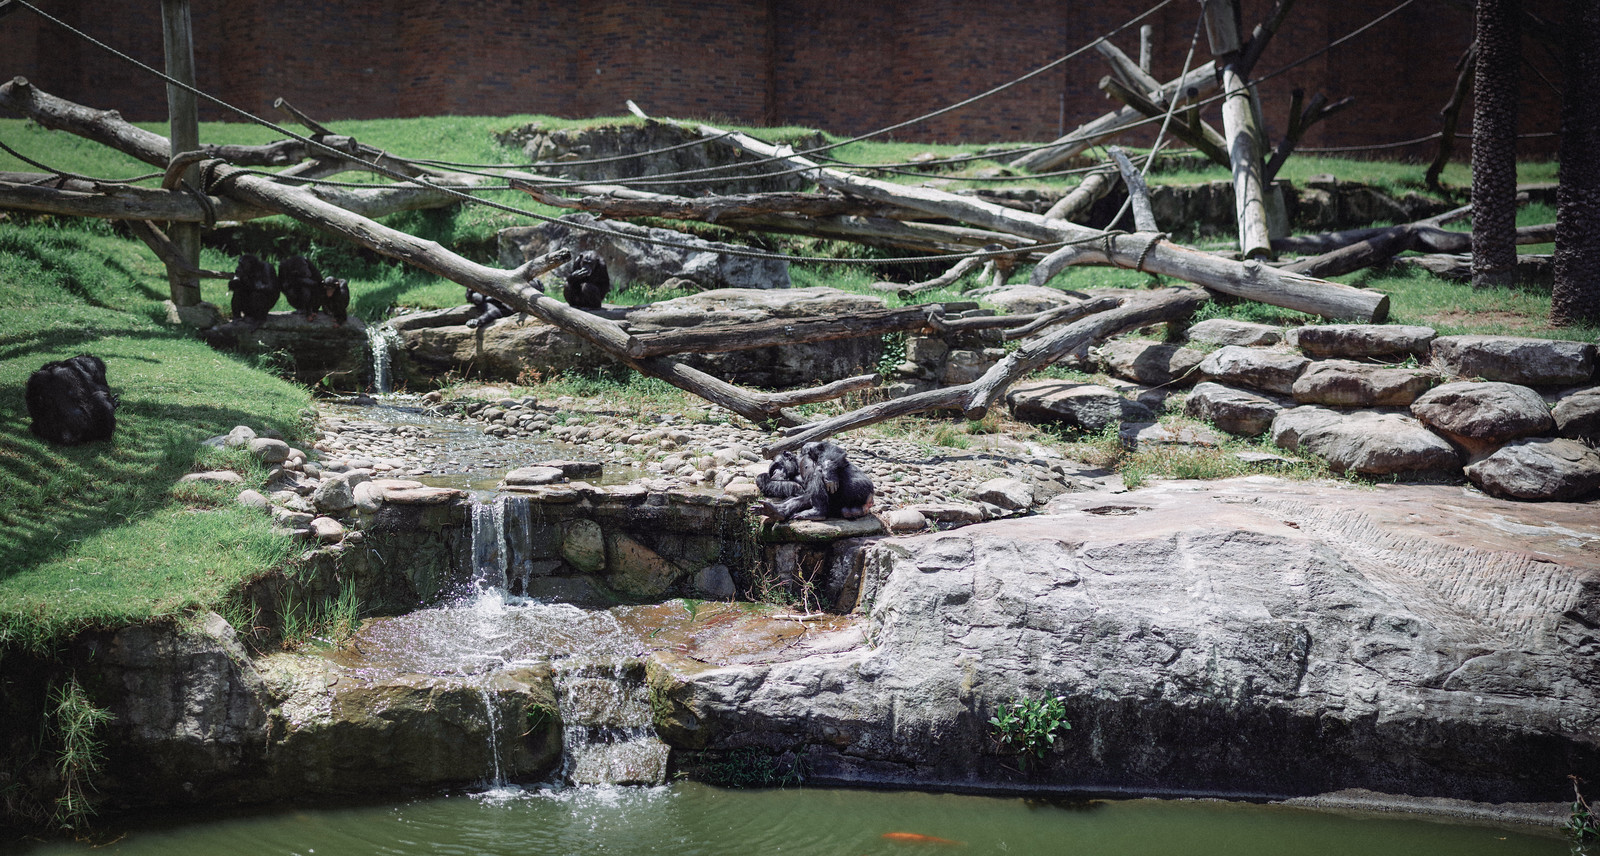 Your shot of your daughter I feel suffers the same fate, a nice panorama but lacking that 3d punch. Why? I think it's because we both shot too far away, the subject already has to have a good degree of subject isolation from their background to begin with, with brenizer we're taking that and running with it further, it just becomes very hard to achieve that when we're too far away (the F1.8 depth of field becomes too large, bring the subject closer and the depth becomes thinner, and that's what we want as a starting point). Consider this single non brenizer shot; 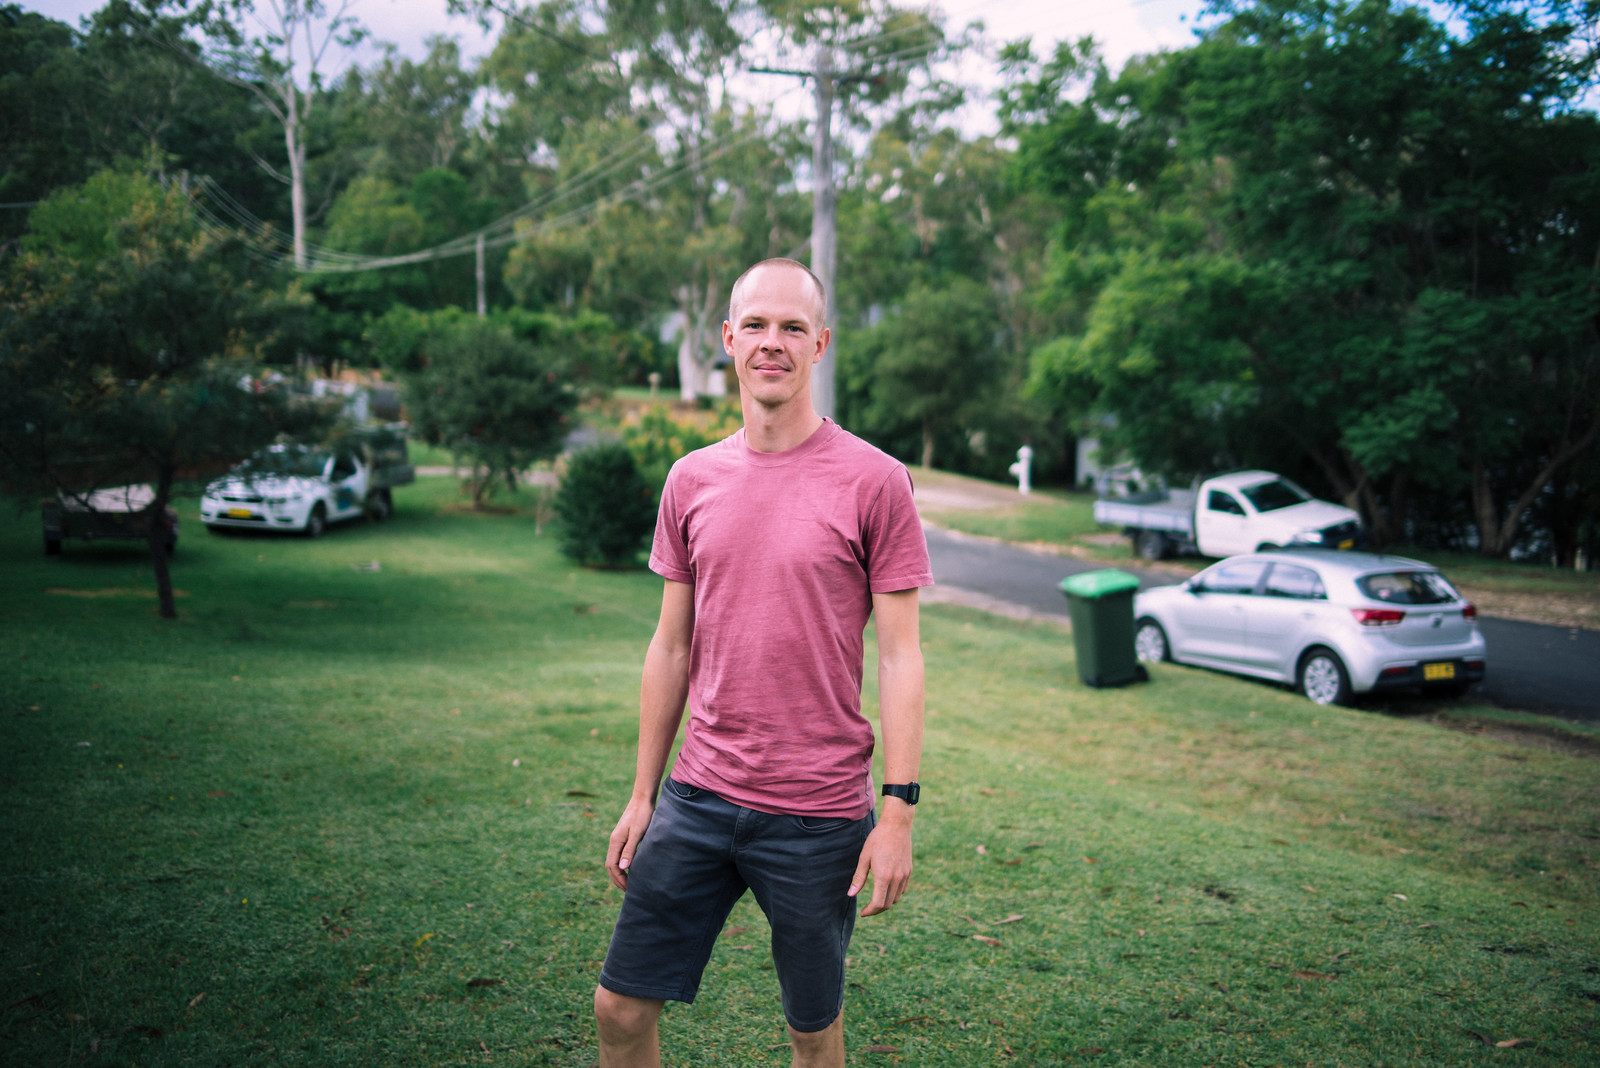 No stitching here whatsoever, just the FA31 being shot on FullFrame (so it really is 31mm and not 46.5mm like it would be on crop), taken @1.8. Such shots are achievable with this lens, as is with the Sigma Art 35/1.4 (if you use 1.4 and a FF camera). I think we can agree that the brenizer vibe is popping more with the single FA31 shot that it is with the mammoth stitching adventure of the zoo shot. I just discovered this thread (thanks to Charlie for referencing it elsewhere)... Now, does the subject needs to be centered in order to qualify as using the method, or can it be off centered? While I stiched (the computer did) the following shots (about 4-5 per image), I do not think they're wide enough to fit into the category... but this is my first try. I also need to find software to stitch in a table manner (rows/columns). Anyways, here they are: 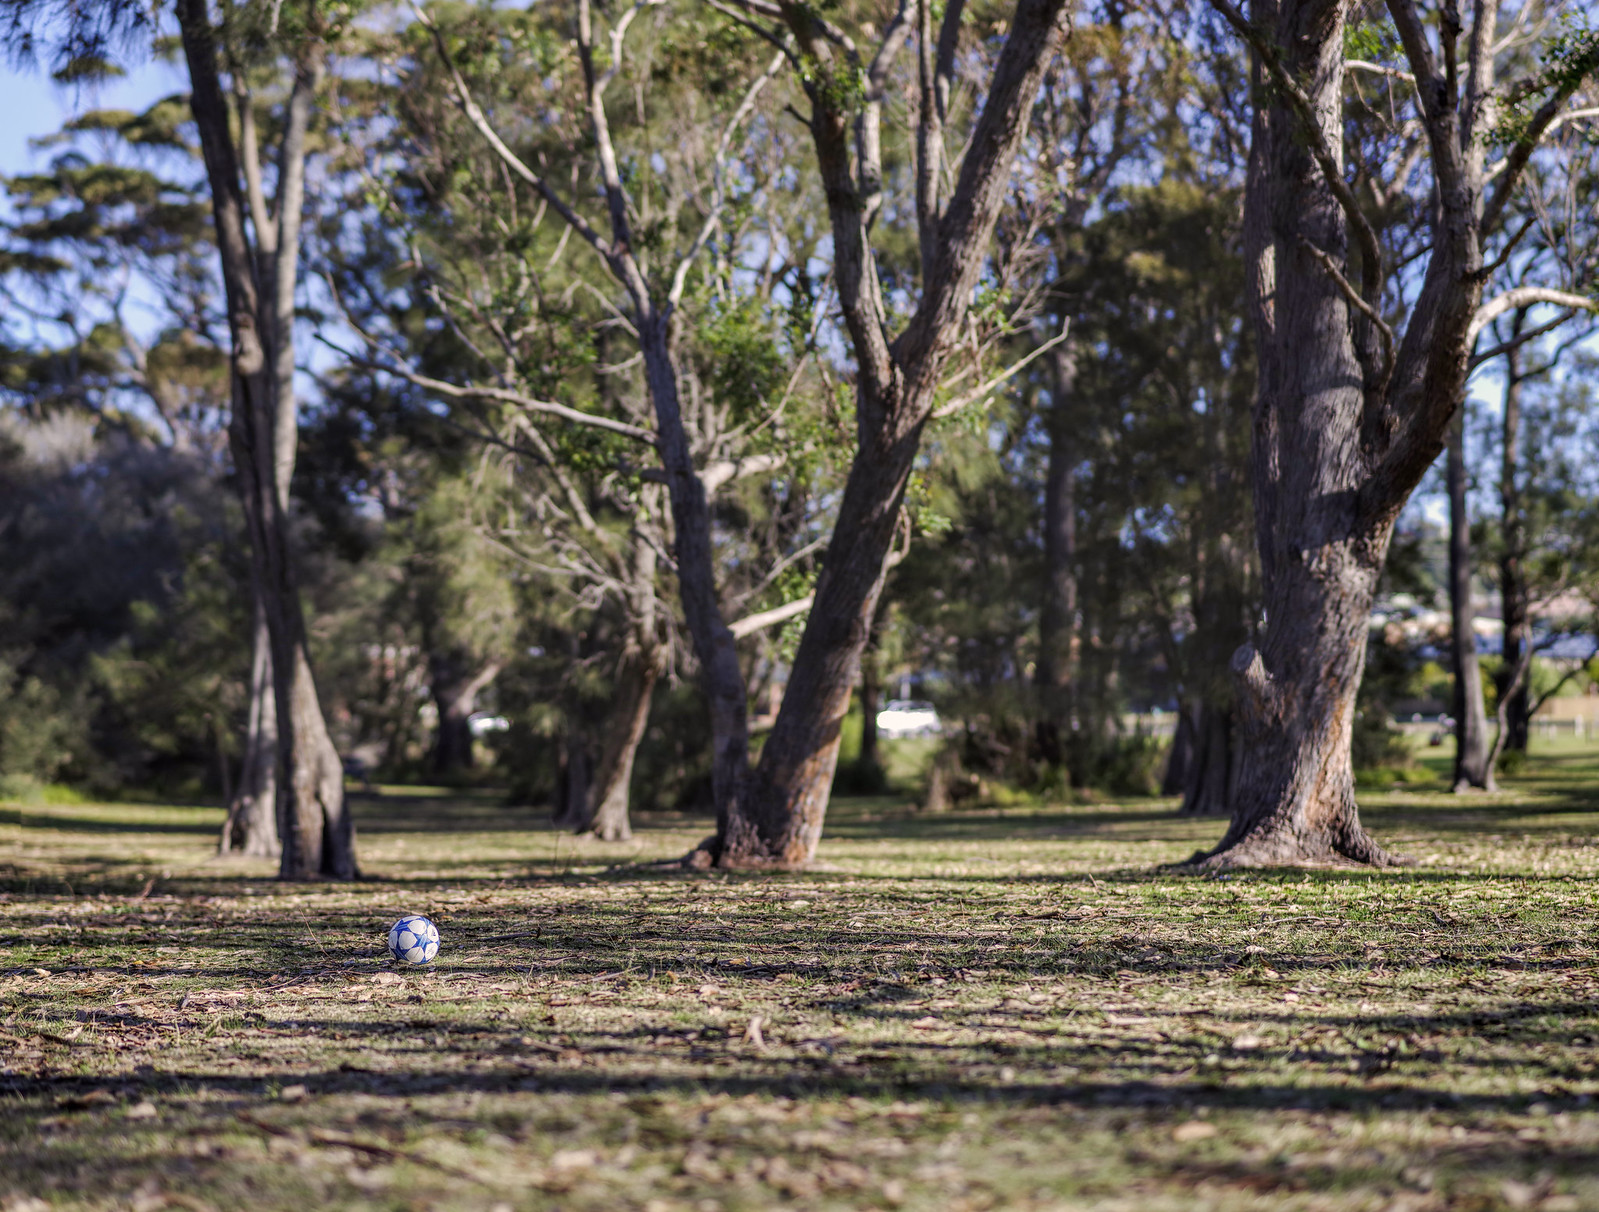 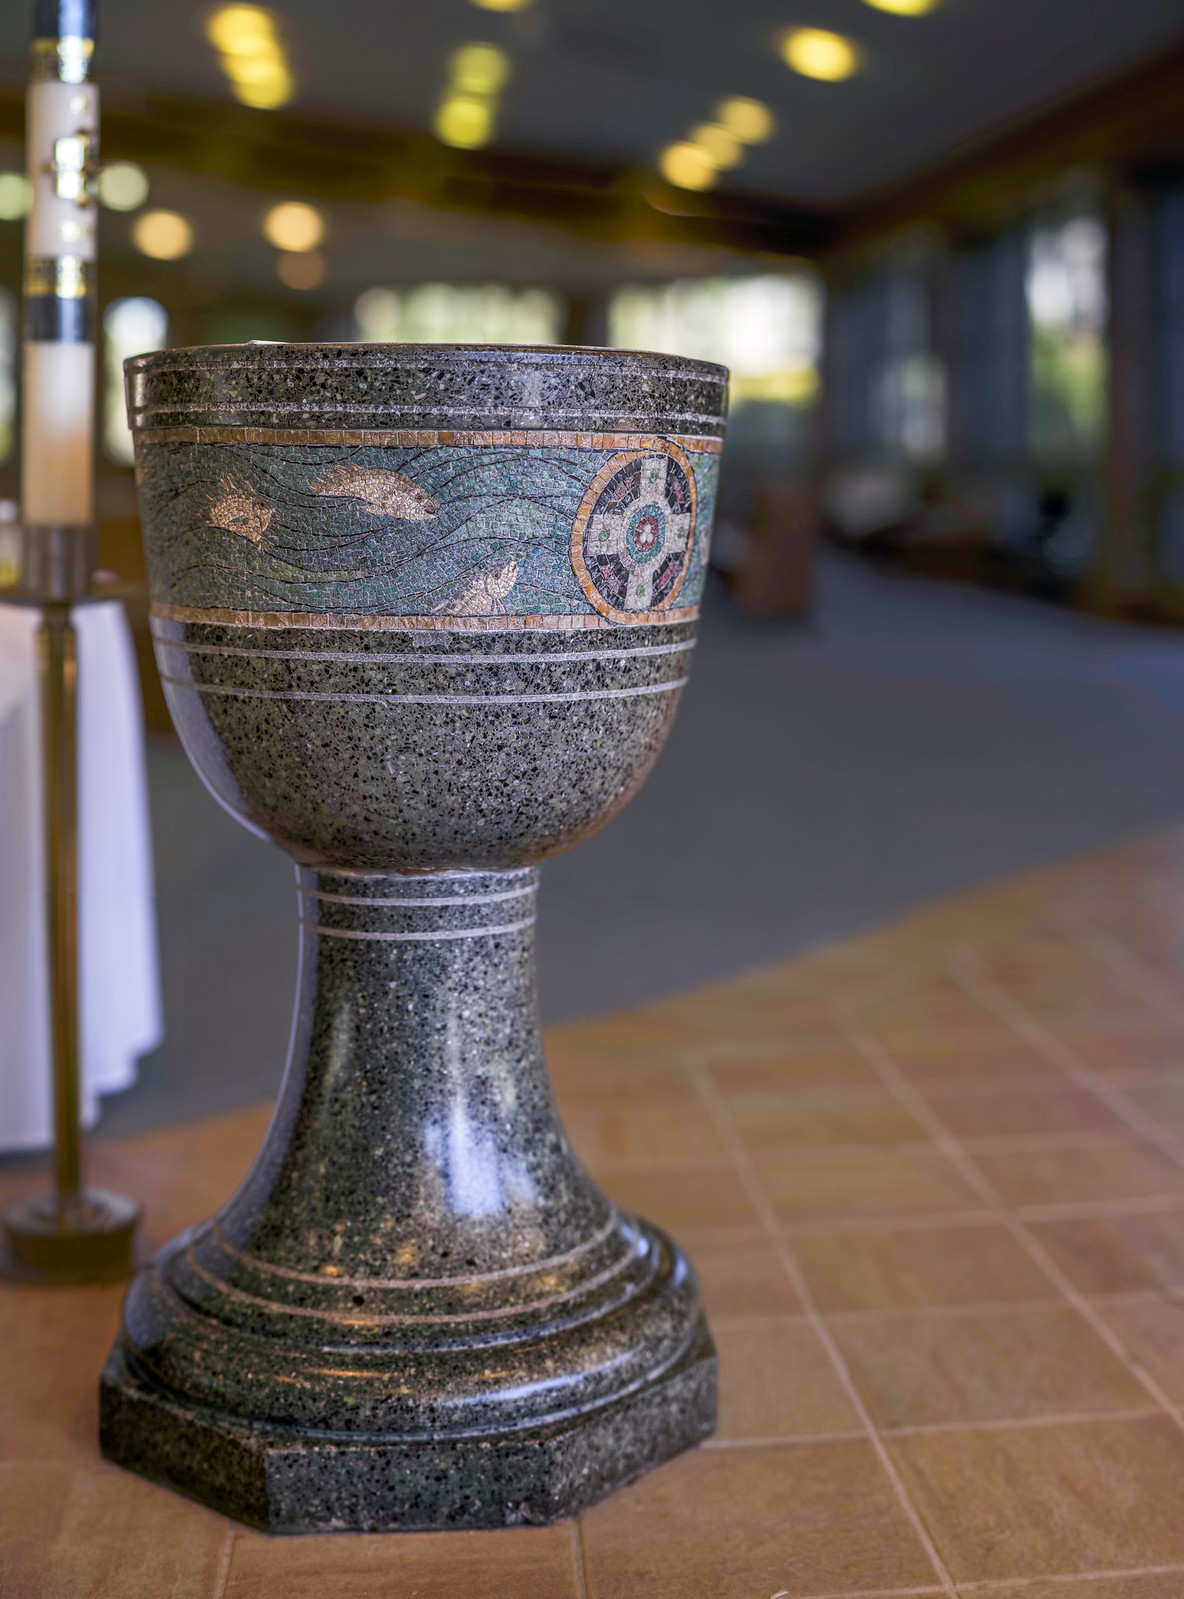 Stitching software wise I often visit Microsoft's ICE first (Image Composite Editor), which is free. Sometimes it doesn't get it right, when something is not aligning correctly I then use Photoshop which can take longer but typically does a better job and resolves something like a railing that is out of whack (on ICE) it is now sorted. I use 85mm on APS-C but I can only imagine that on FF it would be "better". For the results of this technique the size of the sensor is of less importance - essentially what I do with the 85mm f/2 on APS-C is capture the parts of the image that I'm "missing" by not having a FF sensor, and also beyond that field of view. Essentially you're increasing the size of the sensor but filling in the image bit by bit, and a FF sensor will do exactly the same job as an APS-C one, but in fewer shots. No reason for the subject to be centred, composition is the same as it would be for any other image. So with an 85 on an APS-C, how far away from the subject would you typically stand? Let's talk about settings I set up a User Mode for Brenizer, because the settings can differ from my typical shooting conditions. Once you set up it's quite neat because then it takes a lot of the the 'thinking' out of the shot, you can just see something and go "Oh... this looks like it would make for a neat Brenizer!" and turn the dial and just concentrate on technique and composing. 1) Firstly, I would recommend you take the shots in Jpg only and not RAW, for a couple of reasons. One, because stitching 20 RAW files is ridiculously computing intensive, overkill for size and quality, you'll get the post processing done quicker with Jpgs. And two, you can shoot quicker without encountering the buffer and being slowed down for the shots if using Jpgs. Even if you use a K-1 with dual card slots, writing Jpg to both cards, you can squeeze off 70 Jpg *** L shots in High Burst Continuous mode before locking up the camera, plenty shots! Conversely in RAW it kicks in vastly quicker, around 10-14 shots or so, that could be an issue with people and asking them to hold out whilst you wait for the camera to clear the buffer, lose your flow and positioning etc. 2) Now that we are in Jpg mode for the shots we MUST fix White Balance, otherwise as you pan around the camera might decide that over here a different kelvin temp would work better, so you end up with uneven tones and colours in the shot. This is actually a good thing for those that pretty much just leave the comfort of having their camera in Auto WB or Multi WB. It's good for you to learn what happens when you change the WB to the image, Autumn shots become vastly better when you override the Auto WB (as do snow shots), Auto WB doesn't always get it right. I won't go into details just now as to why this is, but if you google 'Autumn Auto White Balance' you might find a few good youtube videos or articles talking about this subject in better depth. For the Brenizer shot we just have to have a fixed setting and no Autoing, so take a few singular test shots and see if you're happy with the colours and tones. One of the major limitations of working with only Jpgs in post processing is that we do lose a degree of WB control (compared to RAW), so check things like skin tones etc before you take the shot, if the skin looks yellowy and sickly it can be hard to correct that in post, play with the WB temperature, find a colour that renders the skin nicely and you should be good to go (that is if you're shooting a person and not an object). Typically I create custom WB temp of 5000K (which I think is actually the same as 'Daylight'), because I live in Australia I often get bright blue sky days a lot. If you live in the UK or some other country that gets a lot of cloud cover you might want to choose a different temperature. 3) I use Av mode. I fix my ISO so that the only thing toggling is the shutter speed. I use my EV +/- Compensation and adjust before I begin. What I do is look around the subject, see if there is a lot of dynamic lighting (a place with very dark shadows or a place with very bright sky) etc. You can't always win, sometimes you have to expose so that the sky is a little blown out and you can see easily into the shadows or vice versa. Cloudy days with fairly consistent light all around is ideal, but for those times it's not I quite often shoot at -0.3-1 EV so that my highlights aren't blown too badly, I find dark shadow recovery easier than blown highlights in post processing, YMMV. 4) On the K-1, in the custom menu 2>8 AE-L with AF Locked I turn that On (2). You will likely find this feature in other Pentax models at a different place in the custom menu, but what this does is take out the need to press the AE-L button for the shooting process, more on this below. 5) I set the focus to being BACK BUTTON AF ONLY (AF2). The idea here is that I don't need to toggle in and out of AF/MF switch. I use the AF button to get the focus, and whilst the focus is achieved and I've taken the first shot, I keep the AF button pressed down and can now pan around the shot taking the rest of the shots without focus shifting. Because we used the aforementioned 'AE-L with AF Locked' (in point 4 above), it means that the exposure settings are locked on your first shot of the brenizer, effectively you have turned Av mode into Manual mode for the remainder of the shots (as long as you continue to hold down the AF back button focus). 6) I would use Matrix metering, or perhaps Centred, I don't think Spot would work out well unless that was of course the desired effect (a High or Low key bren for example). So in summary, you shoot and use your camera as you normally would, you see something that might look cool as a Brenizer, you mode flip the Mode Dial to a User Mode that you have preconfigured like what I suggest above. You then take a single test shot, chimp it, see if you're happy with two things, exposure and white balance. Adjust the WB and exposure and keep taking test shots until you like what you see, then begin the brenizer. Hope this helps! Last edited by BruceBanner; 03-28-2019 at 07:44 PM. | |
| These users Like BruceBanner's post: |
| 03-28-2019, 06:05 PM - 1 Like | #208 |
| I've been speaking from a FF perspective, but on crop sensors it can work fine too, you might find a better focal length that works however, such as FA43 on crop or a Fifty as opposed to getting something that becomes harder to work with (ie too long), YMMV. When we practice the Brenizer technique we must try to fully understand what we're aiming for, otherwise the shot just becomes a nice panorama. Your shot here reminds me of my recent attempt at the zoo, where despite using a FA77 @1/.8 and taking a gazillion shots (ended up a 134mp shot) it really fell flat and lacked somewhat that 3d punch/vibe. Here's the shot, the chimp centre was the subject focus point; Your shot of your daughter I feel suffers the same fate, a nice panorama but lacking that 3d punch. Why? I think it's because we both shot too far away, the subject already has to have a good degree of subject isolation from their background to begin with, with brenizer we're taking that and running with it further, it just becomes very hard to achieve that when we're too far away (the F1.8 depth of field becomes too large, bring the subject closer and the depth becomes thinner, and that's what we want as a starting point). Consider this single non brenizer shot; No stitching here whatsoever, just the FA31 being shot on FullFrame (so it really is 31mm and not 46.5mm like it would be on crop), taken @1.8. Such shots are achievable with this lens, as is with the Sigma Art 35/1.4 (if you use 1.4 and a FF camera). I think we can agree that the brenizer vibe is popping more with the single FA31 shot that it is with the mammoth stitching adventure of the zoo shot. No, the subject does not have to be centre. Here's two examples where I did it off centre; Stitching software wise I often visit Microsoft's ICE first (Image Composite Editor), which is free. Sometimes it doesn't get it right, when something is not aligning correctly I then use Photoshop which can take longer but typically does a better job and resolves something like a railing that is out of whack (on ICE) it is now sorted. You're right. I even try to produce a 'FA31 affect' with a FA43 by taking an additional 2-3 frames each side of the subject. I would try not to get too bunged down with over thinking things. Try and accept what will happen when taking the shot. In the above examples of my zoo and PancakeFlipper's daughter shot, if you start the shoot too far away, ie the subject focus point (be it a motorcycle or person) doesn't look that 'separated' from the background to begin with, it's likely going to suffer in power of the effect. What you're simply trying to do is do a normal nice 'bokeh' shot (so shooting wide open or close to it) and then add additional frames around it. Overlap plenty at least 1/3rd (I aim for a half). Let's talk about settings I set up a User Mode for Brenizer, because the settings can differ from my typical shooting conditions. Once you set up it's quite neat because then it takes a lot of the the 'thinking' out of the shot, you can just see something and go "Oh... this looks like it would make for a neat Brenizer!" and turn the dial and just concentrate on technique and composing. 1) Firstly, I would recommend you take the shots in Jpg only and not RAW, for a couple of reasons. One, because stitching 20 RAW files is ridiculously computing intensive, overkill for size and quality, you'll get the post processing done quicker with Jpgs. And two, you can shoot quicker without encountering the buffer and being slowed down for the shots if using Jpgs. Even if you use a K-1 with dual card slots, writing Jpg to both cards, you can squeeze off 70 Jpg *** L shots in High Burst Continuous mode before locking up the camera, plenty shots! Conversely in RAW it kicks in vastly quicker, around 10-14 shots or so, that could be an issue with people and asking them to hold out whilst you wait for the camera to clear the buffer, lose your flow and positioning etc. 2) Now that we are in Jpg mode for the shots we MUST fix White Balance, otherwise as you pan around the camera might decide that over here a different kelvin temp would work better, so you end up with uneven tones and colours in the shot. This is actually a good thing for those that pretty much just leave the comfort of having their camera in Auto WB or Multi WB. It's good for you to learn what happens when you change the WB to the image, Autumn shots become vastly better when you override the Auto WB (as do snow shots), Auto WB doesn't always get it right. I won't go into details just now as to why this is, but if you google 'Autumn Auto White Balance' you might find a few good youtube videos or articles talking about this subject in better depth. For the Brenizer shot we just have to have a fixed setting and no Autoing, so take a few singular test shots and see if you're happy with the colours and tones. One of the major limitations of working with only Jpgs in post processing is that we do lose a degree of WB control (compared to RAW), so check things like skin tones etc before you take the shot, if the skin looks yellowy and sickly it can be hard to correct that in post, play with the WB temperature, find a colour that renders the skin nicely and you should be good to go (that is if you're shooting a person and not an object). Typically I create custom WB temp of 5000K (which I think is actually the same as 'Daylight'), because I live in Australia I often get bright blue sky days a lot. If you live in the UK or some other country that gets a lot of cloud cover you might want to choose a different temperature. 3) I use Av mode. I fix my ISO so that the only thing toggling is the shutter speed. I use my EV +/- Compensation and adjust before I begin. What I do is look around the subject, see if there is a lot of dynamic lighting (a place with very dark shadows or a place with very bright sky) etc. You can't always win, sometimes you have to expose so that the sky is a little blown out and you can see easily into the shadows or vice versa. Cloudy days with fairly consistent light all around is ideal, but for those times it's not I quite often shoot at -0.3-1 EV so that my highlights aren't blown too badly, I find dark shadow recovery easier than blown highlights in post processing, YMMV. 4) On the K-1, in the custom menu 2>8 AE-L with AF Locked I turn that On (2). You will likely find this feature in other Pentax models at a different place in the custom menu, but what this does is take out the need to press the AE-L button for the shooting process, more on this below. 5) I set the focus to being BACK BUTTON AF ONLY (AF2). The idea here is that I don't need to toggle in and out of AF/MF switch. I use the AF button to get the focus, and whilst the focus is achieved and I've taken the first shot, I keep the AF button pressed down and can now pan around the shot taking the rest of the shots without focus shifting. Because we used the aforementioned 'AE-L with AF Locked' (in point 4 above), it means that the exposure settings are locked on your first shot of the brenizer, effectively you have turned Av mode into Manual mode for the remainder of the shots (as long as you continue to hold down the AF back button focus). 6) I would use Matrix metering, or perhaps Centred, I don't think Spot would work out well unless that was of course the desired effect (a High or Low key bren for example). So in summary, you shoot and use your camera as you normally would, you see something that might look cool as a Brenizer, you mode flip the Mode Dial to a User Mode that you have preconfigured like what I suggest above. You then take a single test shot, chimp it, see if you're happy with two things, exposure and white balance. Adjust the WB and exposure and keep taking test shots until you like what you see, then begin the brenizer. Hope this helps! | |
| These users Like edom31's post: |
| 03-29-2019, 12:38 PM | #209 |
|
BruceBanner, Thanks for your feedback and instruction. I really love the concept of this technique and want to get it right (obviously 3 attempts isn’t enough to “see” it correctly). I kept looking at my picture and thinking it’s cute but couldn’t I just get this normally without all the extra frames and stitching. And of course because I had it in my mind I was taking a Brenizer, I thought it’s just not much of one. I’m going to be trying again and again and maybe after a while I’ll “see” what I want to achieve. Right now I’m still not sure exactly how it’s supposed to look, but when I see a great one someone else has done, I know it’s a great look. | |
| 03-29-2019, 01:03 PM - 1 Like | #210 |
| BruceBanner, Thanks for your feedback and instruction. I really love the concept of this technique and want to get it right (obviously 3 attempts isnt enough to see it correctly). I kept looking at my picture and thinking its cute but couldnt I just get this normally without all the extra frames and stitching. And of course because I had it in my mind I was taking a Brenizer, I thought its just not much of one. Im going to be trying again and again and maybe after a while Ill see what I want to achieve. Right now Im still not sure exactly how its supposed to look, but when I see a great one someone else has done, I know its a great look.   I find this group is the best for viewing high quality Brenizer shots; The Brenizer Method | Flickr I think once you look through these enough you can see what the method 'looks like'. Whether you like that look or not is a different story altogether. Personally I like it, but I have seen very mild brenizers with just 2-3 additional frames added on that just compliment the original single frame shot. It doesn't always have to be a killer 20-60 shot affair, just chucking on 1-2 additional frames can help massively with composition and focus (I say focus because we can set the AF points to being centred (most accurate) yet throw on more frames to the left or right and now we have an off centred yet sharply focused overall shot (vs risking a smooth out of focus shot from trying to achieve wide open focus off centre AF points). I think you nailed it on the head however, if you feel the shot was ok but like you perhaps could have achieved that shot with a different lens in a single shot, if that's the case then I think the Brenizer method failed. It's trying to mimic Medium Format camera results. | |
| These users Like BruceBanner's post: |
|
« #445
|
Single in December 2022 »
| Bookmarks |


| Tags - Make this thread easier to find by adding keywords to it! |
| background, brenizer, brenizer method, distance, idea, look, method, play, results, shot, shots, subject |
 Post #217 by irek83
  Similar Threads
 | ||||
| Thread | Thread Starter | Forum | Replies | Last Post |
| Landscape Playing with the Brenizer method | VaughnA | Post Your Photos! | 8 | 01-30-2011 07:04 PM |
| Brenizer for Impatient people!!! | dlacouture | Photographic Technique | 6 | 01-21-2011 01:57 PM |
| Diagonal Method | Sparkle | General Talk | 9 | 01-05-2011 09:22 PM |
| Your most basic PP method? | KierraElizabeth | Digital Processing, Software, and Printing | 31 | 08-03-2009 11:21 PM |
| Archiving Your Photos: What's Your Method? | vinzer | Photographic Technique | 17 | 01-09-2009 11:36 AM |


