Forgot Password
Pentax Camera Forums Home
 

Reply
Show Printable Version Search this Thread
05-11-2011, 11:44 PM   #1
Veteran Member


Join Date: Apr 2010
Location: Wiltshire/Hampshire
Photos: Albums
Posts: 1,760
Brenizer Method photos

After having a bit of a play, I have been inspired to play with the Brenizer method (aka bokeh pano).

Thought this could be a place to share tips and tricks!

Jonathan Mac inspired me with this:

https://www.pentaxforums.com/forums/mini-challenges-games-photo-stories/12968...ml#post1494742

and a quick search has thrown up some nice images:

VaughnA, https://www.pentaxforums.com/forums/post-your-photos/132189-landscape-lynchbu...ml#post1374894


VaughnA https://www.pentaxforums.com/forums/post-your-photos/130949-landscape-playing...ml#post1361123

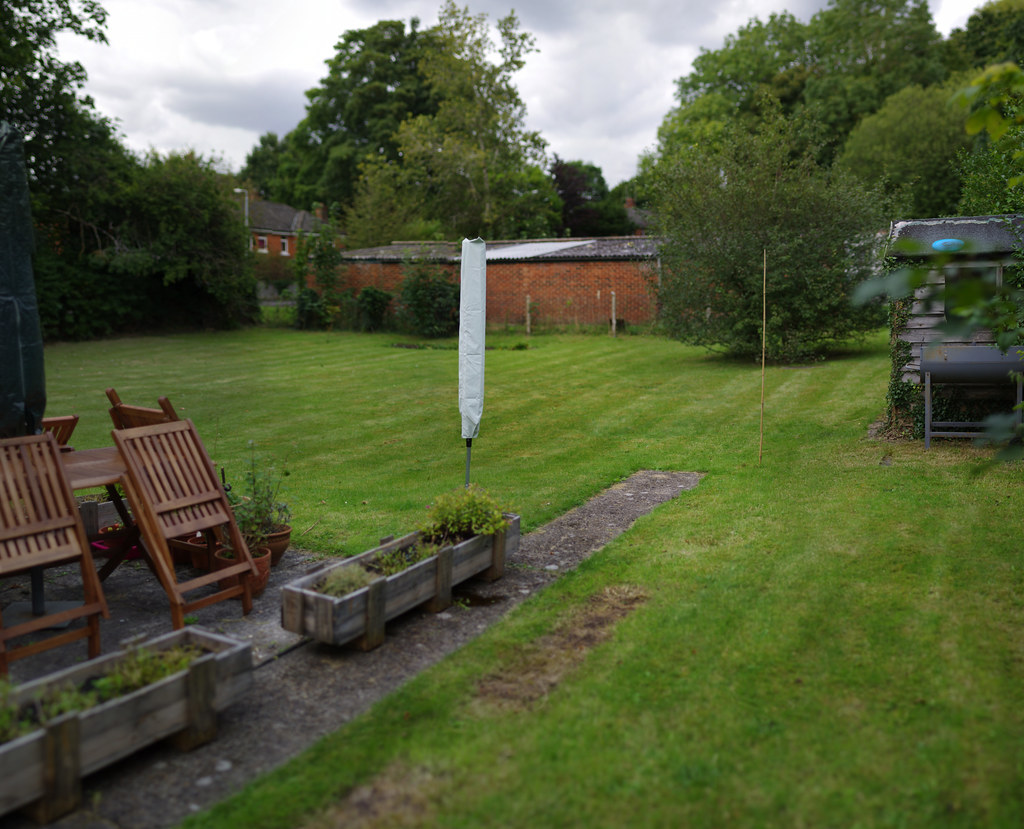
Here's my first attempt (crosspost!) - it's a snap of my back garden so not the most exciting picture ever! No PP etc, just straight from Autopano Giga.

K10D, M50/1.4 wide-open, 2* JPEG quality at 6MP. This is composed of 20 shots in 3 rows, and cropped slightly to 10235x6876 (70MP!). I have had success with wideangle panos before, but good results at closer distances with tele lenses have always eluded me - until today. I have found the trick is to minimise the overlap to about 10-20% of the frame, and try not to have joins in the middle of obvious subjects:


I think I'd get better results from a longer, faster lens, but this is the best I can lay my hands on at the moment (keeping an eye out for a used Sigma 50-150/2.8 I think). Not sure if the DA70 offers much over a 28-75ish/2.8 in terms of bokeh/DOF? FA77 or FA85 would be ideal I guess. Spot the stitching errors!

05-12-2011, 04:04 AM   #2
Veteran Member
Nesster's Avatar

Join Date: Oct 2006
Location: NJ USA
Photos: Gallery
Posts: 13,072
Cool, I'll have to look this up... but seems you put the thing in manual exposure and fix the focus on the subject?

Your result is excellent, really gives the large/medium format look.

In the examples, do you think the photog on the angel sort of added greater in-focus area on the lower right corner?
05-12-2011, 05:51 AM   #3
Site Supporter
Site Supporter
Tamia's Avatar

Join Date: Dec 2009
Location: Here, there, and everywhere.
Photos: Gallery | Albums
Posts: 4,384
This is neat. I found a good instructional at The Brenizer Method Explained With Directions.
05-12-2011, 07:28 AM   #4
Veteran Member
Nesster's Avatar

Join Date: Oct 2006
Location: NJ USA
Photos: Gallery
Posts: 13,072
Thanks for that link, Tamia - the best things in it for me: the reminder to fix white balance (I'd have forgotten!) and the arrow labyrinth sequence to taking the photos - in my linear Western mind I'd have gone right to left, left to right
The stitching instructions are interesting as well.

I will have to try this!

05-12-2011, 07:40 AM   #5
Banned


Join Date: Feb 2009
Location: Virginia
Photos: Gallery | Albums
Posts: 1,363
Thanks for saving me some work on finding my shots. I saw the thread title and was going to go look for my examples...;-) Too bad I'm at work since all of the other examples seem to be blocked from my view. I'll take a look when I get home.

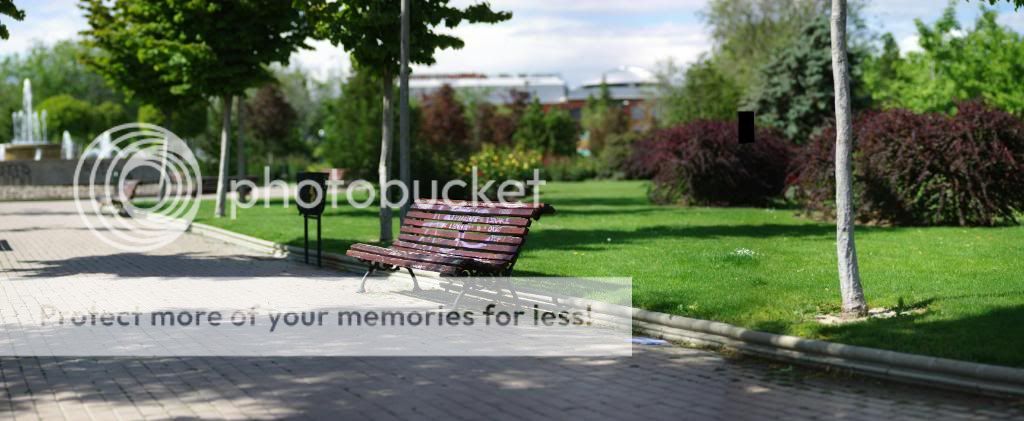
One more, this was my very first experiment in my backyard, you can see the stitching errors from photoshop element's attempt at stitching. I haven't played with it much lately since Single In April/May have kept me busy.


05-12-2011, 07:46 AM   #6
Pentaxian
Jonathan Mac's Avatar

Join Date: Apr 2009
Location: Madrid, Spain
Posts: 10,887
QuoteOriginally posted by Tamia Quote
This is neat. I found a good instructional at The Brenizer Method Explained With Directions.
Rob1234, I just saw another these added in another thread & had decided to start a thread for it, but you beat me to it. The above link is what inspired me to try this technique, I love the bridge shot (in fact I know a similar bridge & one day I might get someone to pose on it so I can do one myself).

I encourage everyone to contribute their own images to the thread & to share the knowledge & technique so that we can all have fun & improve!
05-12-2011, 11:50 AM   #7
Site Supporter
Site Supporter
jheu02's Avatar

Join Date: Aug 2009
Location: North Carolina
Photos: Gallery | Albums
Posts: 3,027
I know I certainly wouldn't have the patience to take THAT many shots of the same scene and stitch them together unless I was getting paid well to do it. YMMV. I guess the idea behind the shallow DoF is to make the stitching easier since things don't have to line up quite as well? That and more isolation of the subject. But even the wedding shots in the link Tamia gave seemed like nothing was really in focus due to DoF. Seems to me you'd want fast glass, but stopped down one or two clicks (i.e. a 1.4 shot at 2.0). Should still be plenty shallow, but at least for people shots, give a little better focus for the subject.

05-12-2011, 12:03 PM   #8
Veteran Member
Nesster's Avatar

Join Date: Oct 2006
Location: NJ USA
Photos: Gallery
Posts: 13,072
QuoteOriginally posted by jheu02 Quote
I guess the idea behind the shallow DoF is to make the stitching easier since things don't have to line up quite as well?
Actually, the idea is to have a second, un-intended, use for panorama stitching: the emulation of medium or large format photography using a small digital sensor.

Shooting with a 6x9 camera, for instance, you use a 105mm lens, often with a maximum aperture of 3.5 if you're lucky. But the geometry of the large image area is such that you can still achieve shallow DOF, and at a different FOV than with 35mm or APS-c.

I'm thinking in the examples people are shooting with a too-wide stop - 2.8 or 3.5 would be more realistic.

For the same relative object size on the image area - i.e. a person taking up 1/3 of the frame - you need to be closer to the subject with a 6x9 than if you were shooting with a 105 on a digital SLR. So what you do instead is come as close to the subject and shoot the multiple images, stitch them together and you have an approximation of the 6x9.

I'm actually thinking of seeing how I might replicate a shot with my Medalist 6x9 with its 100m 3.5 Ektar lens, using a K100D and a 105.
05-12-2011, 01:13 PM - 1 Like   #9
Veteran Member


Join Date: Apr 2010
Location: Wiltshire/Hampshire
Photos: Albums
Posts: 1,760
Original Poster
I am practising with boring subjects until I can get it right!

I am finding it incredibly difficult to perfectly line up/merge the photos, regardless of what software and settings I use! I have little problem using a wideangle, but close shots with a short tele are stumping me...

I think part of it is not moving the camera very much from around it's central axis?

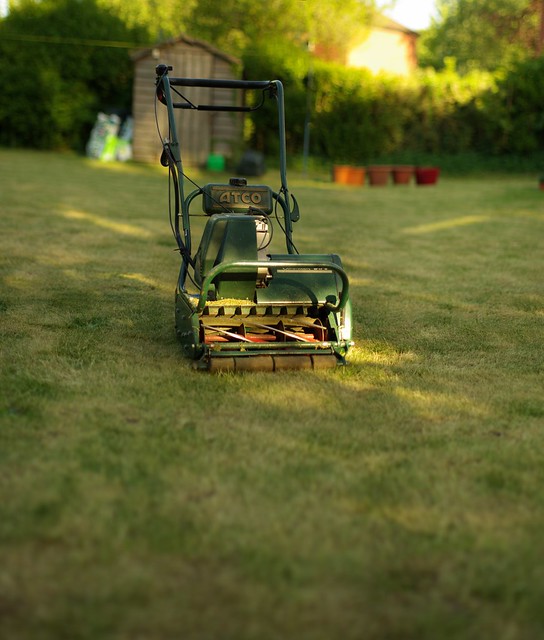
Here's another. I only ended up using about 6 frames of 20 though, hence not that exaggerated an effect:

05-14-2011, 08:00 AM - 1 Like   #10
Veteran Member
Nesster's Avatar

Join Date: Oct 2006
Location: NJ USA
Photos: Gallery
Posts: 13,072
On the contrary, that's a nice looking vintage lawn implement you got there.

And this is not easy! I'd rather use a MF camera and be done with it...

6 frames, I'm trying this for close up first...


Nah, can't really stretch to call this Brenizer... but there may be wide-angle macro potential?

Last edited by Nesster; 05-14-2011 at 08:11 AM.
05-14-2011, 12:26 PM - 1 Like   #11
Veteran Member
Nesster's Avatar

Join Date: Oct 2006
Location: NJ USA
Photos: Gallery
Posts: 13,072
I suck at this, I left a big donut hole in the middle of this one and so on... but in a trippy sort of way I like it. Is this a new addiction?


05-15-2011, 04:41 AM   #12
Veteran Member
Nesster's Avatar

Join Date: Oct 2006
Location: NJ USA
Photos: Gallery
Posts: 13,072
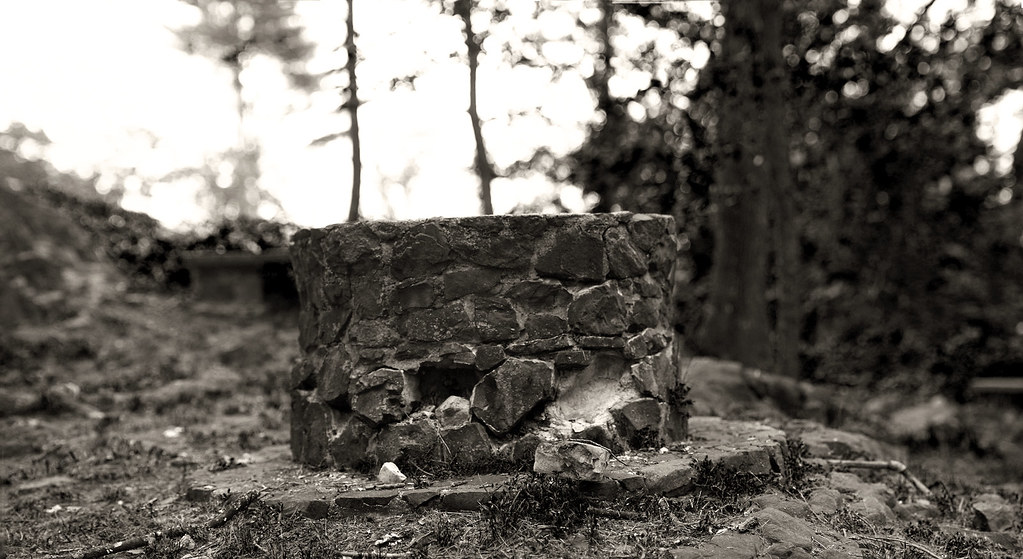
Still trying, and for some reason I'm trying this out on old masonry bits...


this was 14 frames
05-21-2011, 03:16 AM - 1 Like   #13
Veteran Member
Nesster's Avatar

Join Date: Oct 2006
Location: NJ USA
Photos: Gallery
Posts: 13,072


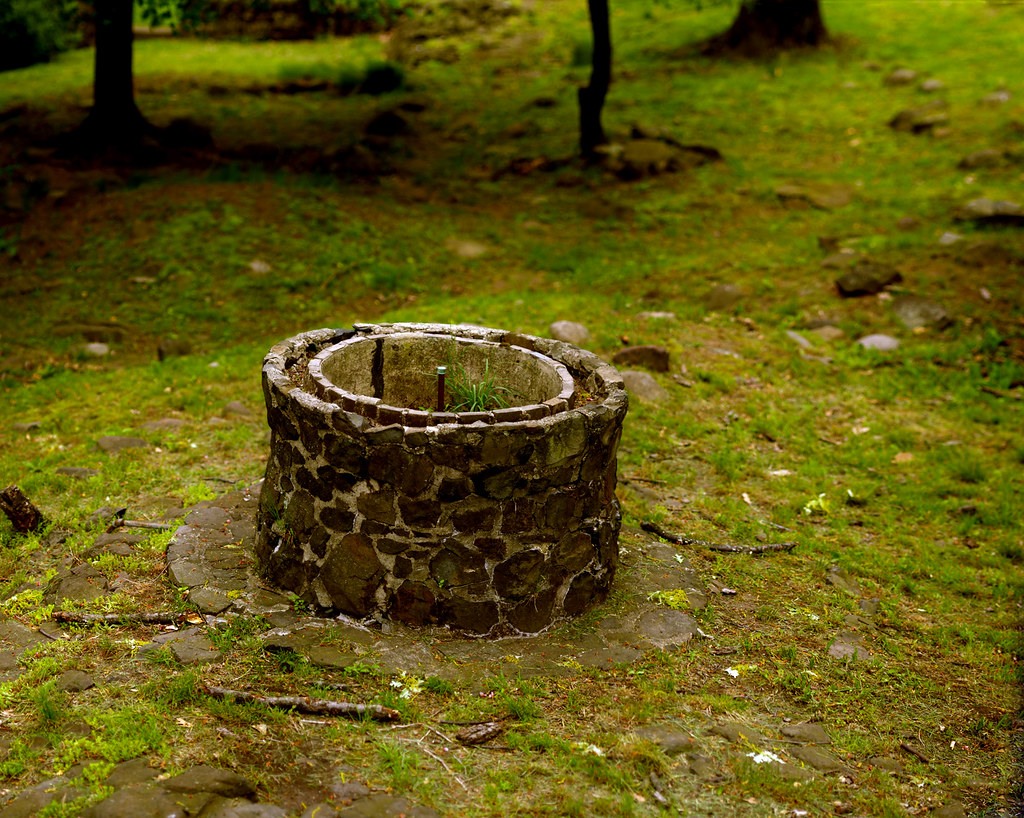
another version of the same, 13 frames
09-13-2011, 03:52 AM   #14
Pentaxian
Jonathan Mac's Avatar

Join Date: Apr 2009
Location: Madrid, Spain
Posts: 10,887
["CLEAR!"]
-- ZAAAP --
["CLEAR!"]
-- ZAAAP --
-- beep -- beep -- beep -- beep -- beep --

Thread resurrected...

I thought this technique would be more popular than it appears to be, I think it´s a really cool one. But then, I thought I´d make more use of it than I so far have done too. This one is by best so far (I think) and is cross-posted in the M club thread.

M85mm f/2 wide open, a composite of around 40 2MP images stitched together and then cropped. The original result is 21.1MP. Focus on the sign on the gate.
08-31-2012, 01:05 PM   #15
Veteran Member


Join Date: Apr 2010
Location: Wiltshire/Hampshire
Photos: Albums
Posts: 1,760
Original Poster
Quick try at 1.4 with the DA*55:

Not fantastic.


K5, DA*55, circa 10 shots
Reply

Bookmarks
  • Submit Thread to Facebook Facebook
  • Submit Thread to Twitter Twitter
  • Submit Thread to Digg Digg
Tags - Make this thread easier to find by adding keywords to it!
background, brenizer, brenizer method, distance, idea, look, method, play, results, shot, shots, subject
Thread Tools Search this Thread
Search this Thread:

Advanced Search


Similar Threads
Thread Thread Starter Forum Replies Last Post
Landscape Playing with the Brenizer method VaughnA Post Your Photos! 8 01-30-2011 07:04 PM
Brenizer for Impatient people!!! dlacouture Photographic Technique 6 01-21-2011 01:57 PM
Diagonal Method Sparkle General Talk 9 01-05-2011 09:22 PM
Your most basic PP method? KierraElizabeth Digital Processing, Software, and Printing 31 08-03-2009 11:21 PM
Archiving Your Photos: What's Your Method? vinzer Photographic Technique 17 01-09-2009 11:36 AM


All times are GMT -7. The time now is 06:15 PM. | See also: NikonForums.com, CanonForums.com part of our network of photo forums!
  • Red (Default)
  • Green
  • Gray
  • Dark
  • Dark Yellow
  • Dark Blue
  • Old Red
  • Old Green
  • Old Gray
  • Dial-Up Style
Hello! It's great to see you back on the forum! Have you considered joining the community?
register
Creating a FREE ACCOUNT takes under a minute, removes ads, and lets you post! [Dismiss]
Top