 |
| Search this Thread |
| 01-30-2007, 11:14 AM | #1 |
| Workflow Suggestion | |


| 01-30-2007, 11:42 AM | #2 |

| 01-30-2007, 11:59 AM | #3 |
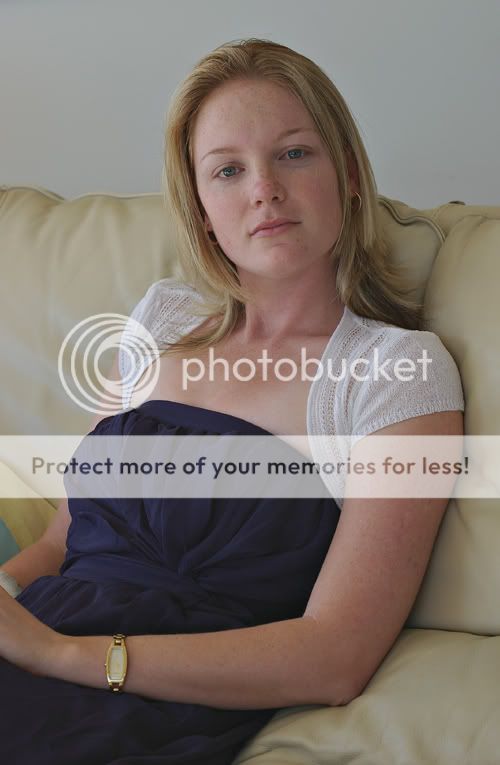
| Before B&W from "Guardian Angels" Last edited by benjikan; 02-18-2007 at 06:06 AM. | |

| 01-30-2007, 12:02 PM | #4 |
| Comparison | |
| 01-30-2007, 03:54 PM | #5 |
| 01-30-2007, 04:20 PM | #6 |
| 01-30-2007, 05:17 PM | #7 |
| Accentuate | |
| 01-31-2007, 11:31 AM | #8 |
| 01-31-2007, 02:09 PM | #9 |
| RAW Last edited by benjikan; 02-01-2007 at 04:12 PM. | |
| 02-01-2007, 03:28 AM | #10 |
| 02-01-2007, 12:27 PM | #11 |
| Possible Artefacts | |

| 02-01-2007, 04:32 PM | #12 |
| Soft Light Layer Last edited by benjikan; 02-25-2007 at 05:58 AM. | |
| 02-02-2007, 03:29 AM | #13 |
| 02-02-2007, 08:42 AM | #14 |

|
| Bookmarks |


| Tags - Make this thread easier to find by adding keywords to it! |
| layer, percent, photography, photoshop, pixels, post, workflow |
| Thread Tools | Search this Thread |
| |
 Similar Threads
 | ||||
| Thread | Thread Starter | Forum | Replies | Last Post |
| Sharpening workflow | sewebster | Digital Processing, Software, and Printing | 11 | 01-09-2011 12:34 AM |
| Your RAW workflow | dj_saunter | Digital Processing, Software, and Printing | 33 | 12-24-2010 05:23 AM |
| Workflow advice, please? | grayboy | Troubleshooting and Beginner Help | 27 | 09-02-2010 07:46 PM |
| Suggestions on this PP workflow? | FHPhotographer | Digital Processing, Software, and Printing | 7 | 01-08-2010 06:52 PM |
| A More Precise Workflow & Sharpening Workflow | benjikan | Digital Processing, Software, and Printing | 2 | 06-01-2007 06:07 AM |


