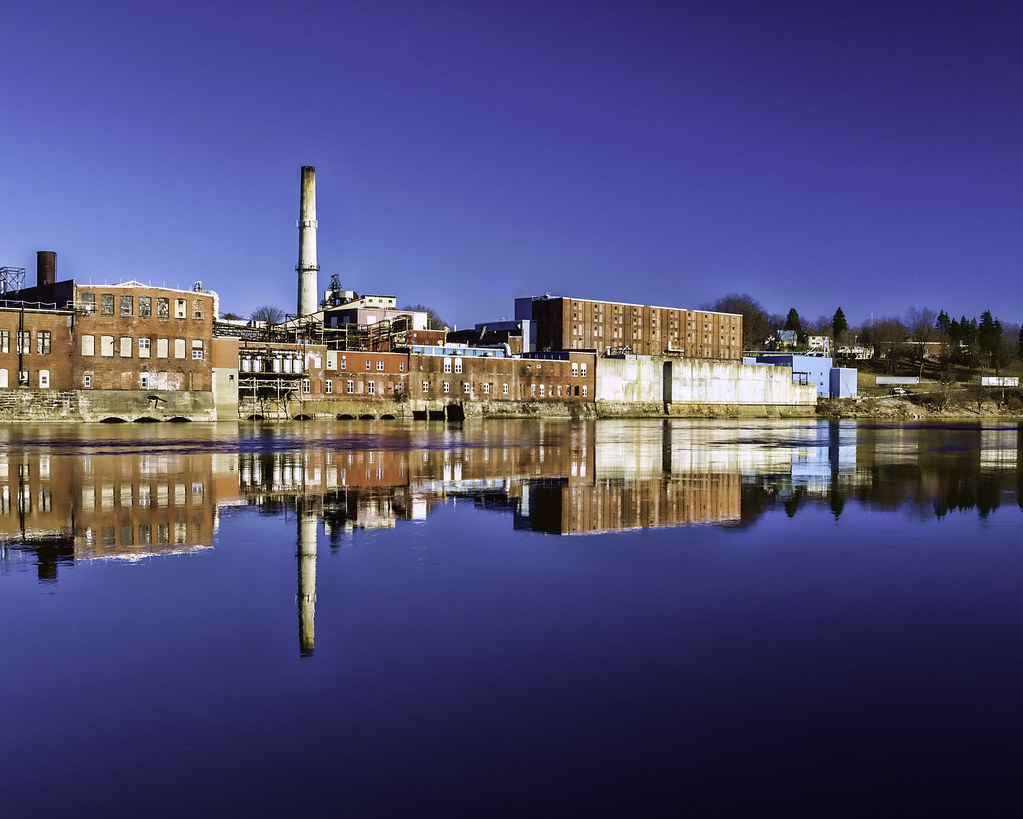
I'm not sure if anyone mentioned it (I didn't see it on a quick scan) but a CPL helps achieve that look in a major, major way.
I'm hardly a pro, but I managed this shot with just the kit lens and a CPL once. I tend not to use CPLs often (I just forget them when I head out), and unsurprisingly I haven't come too close since.
The other factor (as mentioned) is being able to HDR the image if conditions allow. Unsurprisingly, those same conditions tend to allow still or nearly still water, which also helps.
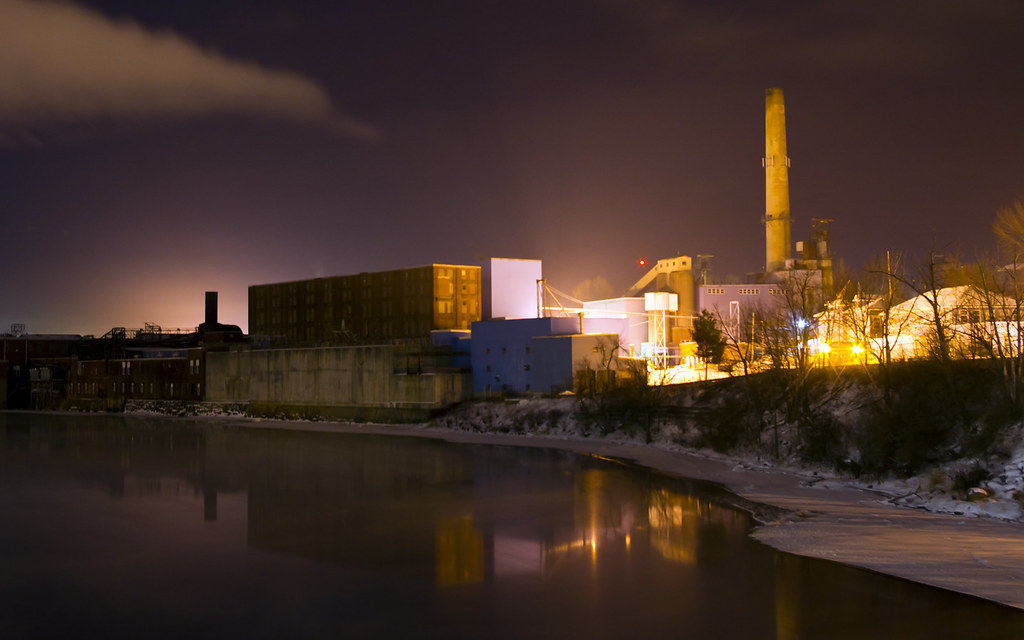
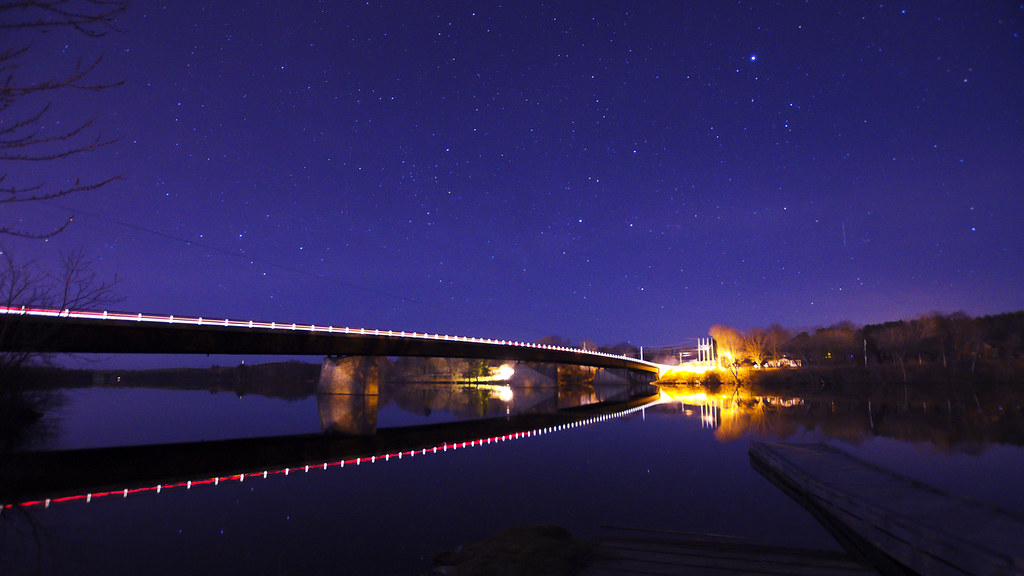
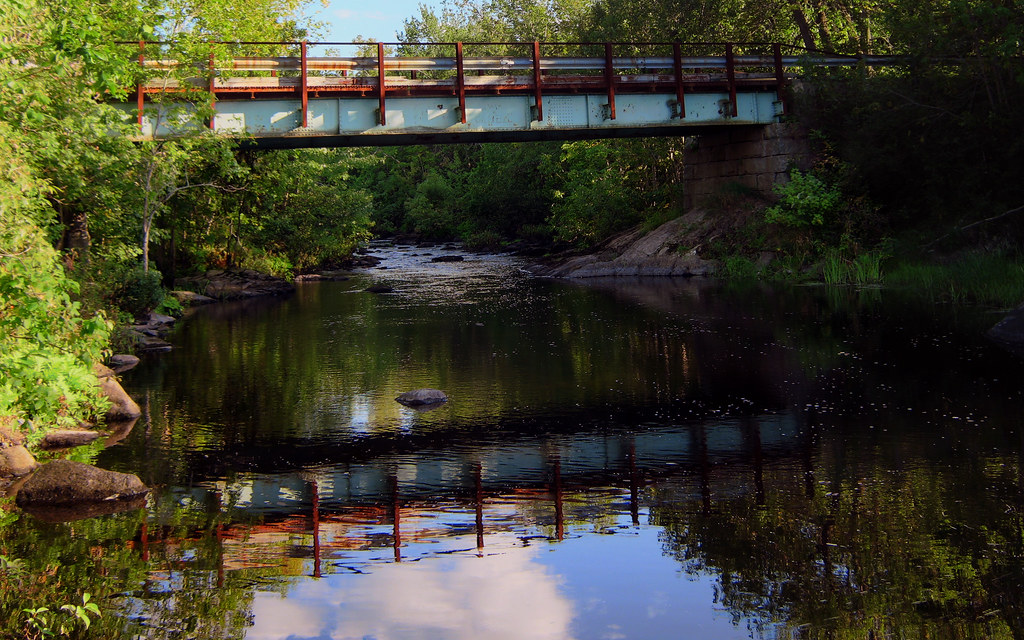
None of these are HDR, the first was achieved via having a good day and a CPL. The other two were strictly having decent, calm weather.
These two however ARE HDR (ignore the sensor yarg) - and the results come out close to the same. In my experience if you have a situation like the first few shots, HDR isn't necessary.

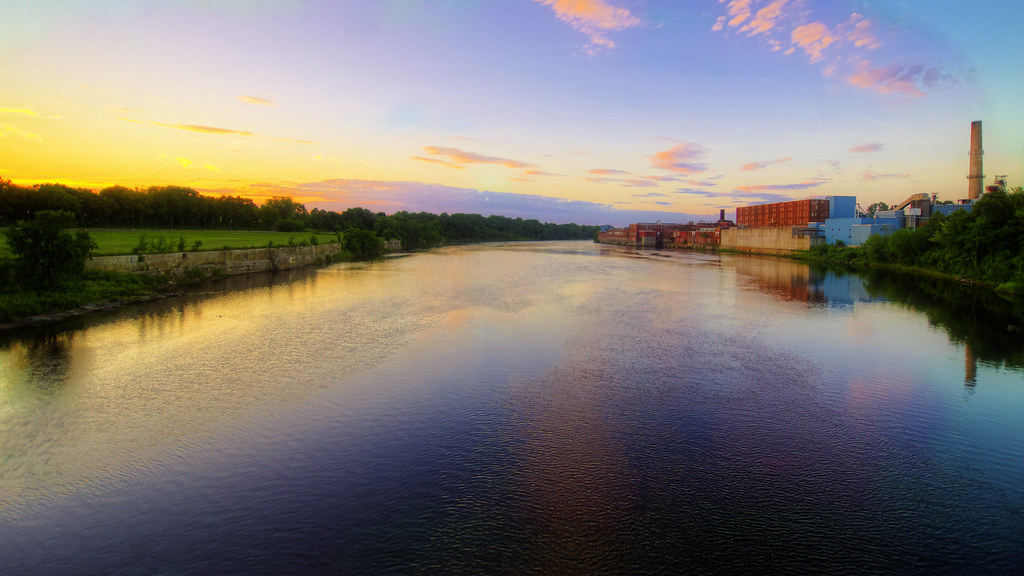
And finally just to show that no, really, its the luck of the location, this last shot was taken with a hacked A470 budget Powershot camera (yea, its HDR, but HDR from a pocket camera...).


 Similar Threads


