I've got SilkyPix Developer Studio Pro 6. (I upgrade from Pro 4). I've tried v7 & v8 but didn't find the changes worthwhile. I paid a lot of money when I first purchased SP Pro 4, but I rationalised it that its support of Pentax colours was good.
When I was shooting junior soccer stills each weekend, (now I mainly shoot junior soccer using video), I'd shoot 1,000-2,000 raw stills a match and cull this down to 250-350 to be developed, so I got to use SP a lot over a 7 year timespan.
Useful hot-keys:
Shift L.Arrow/R.Arrow – switch between fitted display & 100% zoom.
Shift-F1 – 400% – Handy when you're manually correcting CA in a corner of the image.
F11/F12 – Next/Previous raw file.
Ctrl-C/Ctrl-V – Copy & paste development parameters between one or more files.
There is no hot-key for partial-pasting of development parameters, but it's worthwhile to set one:
Settings | Shortcut keys settings | Function category: Parameters | Partial paste of development Parameters – press Ctrl-Shift-V | OK.
Here's the screen layout I usually use:
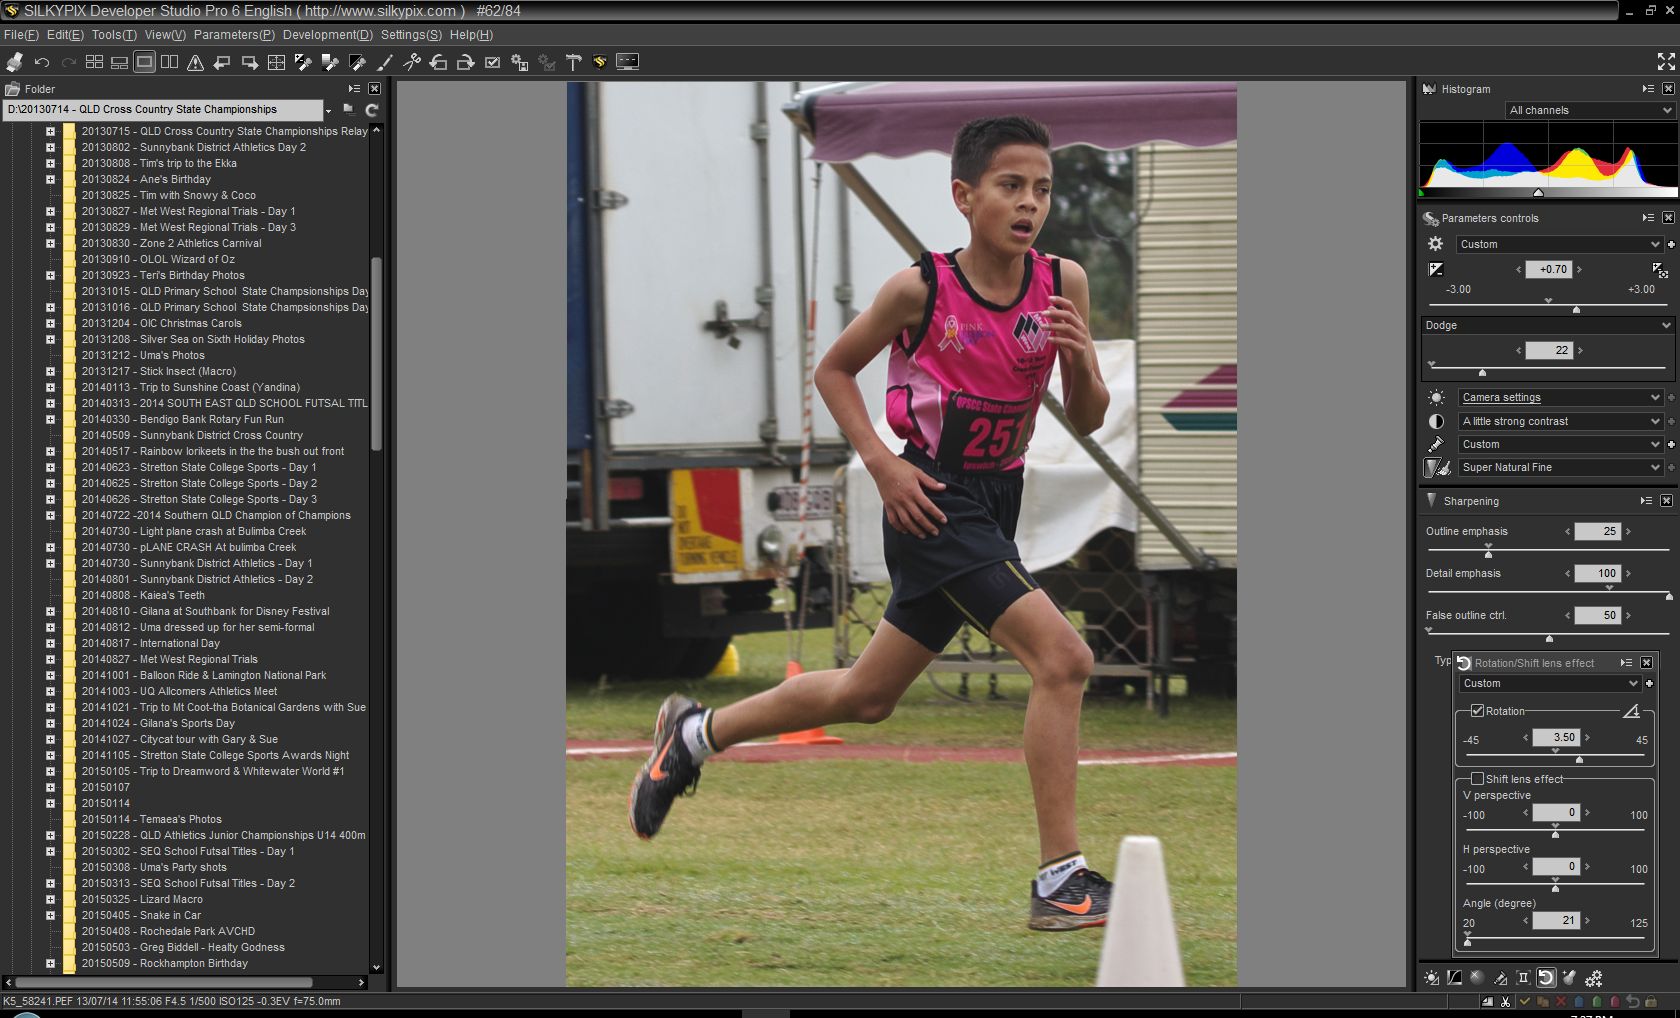
Note: Ctrl-F will bring up the list of directories/folders, here situated on the LHS. You can click on the "x" near the Top L. of this panel to close it to increase screen space.
Ctrl-Q will toggle the levelling tool. Note: use this tool to draw a line either against a horiz. or vert. edge to level the image. (This is the only program I'm aware of where a horiz. levelling tool will also work against a vert. edge like a door.)
Ctrl-T will toggle between the fitted whole image with crop area and just the fitted crop area.
Ctri-Shift-P will toggle between your current view mode (Thumbnails/Combination/Preview) and Full-Screen Preview.
I've assigned Ctrl-1/2/3 to the blue/green/red tag marks. I use these to indicate which images I'll process further with PSP X7 or which images are particularly good. In Thumbnail view, I've set the Sort Order (View | Sort Thumbnails), in ascending order, to:
Delete Mark (use F6 to mark an image for deletion)
User Mark 1 (Blue mark)
User Mark 2 (Green mark)
User Mark 3 (Red mark)
File name
Edited
So all my marked stuff comes first.
F8 – Development mark. Use Develop | Batch develop selected images to process
F5 – Add to development queue and immediately start to process
Ctrl-S – develop just this image (can use different settings from what has been set to be used for batch processing)
Tone/Contrast is useful to pep up stuff shot under overcast/rainy/foggy/flash lighting/dull lighting. In the Tone settings, Black Level and Contrast Centre are sometimes very useful. Generally, I'll use Exposure Bias to pull the histogram to the RHS, and Contrast to stretch the histogram to both the LHS & RHS, with Black level, if needed.
The Fine Colour Controller is useful to get bluer skies and to improve the weird greeny-yellow colouration you get when shooting back-lit grass etc. Back-lit players can be improved with the Dodge control. I don't use HDR very often, but I use Dodge in virtually every shot.
If the RHS of the histogram is clipped because the amount of expose bias you want to use has pushed the RHS into clipping, you can often compress just the RHS using Highlight Controller | Dynamic Range enough to bring the clipped part back into range. But using too high a setting here can produce a colour-cast on skin.
Dan.
Last edited by dosdan; 04-16-2018 at 12:21 AM.


 Post #4 by dosdan
 Similar Threads


