Nearly every light source that illuminates your photos has some sort of color bias to it. Your eyes tend to ignore it but the camera won't. White balance is the camera's adjustment for this color bias.
The manual lists some conditions when the light source will start to make your photos look odd without proper white balance. If you're taking practice shots, it is useful to take shots under different conditions to see the effect. Here's one example I took a few days ago, not a great shot but a good example:
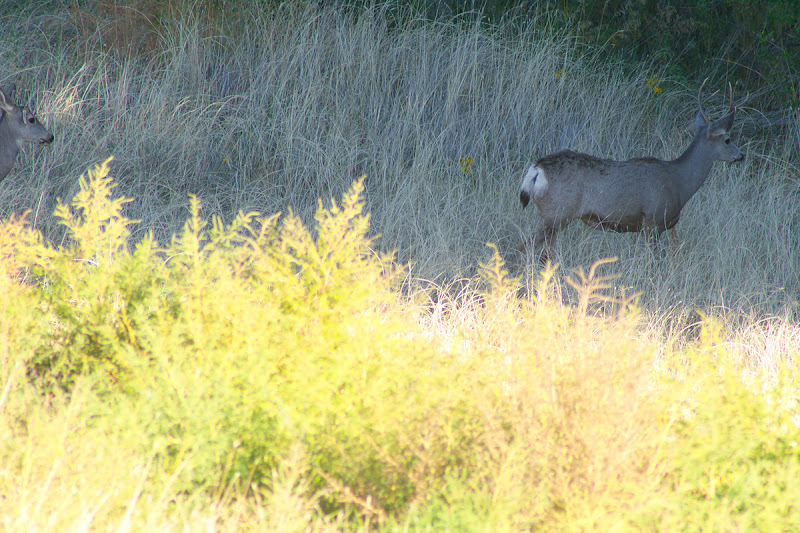
The deer are in the shade, which is on the bluish side of the color temperature scale. The foreground weeds are in morning daylight, more in the middle of the scale. I set the camera for the shade to be better-balanced. If you were seeing this with your eyes, you would not notice either tint, but the camera captures the large differences in light bias. Setting the camera to record the shade light makes the weeds look strangely lime green.
Most people first notice white balance when they take non-flash photos under artificial light that's outside the range of the camera's Auto White Balance. If you look at the chart on p. 182 of the manual, you'll see AWB works from 4000K to 8000K, while Warm Fluorescent and Tungsten are 3000K and 2850K. AWB will give up and everything will look too yellow. You can use the preset values for this light, set the camera manually or adjust later on a computer. AWB works pretty good for outdoor shots, though.
If you shoot in JPEG mode, the white balance is applied to the photo in the camera and you're sort of stuck with it. If you shoot in RAW, you can change it later on the computer, which can help.


 Similar Threads


