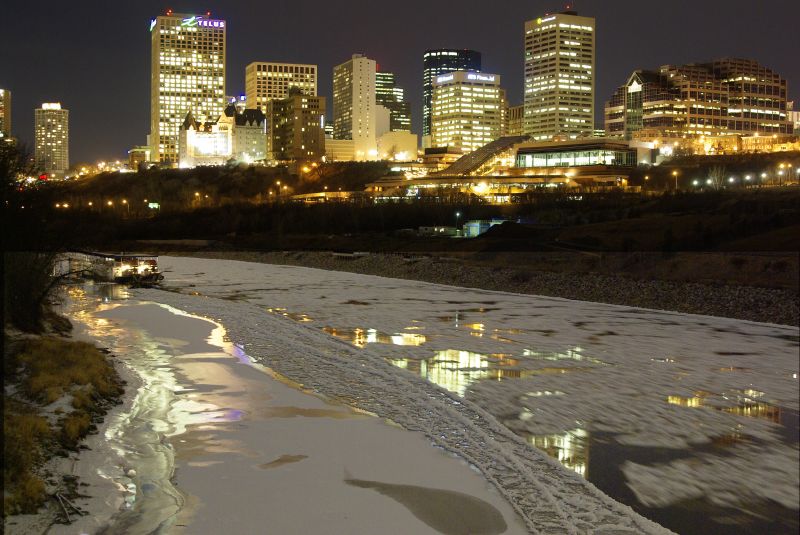
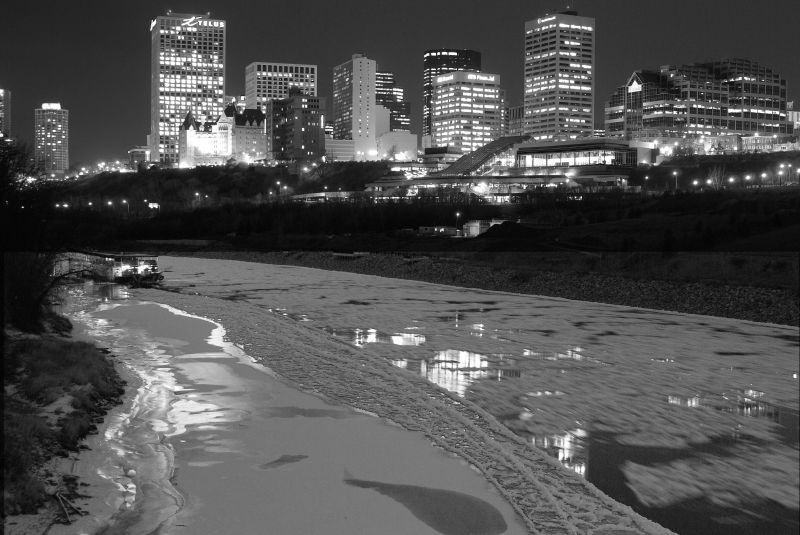
This is a good toning tool. Certainly not the simplest one, though. For those that have Lr, I did a test to see how close I could get. I didn't take the time to try to match the colors perfectly. I also didn't try to match the shadow density perfectly because in the Gorman version I lost too much shadow detail in the photo I used. Here are my results....
Images no longer available.
I should note that I forgot to start with the same conversion of the file, so they didn't start out exactly the same. I guess I botched that test, didn't I?
Last edited by davemdsn; 08-15-2009 at 03:22 PM.
Reason: images no longer available


 Similar Threads


