 Originally posted by ZufaelligeFenster
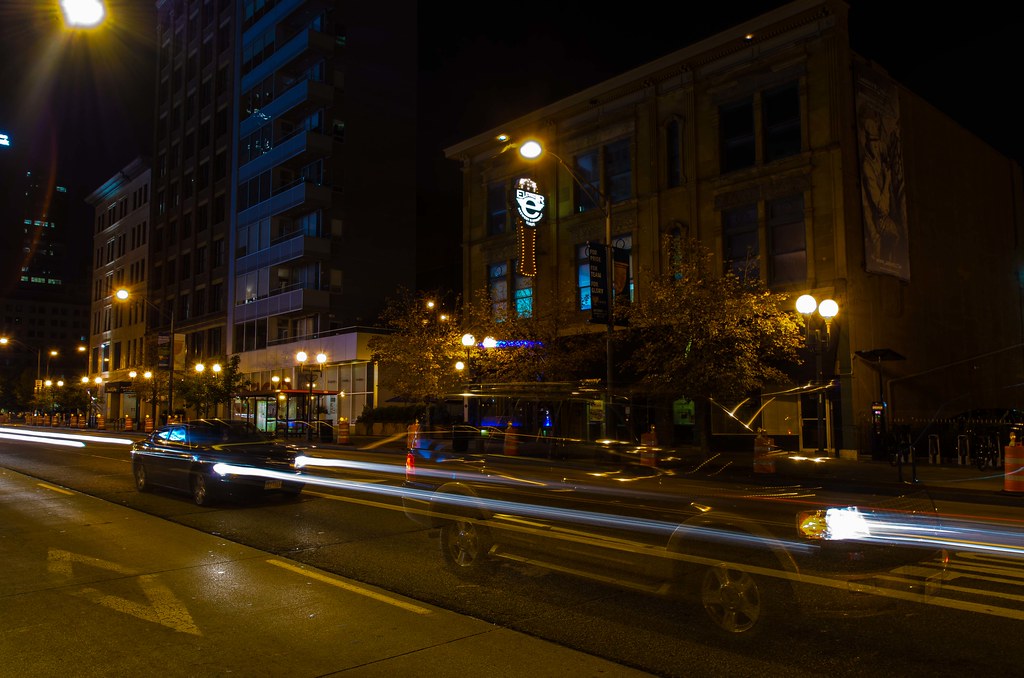
The last photo example is the sort of thing I'm looking for, cityscapes and neons. I've always loved photos like that, I can't explain why. Thanks everyone for the replies! I've gotten the manual out and been going over how to change the settings you pointed out here, and when I get out of lab tomorrow at 1am I can just the back lot film sets as practice!

(I got to Full Sail for computer animation)
If you're shooting neon lighting or just night lighting in general and letting the camera expose for you, you're going to actually want to *under* expose to one degree or another. Alternatively, use spot metering and just meter off whatever light it is you're using as the subject.
If you just let the camera do its thing on its own, its going to try to expose for all those shadows and you'll wind up blowing out all the lighting (which is what your subject is).
The bonus here is that by doing so you'll be increasing your shutter speeds, which means less chance of blur going on and/or the ability to drop your ISO a bit.
Don't be afraid of higher ISO's either! Unless your camera is very old. you should be able to use it upwards of 1600 without any real issues kicking in.
One thing I would do if you can afford it, is to hunt down a few cheap, fast(ish) primes. Get a 50mm f/1.7 and / or a 28mm f/2.8. The wider the lens, the more forgiving shots will be at night as you can shoot with slower shutter speeds.
I can actually handhold my 10-20mm f/3.5 at night provided I have enough ambient light going on.
The real trick with night shooting though is what settings work on one night and one location can totally fail you on another due to the changing amount of light around. Even something as simple as having a full moon as opposed to a new moon, or a clear night opposed to cloudy can change things.
Finally, I'd suggest shooting as PEF/DNG and post processing your shots. Left to its own devices, your camera is going to probably give you very 'flat' JPG images straight out of the camera. You'd be amazed how much color and detail is hiding in your night shots which at first glance will look horrible.
In the end though, it really is all going to boil down to just practicing. After a while you'll get used to how the camera behaves with which lenses, and you'll start to get a feel for what may or may not work when you spot something worth shooting.
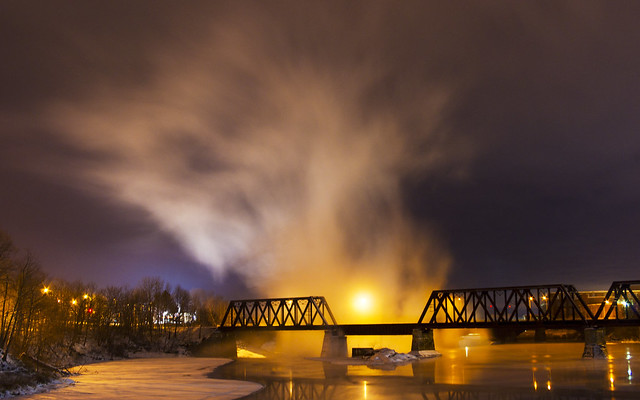
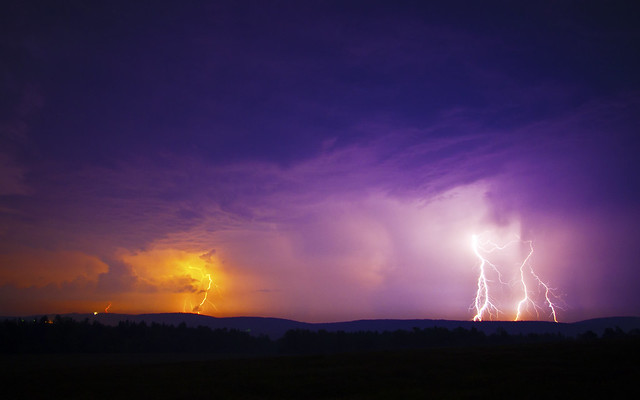
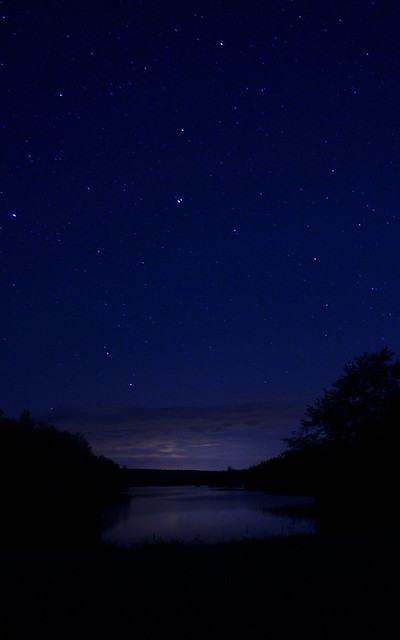
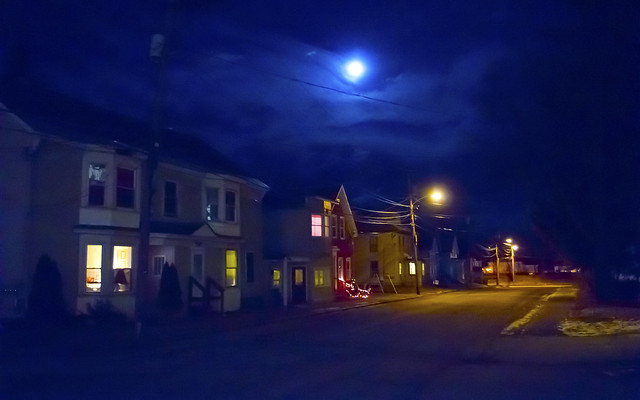
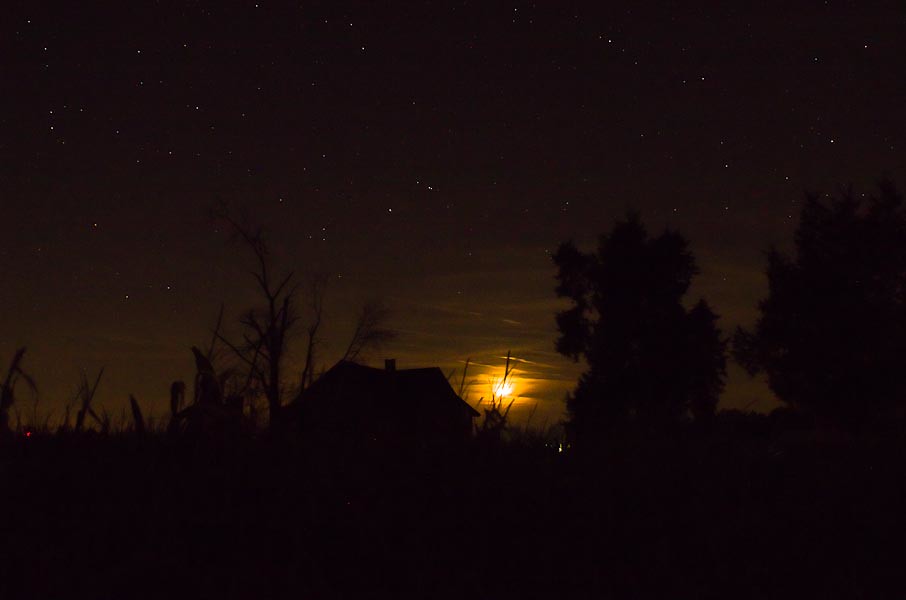
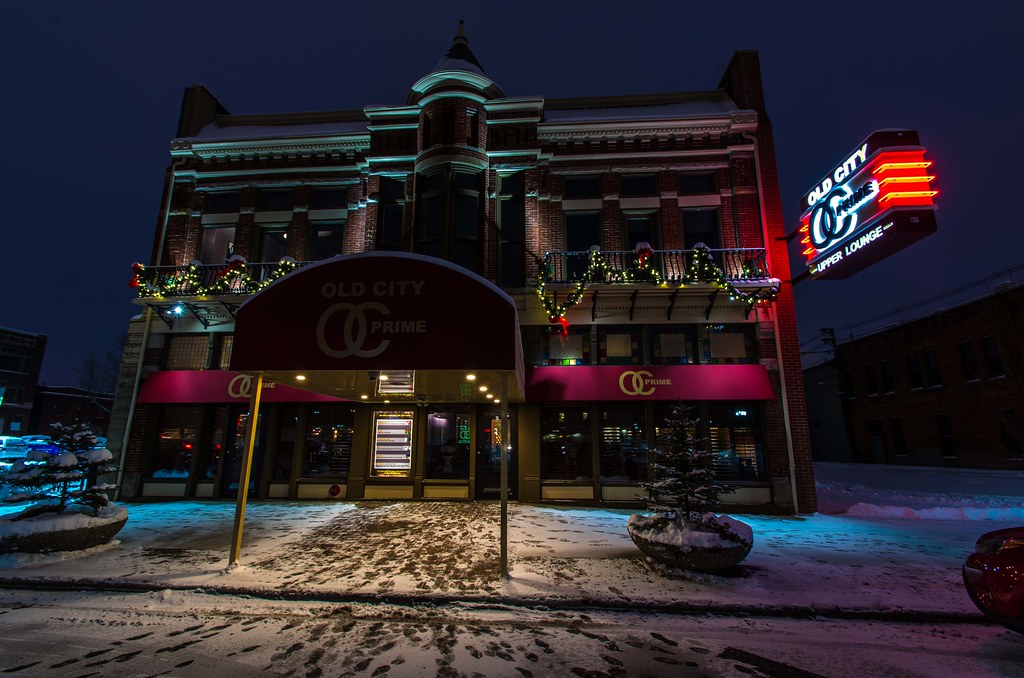
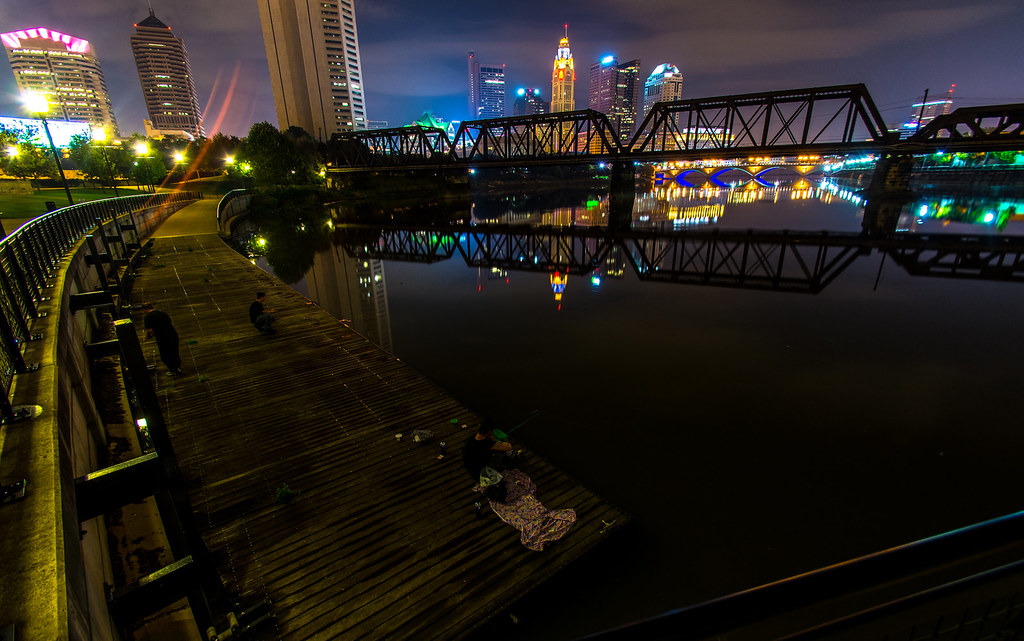
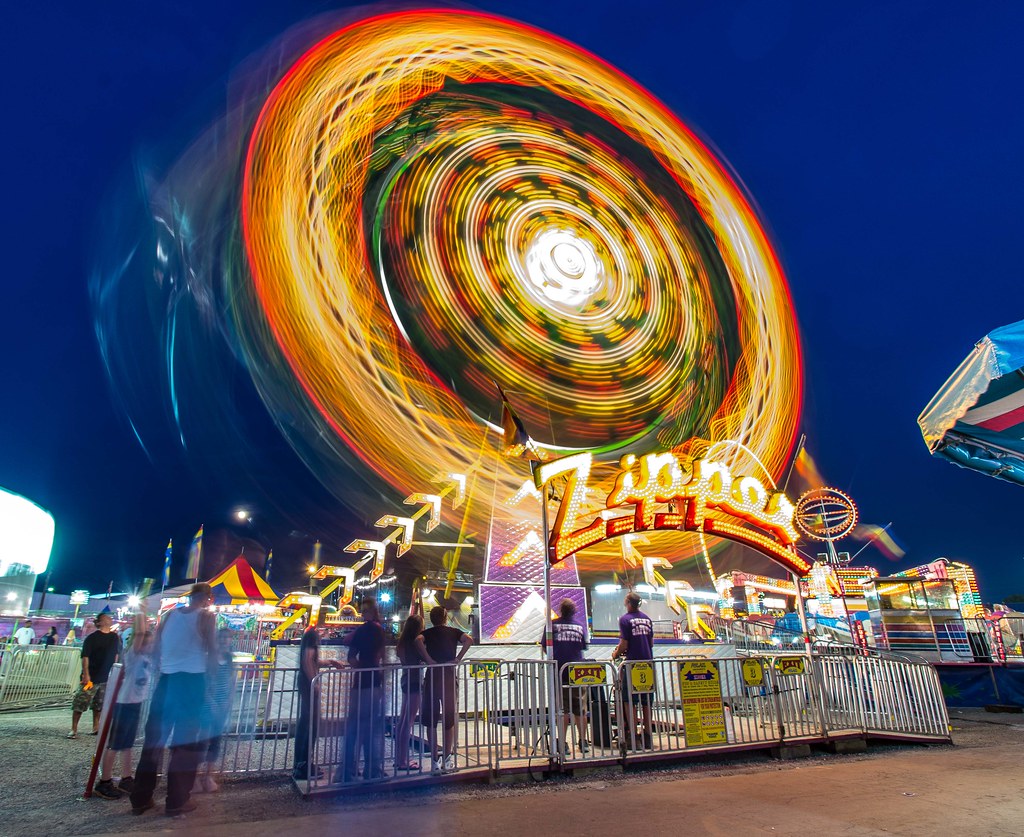
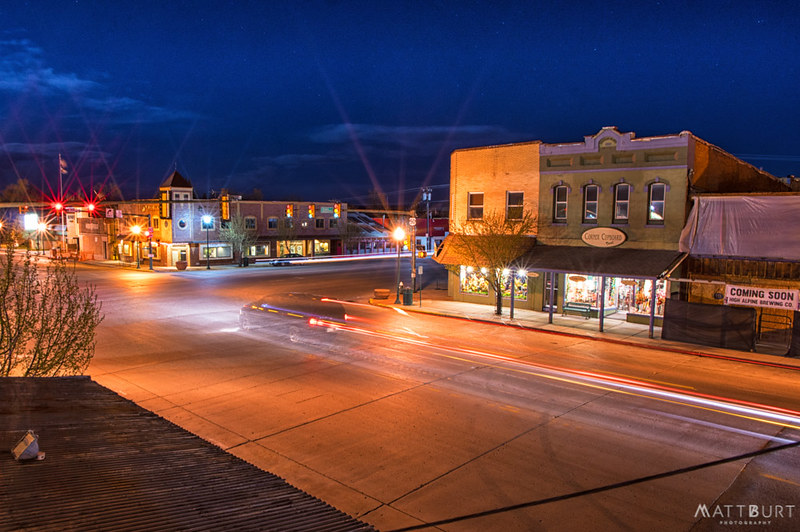
Here are some 18-55mm kit lens night shots I've done over the years. Almost all were semi-long exposures shot off a tripod. The lightning was actually shot off a bag of dried peas off my car door with the window down


 Post #4 by ramseybuckeye
 Similar Threads


