 Originally posted by kenyee
Meredith: did you just tape up your foam core? And did you do cutouts? That might help an issue I have w/ trying to take photos of highly reflective cutouts because the foamcore would be white.
J.Scott: another thing you can do is use heavy duty velcro w/ adhesive. Stick on a bunch to the back, stick on a few on the paper and you're all set for a quick change. That's what I do...
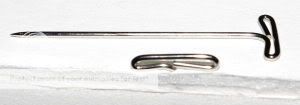
No, I used pins because I thought it would be easier to put it up/down when needed. Below you will see the inside/outside cutouts and the pins used to secure the box together. I did use tape to secure the wax paper on the cut outs (outside) and for the inside I use freezer paper on the shiny side (back and bottom).
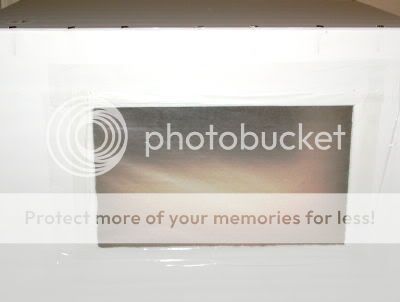
Inside cut out
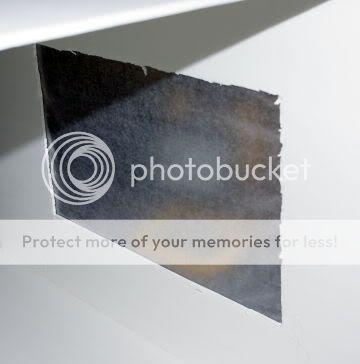
Outside cut out
Hope that explains what you asked.


 Similar Threads


