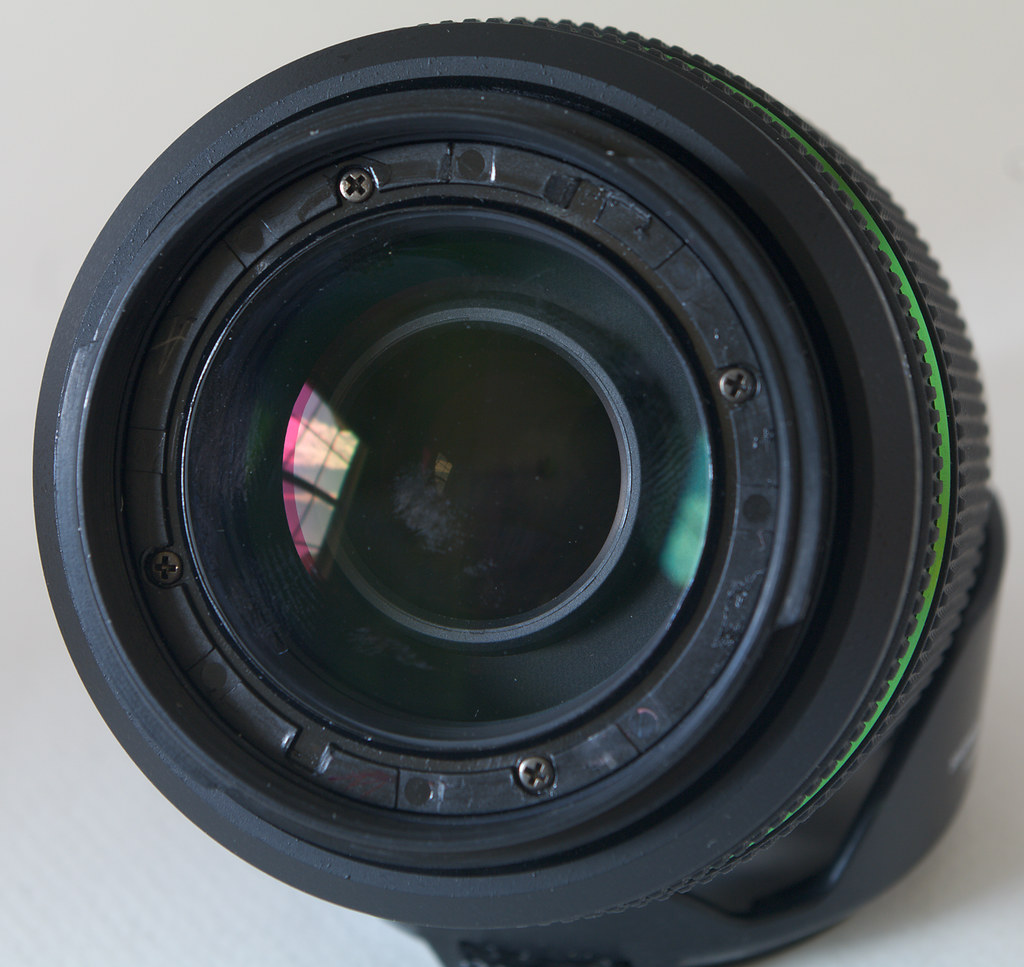
Hello, I've just noticed some mold starting to grow on the back of the front lens of my SMC DA 50-200mm WR. It's still at the beginning, it's growing from 2 different sides but just at the outer circumference of the lens, so I would like to stop it as soon as possible. I'm currently in Indonesia, that means high humidity, rainy season, no sun for uv radiations. I will soon buy more silica gel, but in the meanwhile I would like to clean this lens. I don't know if there are any reliable center here that could do the work, and if it would be worth the money. So I would like to try myself. I actually already unscrewed the front element, using a rubber diy tool, but now I'm blocked. As visible in the photo I took out the front element (mold not visible in the photo, but present) and it looks like the ring where are the writing might be unscrewed. I've tried the same system I used to unscrew the element but it's not working. Before pushing harder, I would like to make sure that that's the proper way to disassemble it? I have to unscrew the ring with the writing and below there might be some screw? Rotation to unscrew the ring is still counter clockwise?
I checked the disassembly database, but it's not helping, since it's showing the disassembly starting from the back.
Some may suggest to buy a clean second hand lens instead, but that's not my plan for now, and my budget is really limited.
Sorry for the quality of the photo attached, but it's just to give an idea. thanks for the help! Davide


 Post #6 by Just1MoreDave
 Similar Threads


