I few months back I picked up an old Asahi Takumar 300mm f4 lens on the cheap, after checking that the glass was in pretty good shape. I've been adapting it to my modern Pentax K-mount bodies, but the lens has had some issues. So, I decided to take it apart for servicing at home!
The Problems
1. The lens doesn't quite focus to infinity (but it seems to get very close indeed).
2. The focusing ring is extremely stiff.
Time to take the lens apart and diagnose! 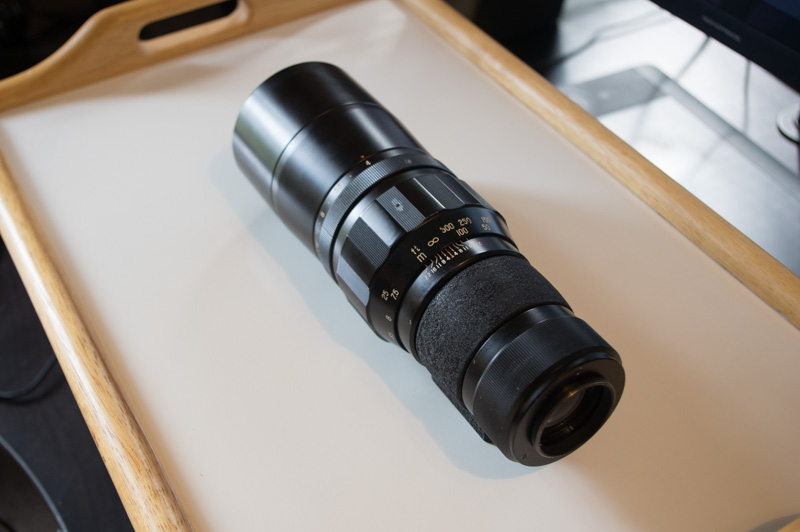 Removing the Rear Mount
I unscrew the 3 flush screws that hold the screw mount onto the back and remove it from the lens assembly. The first thing I notice is that there are some spacers between the mount and the lens assembly: these help ensure that the lens focuses correctly to infinity. There is an extremely thin and fragile brass one, a 1mm aluminum spacer, and someone's extra homemade spacer made from a file envelope and cut into shape with a razor. (paper spacer not pictured)
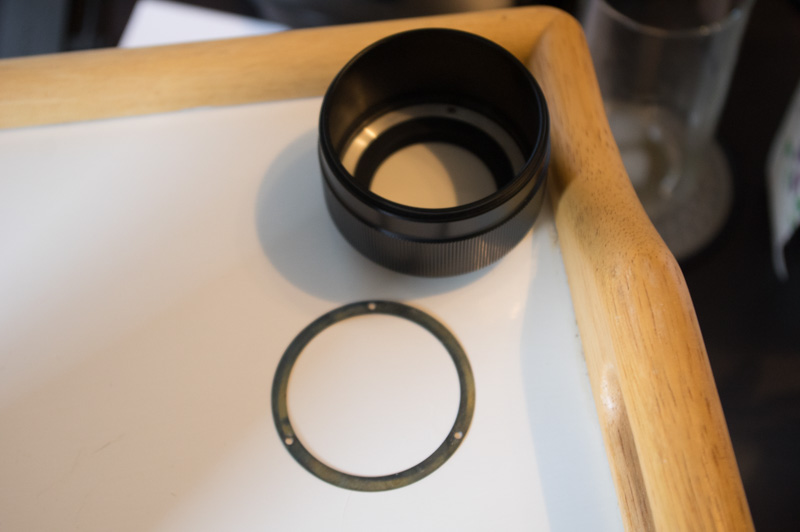
I set aside the homemade spacer, hoping that closing the gap it creates will allow focus to infinity.
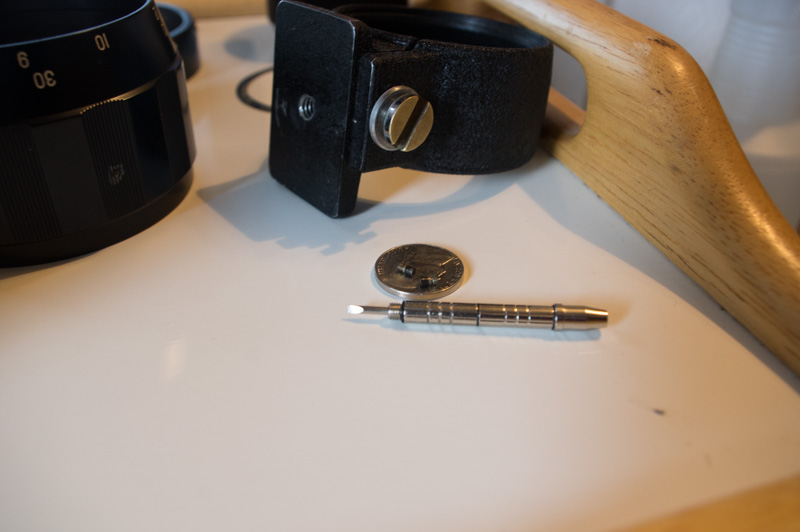
Removing the Tripod Collar
With the rear mount removed, I next remove the tripod collar. This one is simple: use a nickel to loosen the collar until it opens enough to slip off the top of the inner barrel.
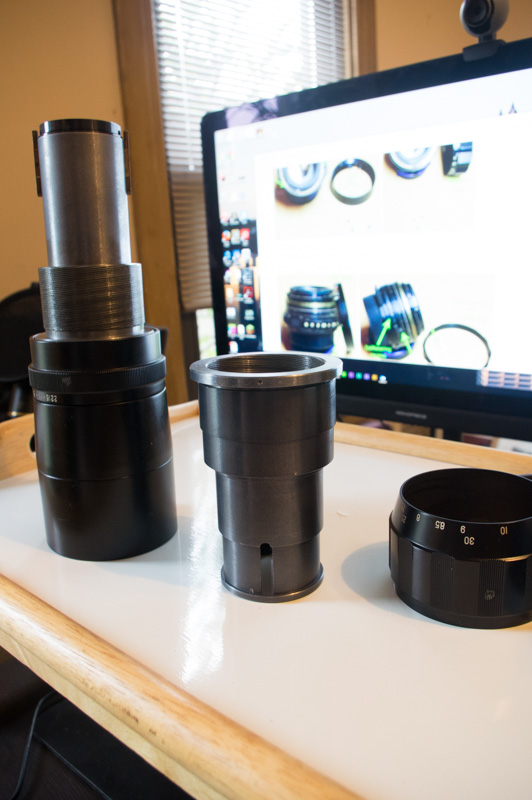
 Removing the Focusing Scale and Ring
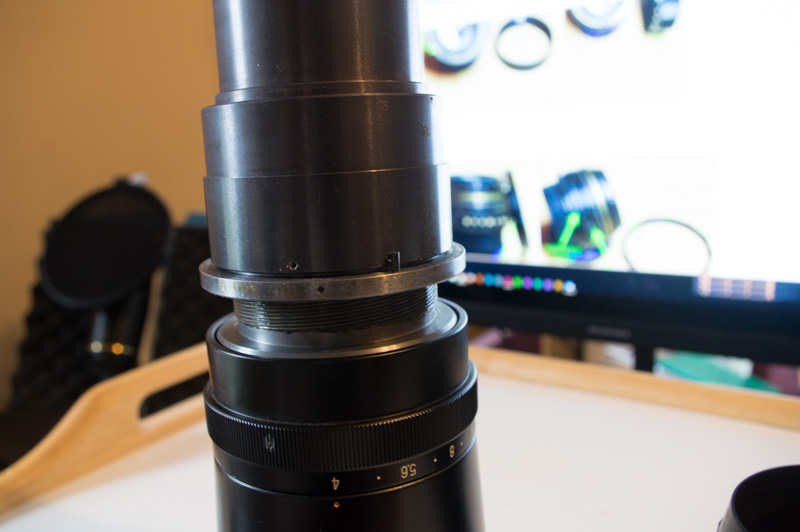
The next two parts must be removed to access the focusing helix. Each is held in place by its own trio of set screws, which can be carefully removed or unscrewed. The screws in the scale are particularly tiny and prone to disappearance (I actually lost one of them while reassembling the lens, despite my many precautions) - so be careful when handling them. Remove the scale first and slide it off the barrel, after which the focusing ring can be removed similarly.

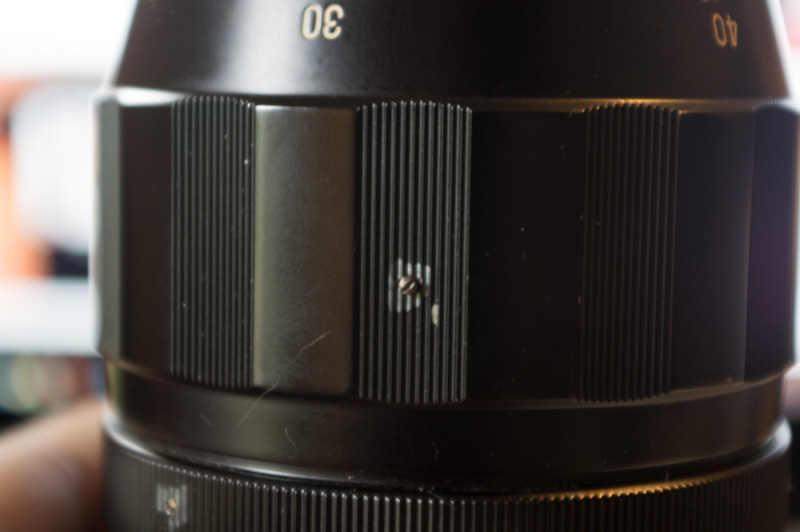
This exposes the silver ring in the images, which is the middle component of the focusing helical. The two post screws protruding from the main body of the lens are the focusing limiters: you can see the incredible 340 degree throw of the focus ring based on how close together they are. The vertical post attached to the silver ring simply bump into those posts to stop the advance of the lens.
 Disassembling the Helical
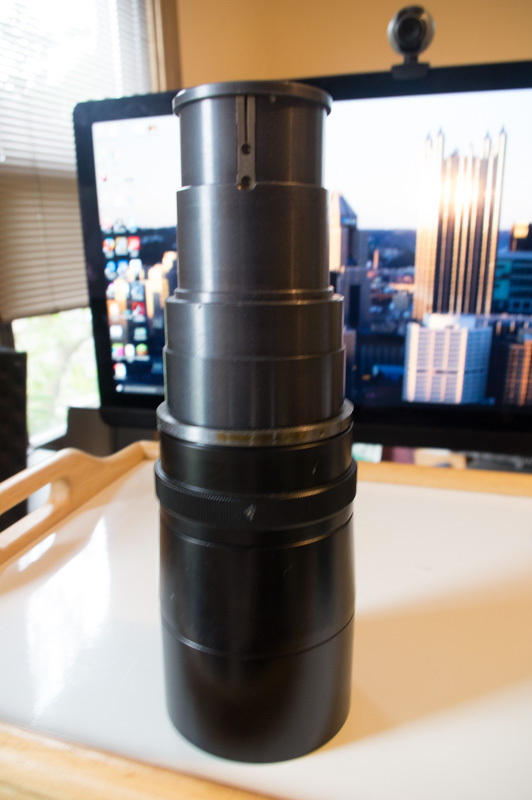
This is easy! Just remove the focus limiting post screws, then rotate the silver ring anti-clockwise (when looked at from the rear of the lens) until it disengages from the forward elements. Then, turn over the removed part, and unscrew the silver ring (which is really a flange) from the upper housing. This will reveal the inside and outside helix threads so that they can be cleaned and re-lubricated.
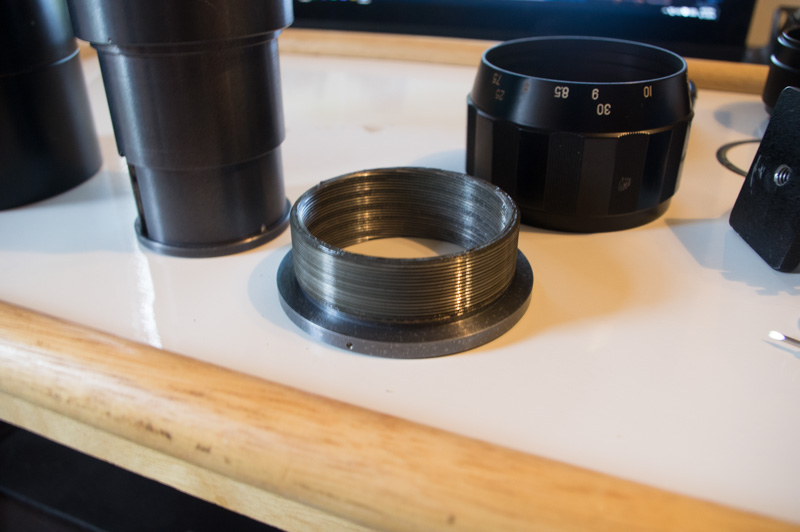
As I suspected, both sets of threads, while relatively clean, were coated in what I assume was the original, petroleum-based grease from 1958-1962 when the lens was originally assembled. It had thickened considerably, and a small amount of dust had become mixed up in it.
Generous application of mineral spirits removed the grease completely without harm to the metal parts and allowed a closer examination of the threads. After I was confident that the threads were all intact and in good condition, I applied new lubricant (a commercially-available PTFE/Lithium helical lubricant specifically designed for optical applications). After application, I worked all the parts together and apart a few times until I was sure that the lubricant had spread evenly across all necessary surfaces (and adding a little once or twice down the length of the threads to help fill gaps and achieve the right level of focus damping).
After that, it was the (not so) simple matter of re-assembling everything!
Reassembling the Helical
I should have taken better notes or marked the exact position of the helical elements where the came apart, because there are many, many thread start positions on these old parts. It took over a dozen attempts to align the threads so that the focusing ring would be in the correct position when fully tightened (and each one required me to disassemble the helical at least half way, then make small adjustments to the rotation of the other part before re-assembling). If you choose to do this, carefully feel for where the parts separate during disassembly and mark the alignment with a grease pencil or similar so you don't have to spend as long experimenting as I did.
Reassembling Everything Else
With the helical put back together, everything else really does simply slide back on and attach in a simple reversal of the disassembly steps. Just be cautious when reattaching the focusing scale, as it was during this step that I lost the one set screw.
Testing!
With everything back together (minus the previous owner's homemade paper spacing ring), I put the lens through some basic paces to check its focusing abilities.
The good news: the focusing ring turns with about 1/4 the force it took before. Everything turns smoothly and easily, and holds position exactly where you let it go. I'm very happy with that.
The bad news: while I haven't actually made it to a location where I can satisfactorily test the infinity focusing, it still looks pretty soft at infinity. I'll know more once I can do some more thorough testing.


 Post #1 by bobtheicicle
 Similar Threads


