I used to use Ansel Adams' Zone System, as advocated by Minor White.
It is quite a bit more than just finding the white- or gray- point -
although that is a very good but very limited application of the Zone System
The principle is to be able to map/place each important part of the picture in its ("gray") Zone - there are 11 zones from 0 to 10.
It's really to do with pre-visualization and the ability to place one's exposure to reflect that visualization.
This was used for mostly black and white photography -
and it may be a bit more involved to use it for color -
since different colors may appear at different brightness/vividness visually - than the actual illumination (luminance) may indicate.
Even though I used this at the shooting stage with an Olympus OM-4 which had multiple spot metering capability -
I really used it much more at the printing stage -
where I used an enlarger meter and spot read different parts of the projected negative so I'd know how to treat - ie: dodge or burn-in - those parts.......
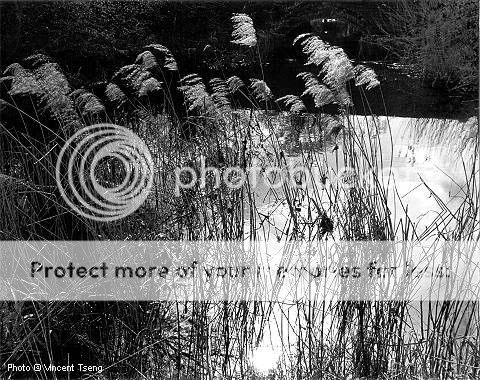
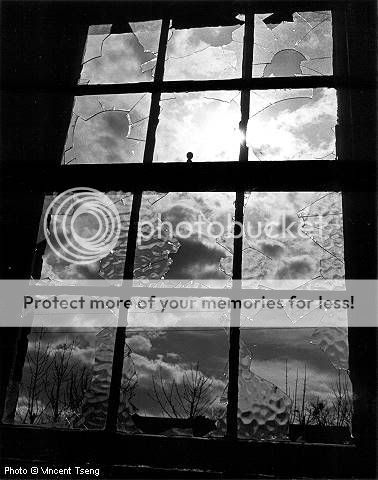
Here's are a few ancient examples:
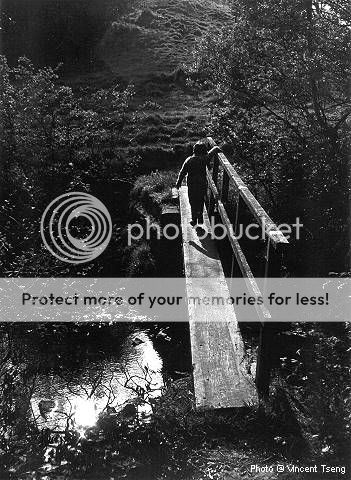
the last is worth talking about - I confess I did not pre-visualize this shot - it was taken with a film rangefinder compact (before everyone called them point & shoots) and was exposed for the average scene so was overall mid-gray pic. It was only when I came to print that I thought this was mundane shot - but could well work out as a dark low-keyed photo -
so I used my enlarger meter to plot out where the tones ought to be and printed for a dark photo - but had to dodge a few areas to keep the contrast.......
As it turned out the negative was in a way a "perfect" exposure - as the wood grain would not be quite as well defined/detailed if it were exposed as a low-key in the first place as it probably would have been buried in the shadows..... so it was actually better as a post-visualization.
call it a fortuitous accidental shot......
Wikipedia on Zone System 


 Post #7 by mithrandir
 Similar Threads


