Pentax-DSLR-Specific Landscapes Shooting Checklist
If youre like me and mostly take the camera out with family, grabbing shots handheld where possible, then when the time comes for some more considered tripod mounted landscape work, you might find the lack of practice can make you all fingers and thumbs, fumbling around as the sun starts to leave for the day.
It does for me, so I set up at home to practice my techniques and refresh my knowledge of the camera settings, with the aim of making sure I was quicker and more precise with my camera techniques before heading off to the hills.
This helped a lot, and I realized it would be good to have a record, or checklist, of the setup steps and key camera controls I needed, and that also got me thinking more about the different options available. I want to share this one approach here, with the aim of encouraging others of all experience levels to also share their particular ideas about landscape shooting on the Pentax DSLRS, and what camera setups and shooting controls works best for differing situations.
Please note - my checklist here is deliberately prescriptive (do this, do that), and describes tripod mounted photography with remote control. This is so that it is laid down as definitive, and therefore can be used as the springboard for all the alternative methods and different situations that could be recommended. This is not a photography course either (!), so I do not give reasons for or the purposes of my specific choices - that would come through in later discussions when other ideas are raised or things questioned.
Menu descriptions should be accurate for the K7 and K5 ranges.
1) Pre-Shoot Setup & Preparation
Im not covering the generic and obvious checks, like battery charging, lens & sensor cleaning, SD cards and backup etc - thats all in the guidebooks. Just the Pentax specific items. If an item is not listed, it should not affect the actual photo taking. Custom settings are not covered. This is a checklist of essential camera picture taking options to act as a reminder and save time and extra work at location. The order of setup though will have some affect, so should be followed through as laid out.
a. LENSES - Aperture rings to A (if fitted)
Camera Focus switch to M or AF.S (as required)
b. BATTERY GRIP - Camera Li-lon battery in place then fit the Grip
Extra Li-lon battery or 6x AA in place inside Grip
Secure your tripod baseplate to the Grip
c. CAMERA MENU SETUP -
Choose your required File Format & JPEG Pixels / Quality
Live View - activate Histogram
Digital Preview - On plus Histogram
Instant Review - On plus Histogram
Electronic Level Display - On
Choose Color Space & RAW file format
Memory -
activate the following items : Drive Mode, White Balance, Sensitivity, Playback Display, File No.
Deactivate EV Compensation
Shake Reduction - Off
Select Battery - set as needed by your charging options
Perform Dust Alert (if you have a DA lens) and / or Dust Removal
d . CUSTOM IMAGE MODES
Set these if needed for JPEG shooting. Set these up generally, you can fine tune in the field. For RAW capture these settings will only have an effect on how your shots will be displayed on the LCD during image reviewing. The settings metadata will be recorded in the RAW file, but different software will interpret it differently or not at all. Only Pentax Digital Camera Utility will exactly match up and apply all the settings when opening the file, when any adjustments can be made non-destructively. These CIM settings will not affect the actual image data recorded by the sensor.
e. WHITE BALANCE
If using a Preset then set it now - you can make additional fine tuning in the field. Likewise, if intending on making a Custom WB, set the nearest suitable preset now to avoid unintentionally jumping to tungsten or something in the field.
f. USER MODE SET FOR EXPOSURE BRACKETING -
Mode Dial to Av - Set ISO 100 (or as needed) -
Drive Mode set to Exposure Bracketing with Remote Control, set 5 images (front e-dial), set exposure spacing (rear e-dial), press OK
In the camera menu enter the USER item, choose Check Saved USER Settings - check the settings are all OK - press OK then choose the item Save, and then Save again.
2) On Location Shooting Setup & Camera Control
Once youre set up and the shot is framed :
a. CAMERA CONTROLS -
Check Av mode, ISO and White Balance preset already set
Drive Mode set to Mirror Up with Remote
Ev Compensation to 0
(these items should be pre-set in the camera memory from your pre-shoot setup)
Manual Focussing - Press LV (Live View) and use the Info button to zoom view into the scene. Use the 4-way controls to centre on something at an approximate hyper-focal distance into the scene and then focus carefully on this. When done exit LV
Set required aperture Half Press Shutter Button to get metered shutter speed
Wait for the right moment (eg wind drop, people to pass etc)
Take shot with Remote Control
Review image on LCD - use histogram to confirm desired exposure range was captured.
If needed set appropriate exposure compensation value, and reshoot
Assess the contrast range you can capture in a single shot and decide on whether to shoot a further exposure for blending in Photoshop, or whether it is so great you need a bracketed range of shots for HDR work. If needed, switch to User mode, set appropriate master exposure compensation for all the brackets, and shoot the brackets, using the focusing methods above first.
OK, that's the list! I see it as serving two purposes - firstly as a pre shoot double check if the camera has been used for another kind of photography and the settings have been changed - and secondly as something for everyone to bounce off, consider and offer up the alternatives and add to the knowledge base on the efficient working with our Pentax DSLRs !

All feedback and alternatives gladly anticipated !
Nigel McGregor


 Well, Ron, I give a good impression I guess, but I've had my dumber than dumb moments - like getting all set up then realising after pressing the button that I've not got an SD card within 10 miles of me!


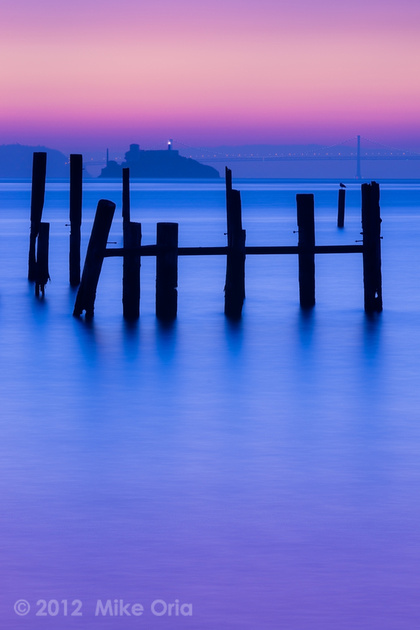
 Post #6 by mikeSF
 Similar Threads


