 Originally posted by brewmaster15
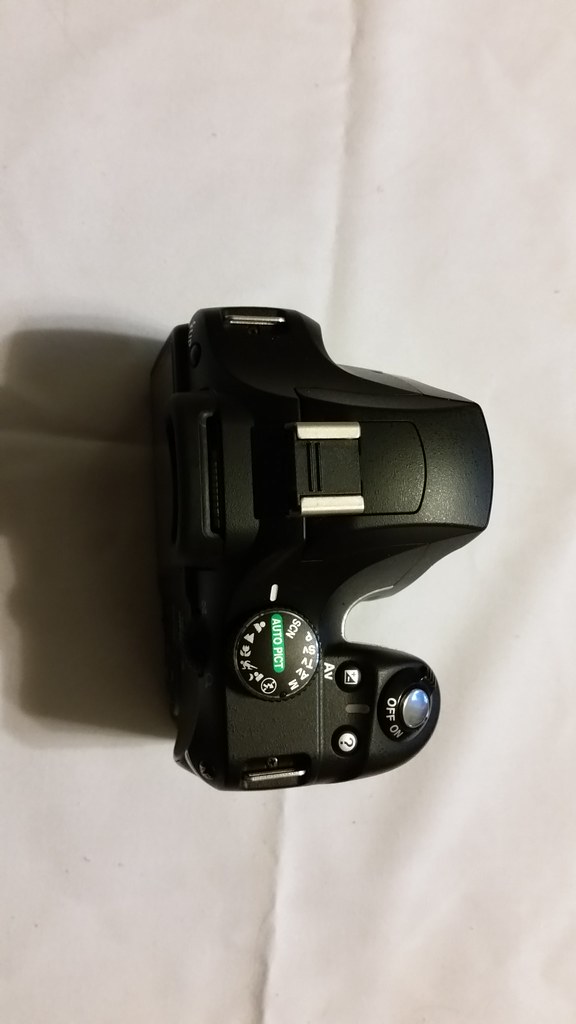
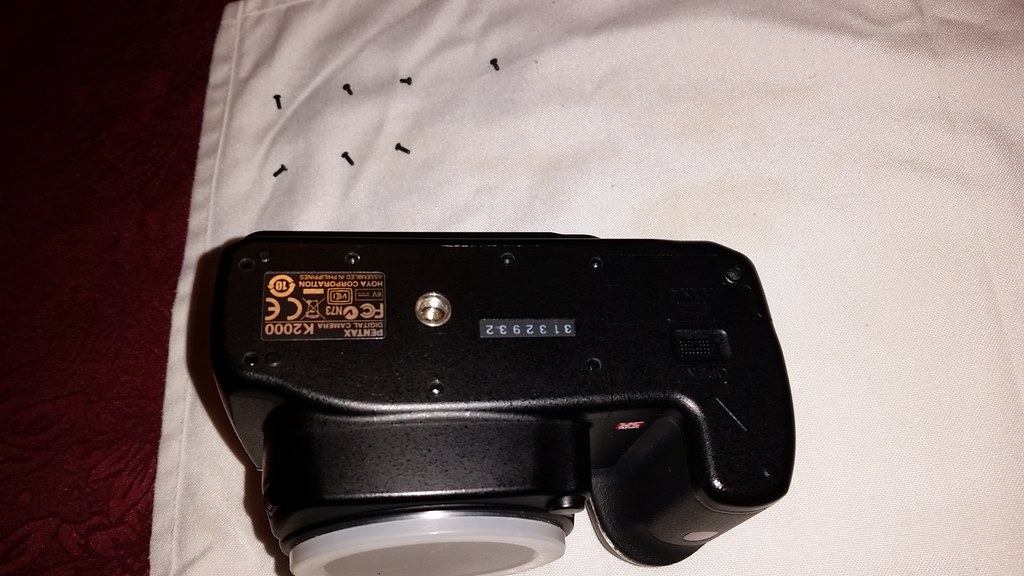
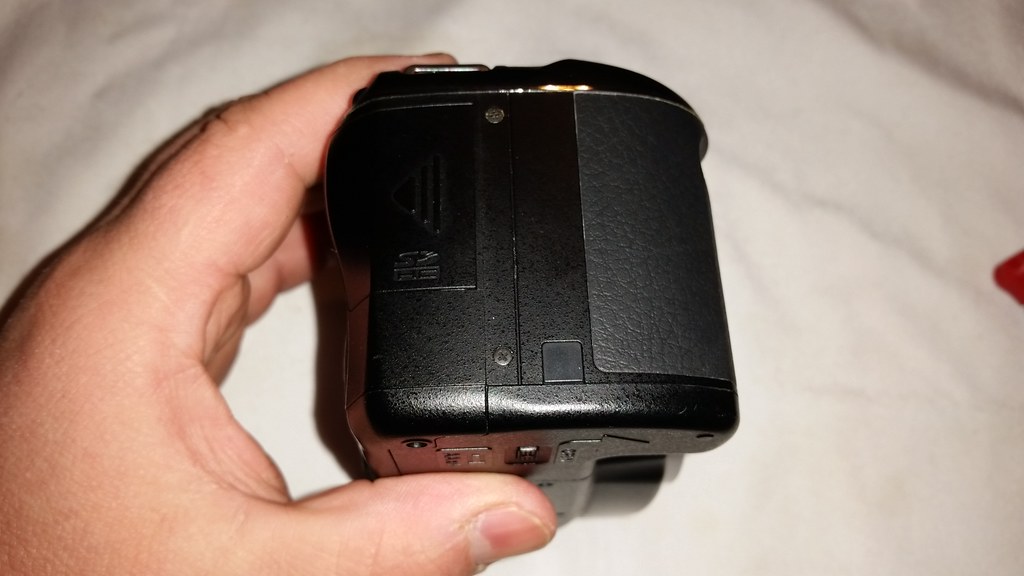
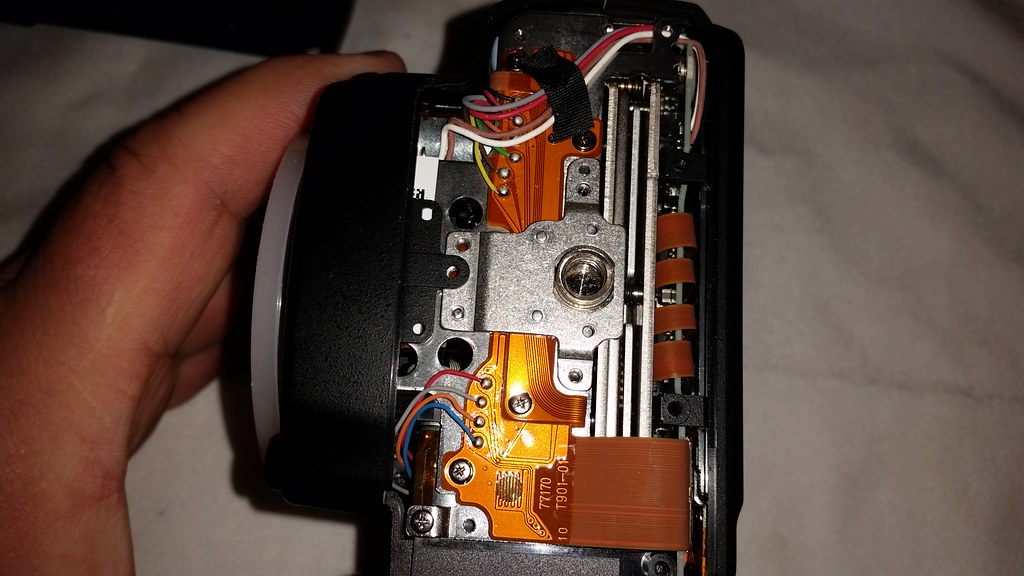
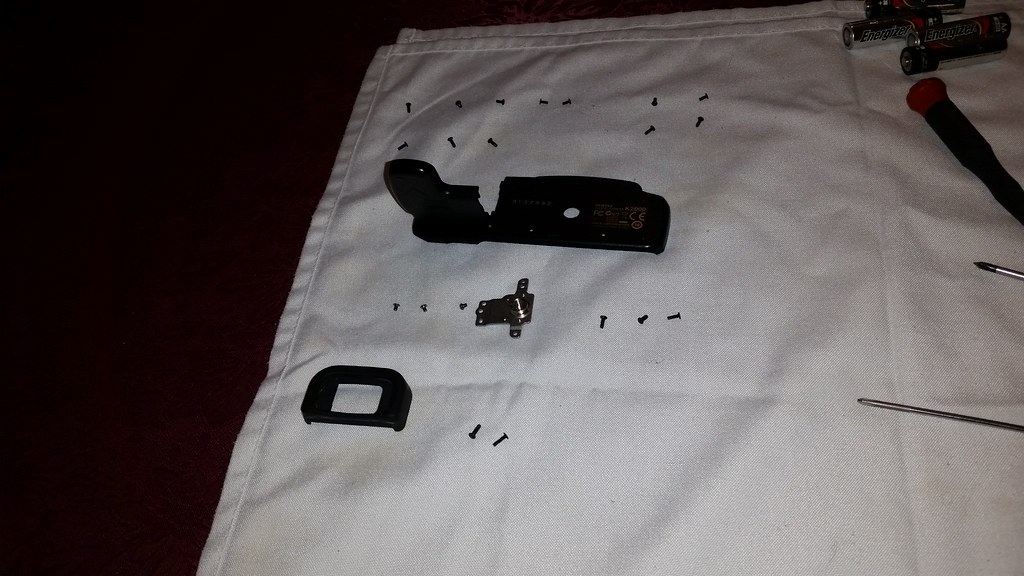
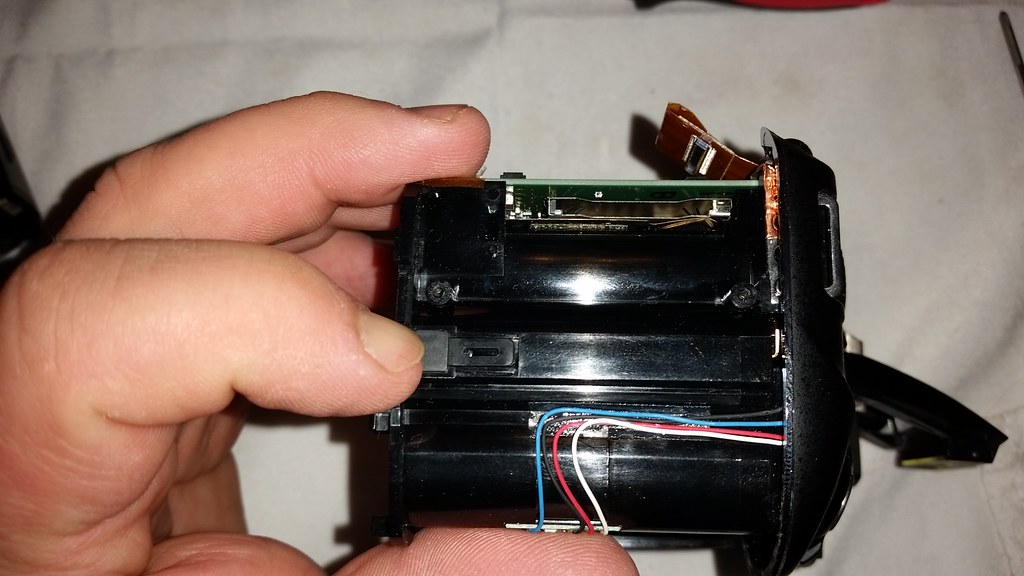
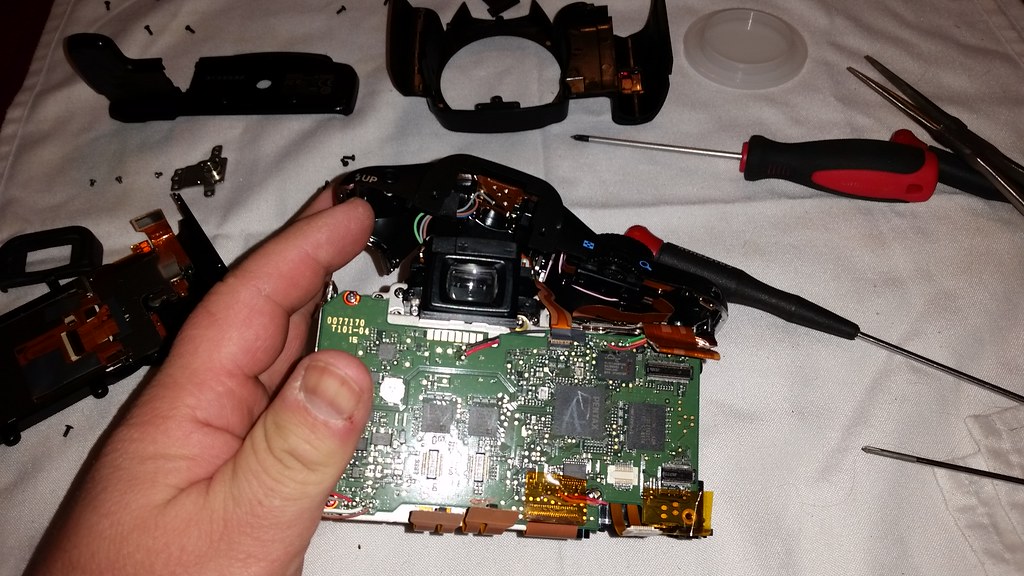
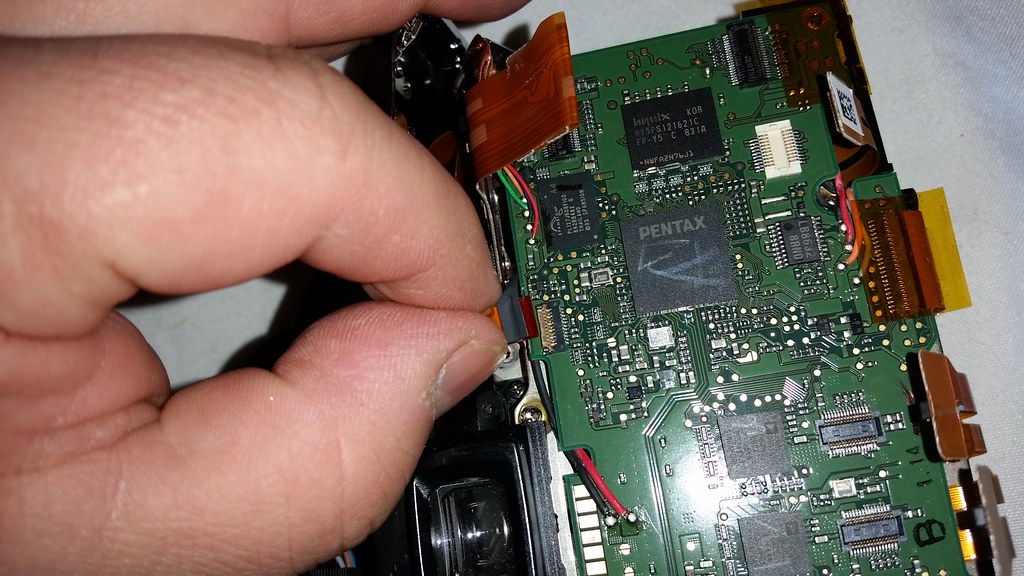
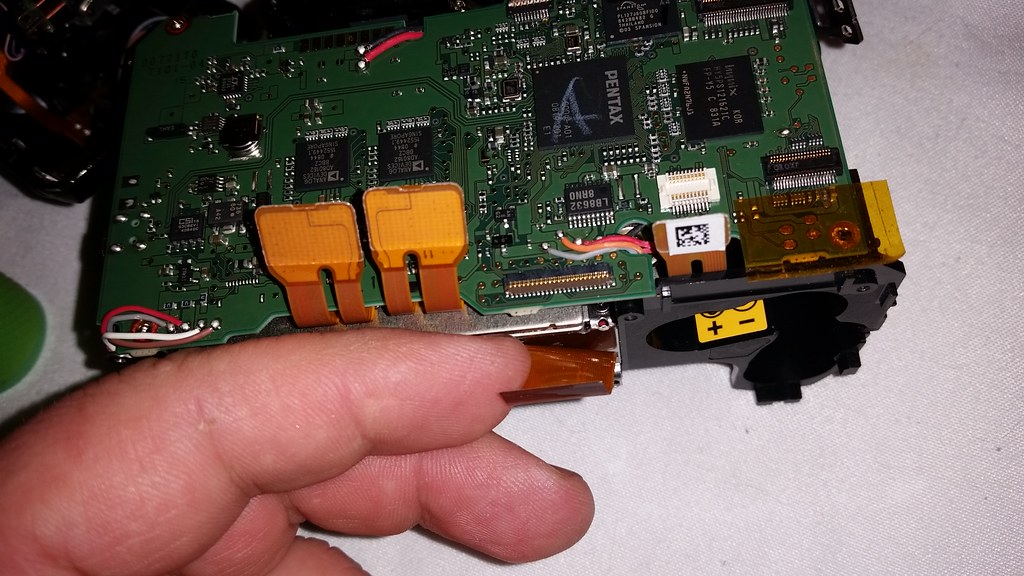
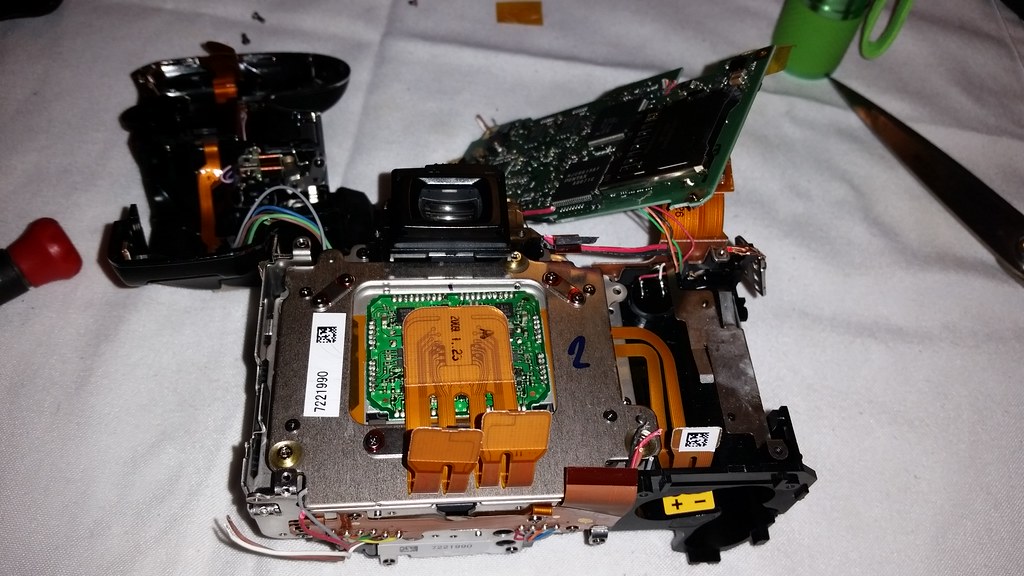
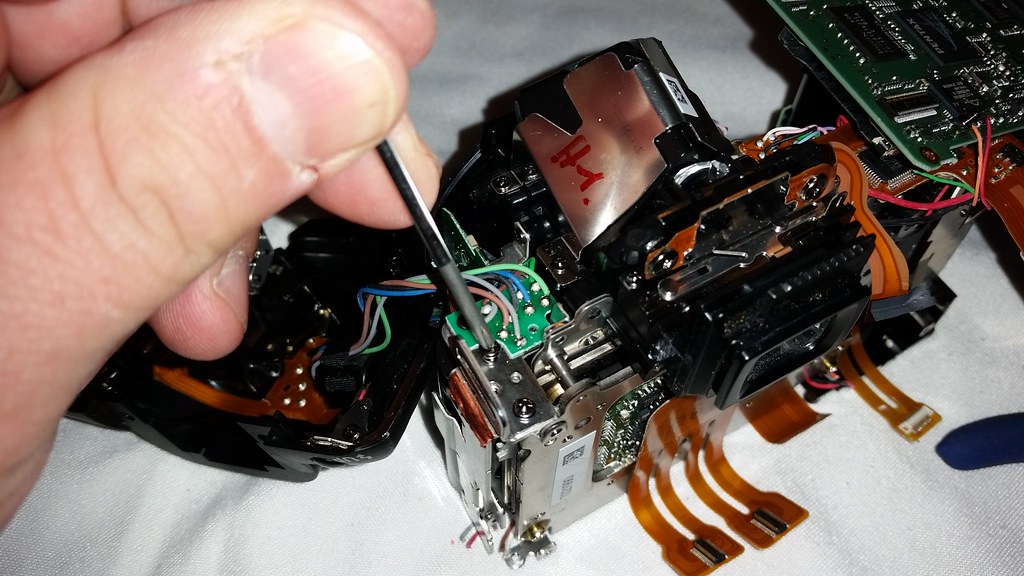
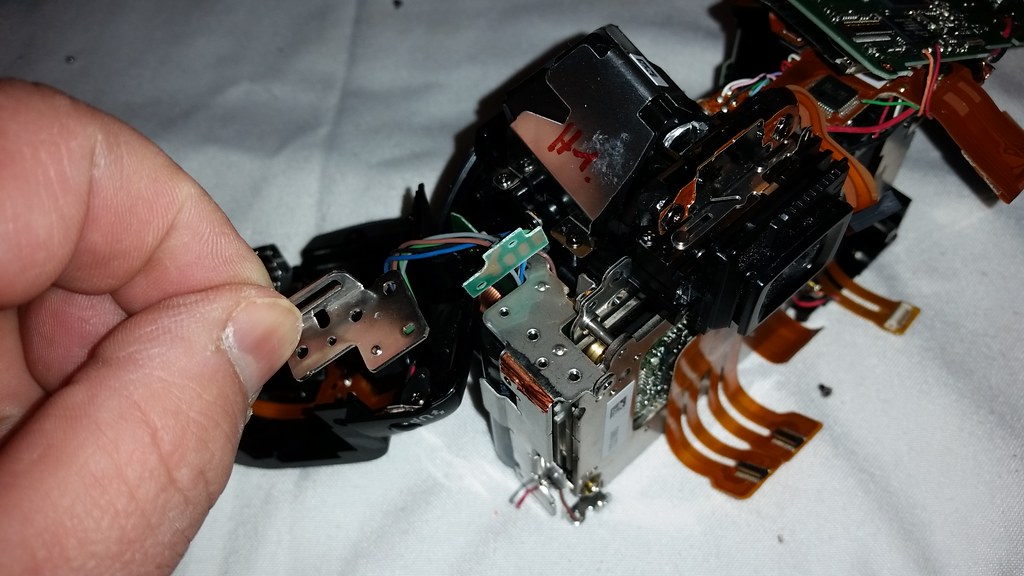
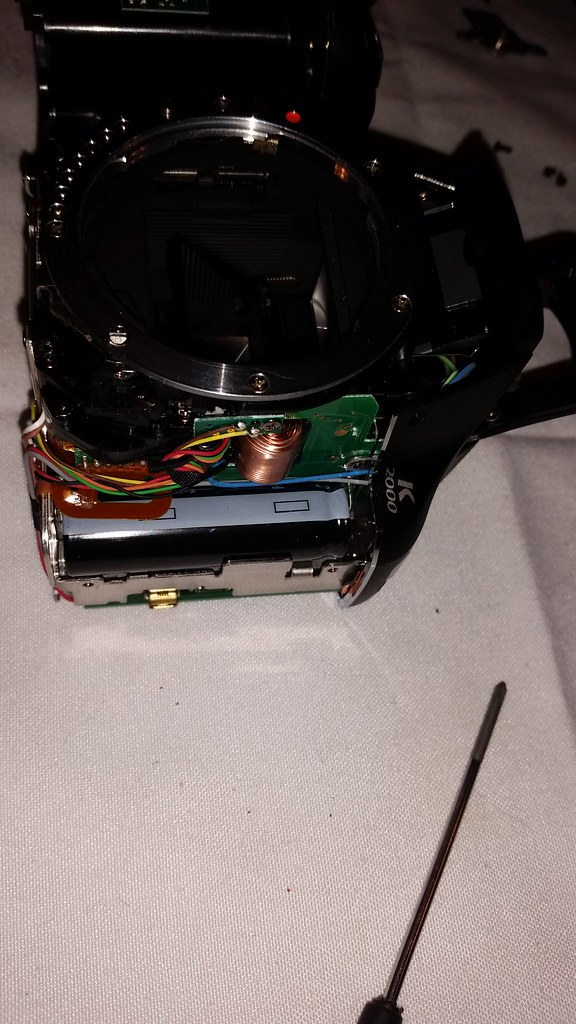
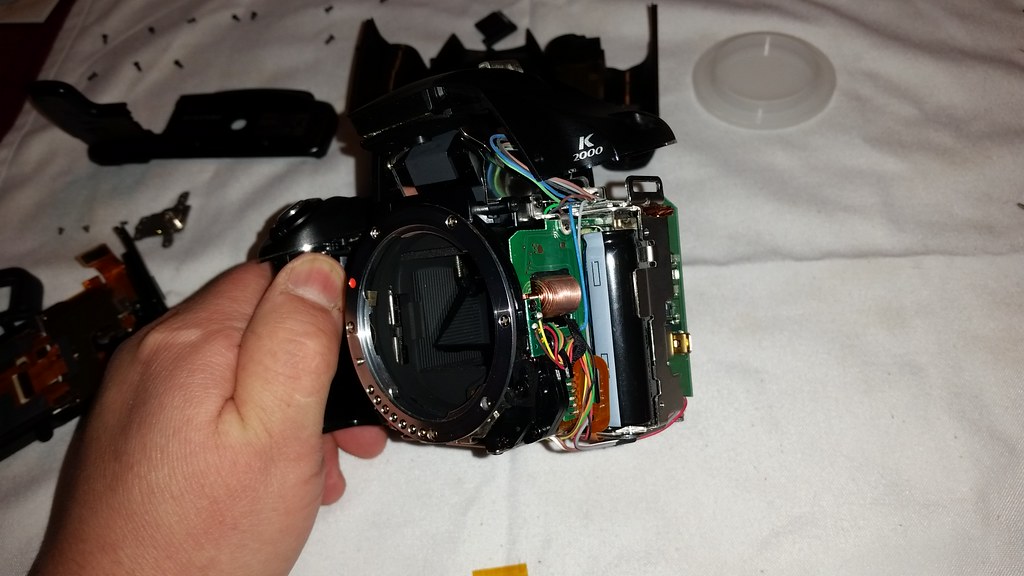
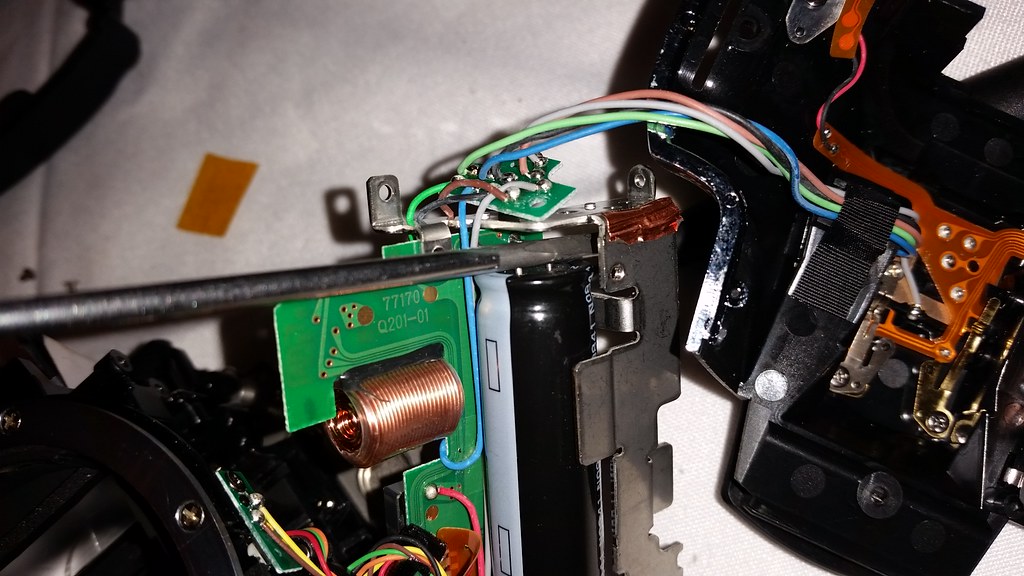
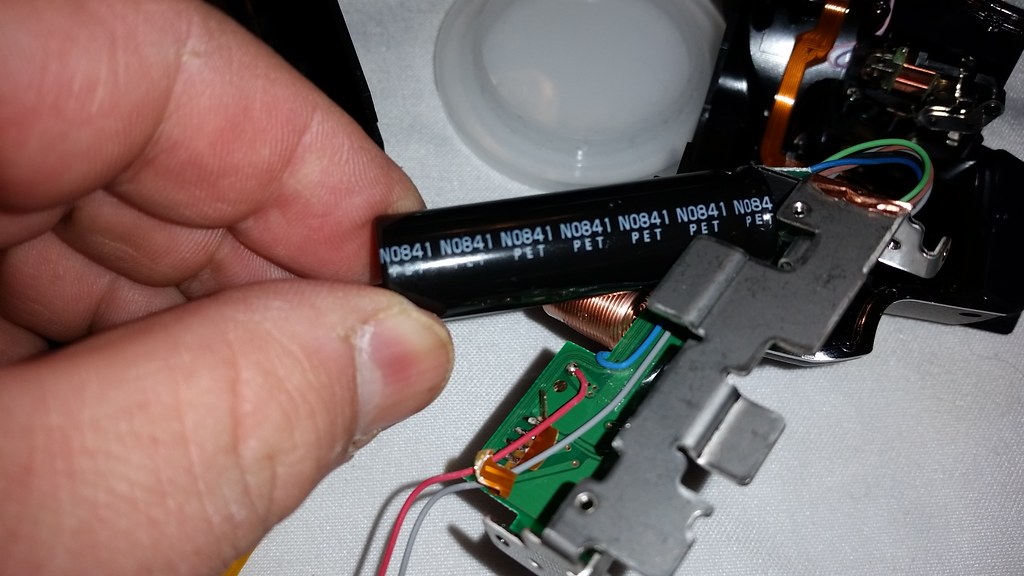
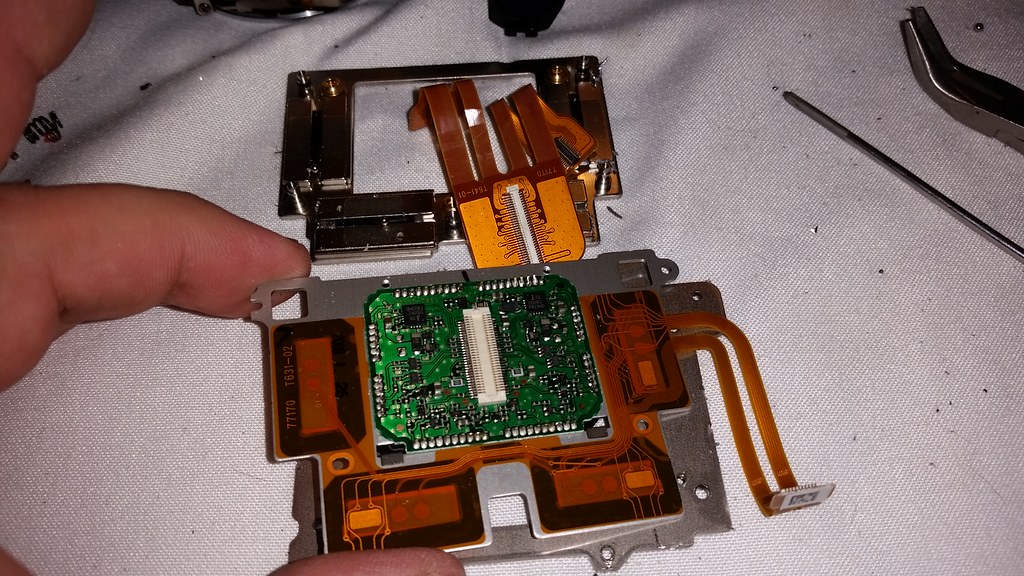
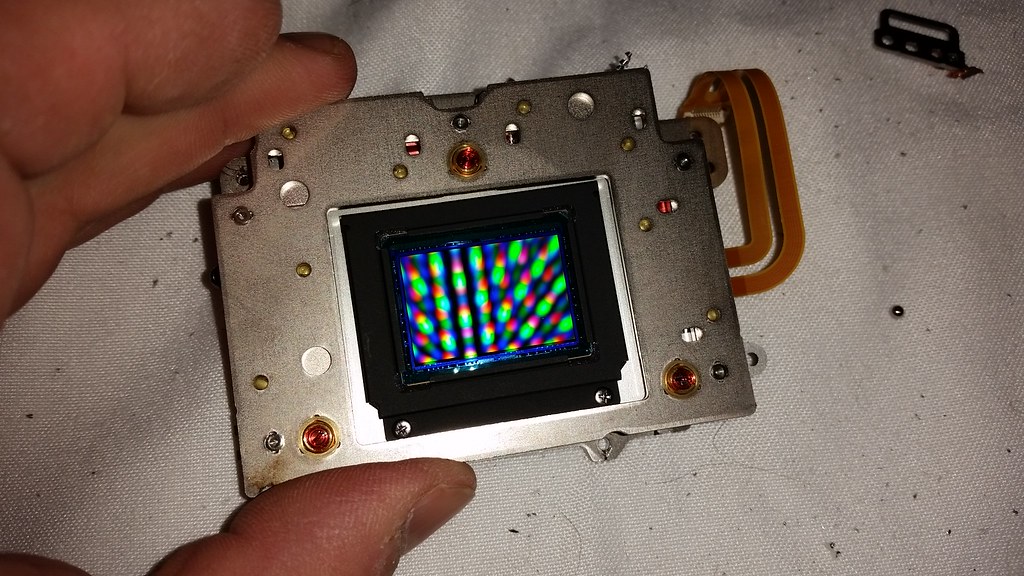
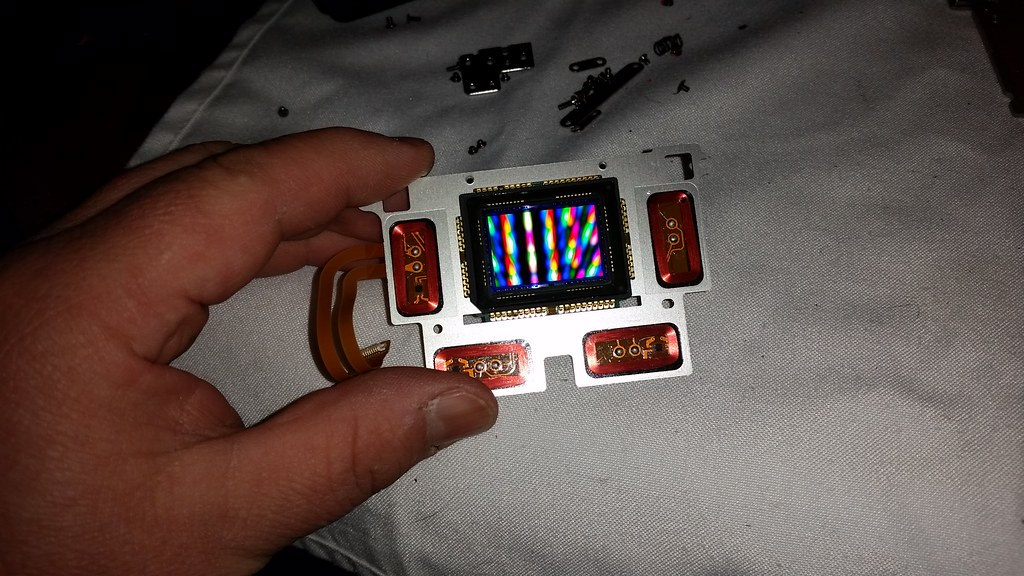
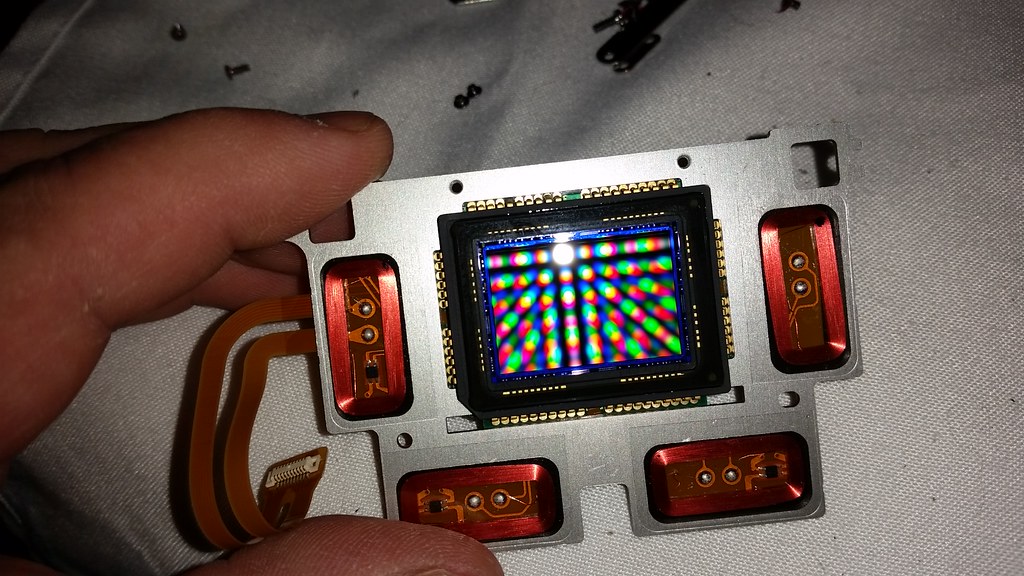
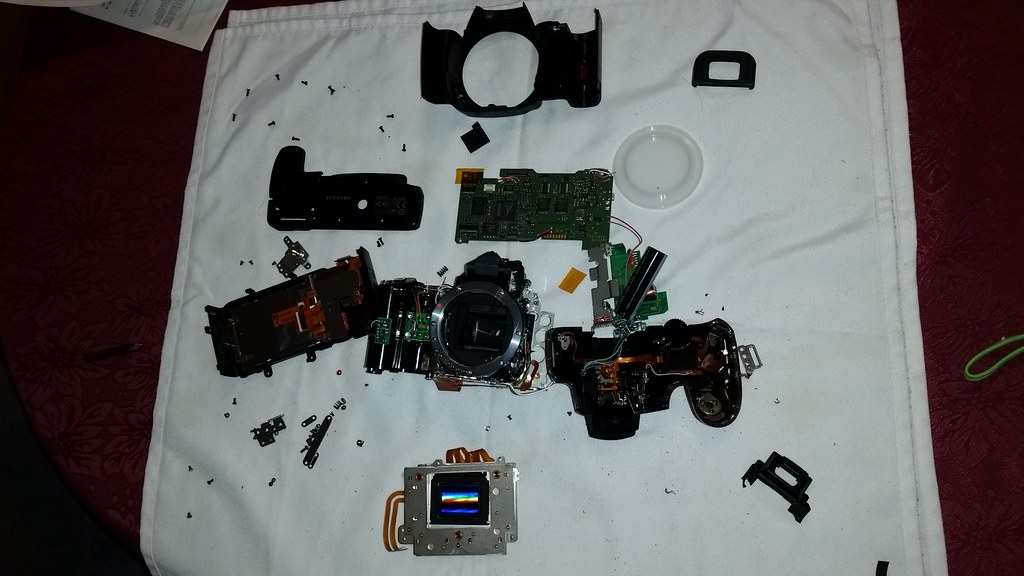
The K2000 recently gave up the ghost. Rather than sell for parts on Ebay, I decided to take it apart.
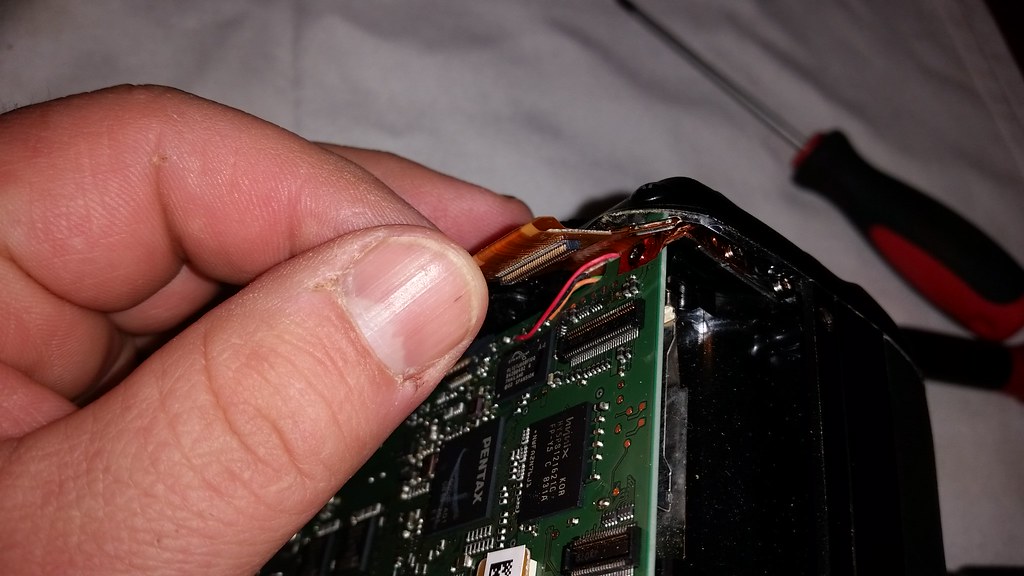
Thanks for posting! When I saw the big capacitor, my first thought was "oh, so that's where it is - watch out for the flash cap-" just as I scrolled down to your notes on discharging it.
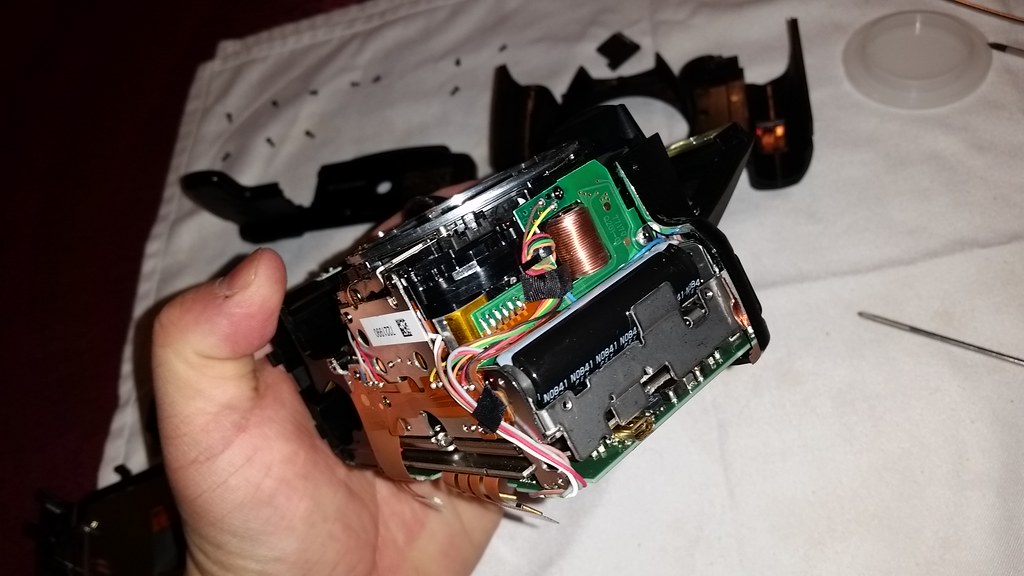
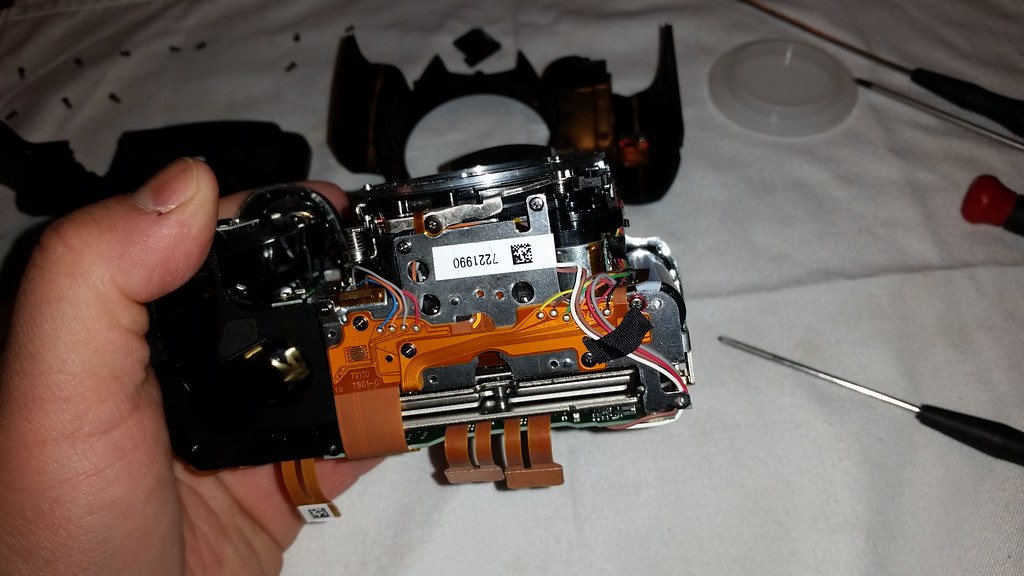
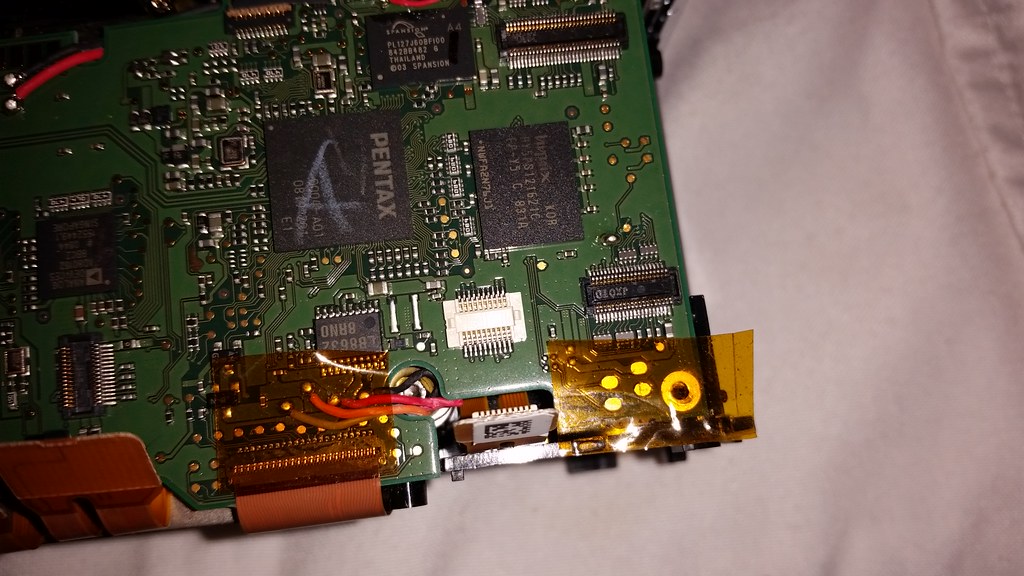
An interesting thing (to me, at least) is how large the main circuit board is. To get the K-01 and K-S1 smaller than the K2000/K-m/K-x body, they had to squeeze the main board down to something less than a third that size.


 Post #1 by brewmaster15
 Similar Threads


