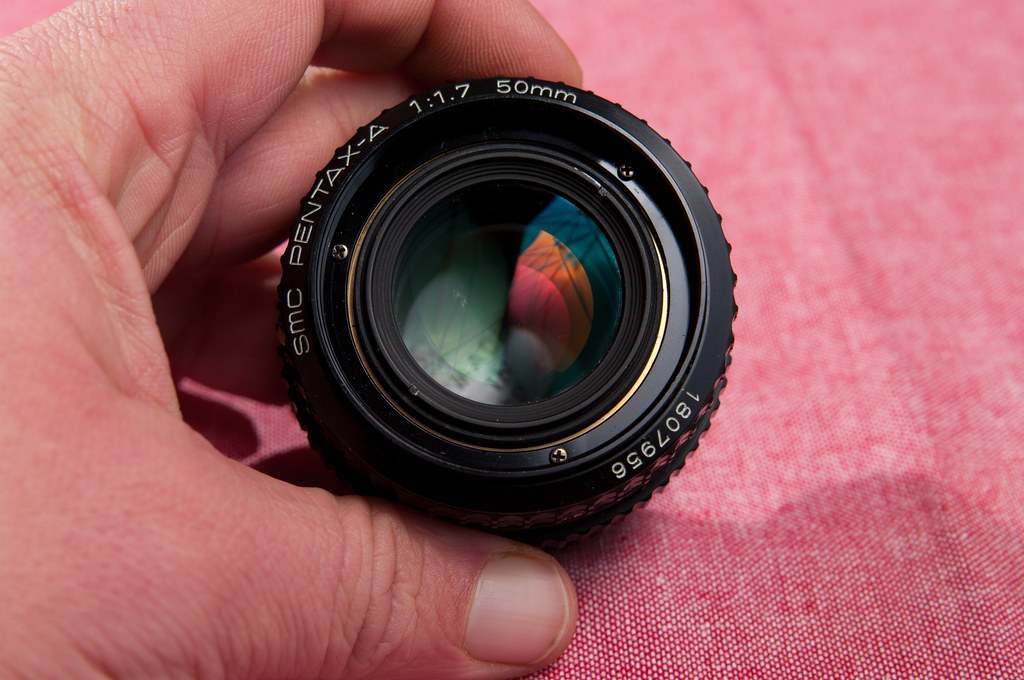
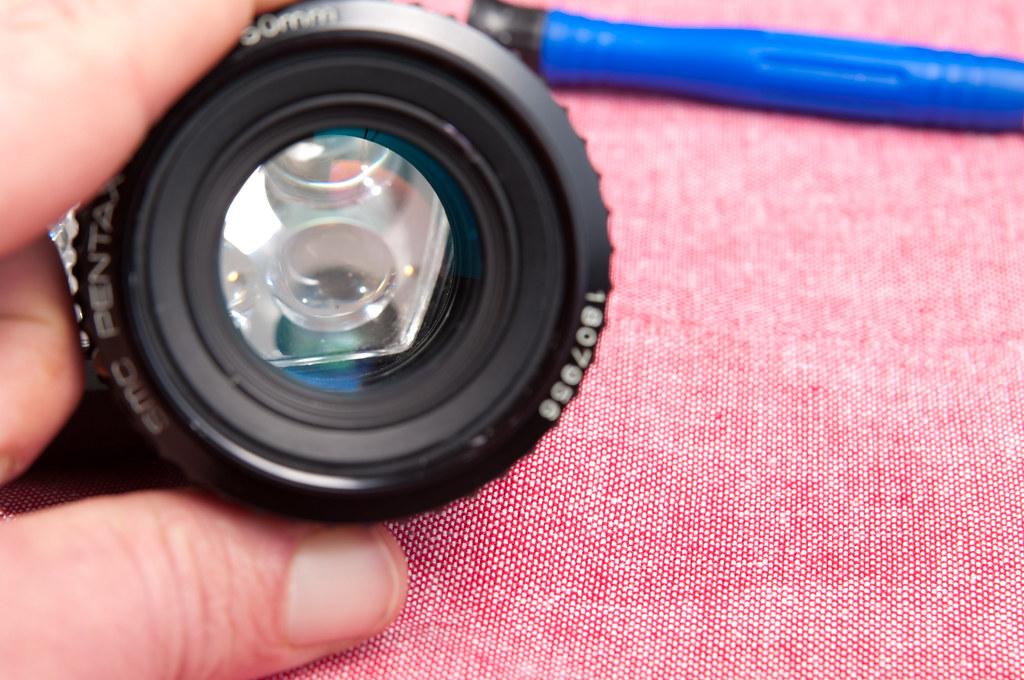
I have been lucky avoiding Fungi in most of my lenses bar one - my SMC A50/1.7 . It had an annoying flourish just off-center that I'm sure did nothing to effect IQ, but sure drove me bananas and would send my OCD into overdrive. It was located on the rear of the Front Group, so it could potentially spread to the rear group as well.
I've read up on the net, and did find some other pics and guides to the M50/1.7 - but this is unfortunately slightly different in assembly of the front group which meant that it was helpful - but not the answer. I umm'ed and arrr'ed about it, posted a thread here asking for suggestions, fashioned myself a crude Spanner Wrench suitable for the front group.. and eventually decided to give it a go

So armed with having read up on a number of other peoples experiences, and having studied
http://www.pentax-manuals.com/manuals/service/smca5017.pdf I set about cleaning it.
DISCLAIMER: I have no idea what I'm doing. No really - First lens I've ever pulled apart and cleaned. I read lots of other lens type cleaning guides, and studied the exploded Pentax Service Diagram carefully. Please do not consider this an intelligent or well thought out 'how-to' guide - its simply what *I* did to clean my lens that I offer up as I could not find anything specific relating to Front Groups on A50/1.7 - only rear aperture repair. Repeat my stupidity entirely at your OWN risk!
Here is the tools I presumed I would need all laid out:
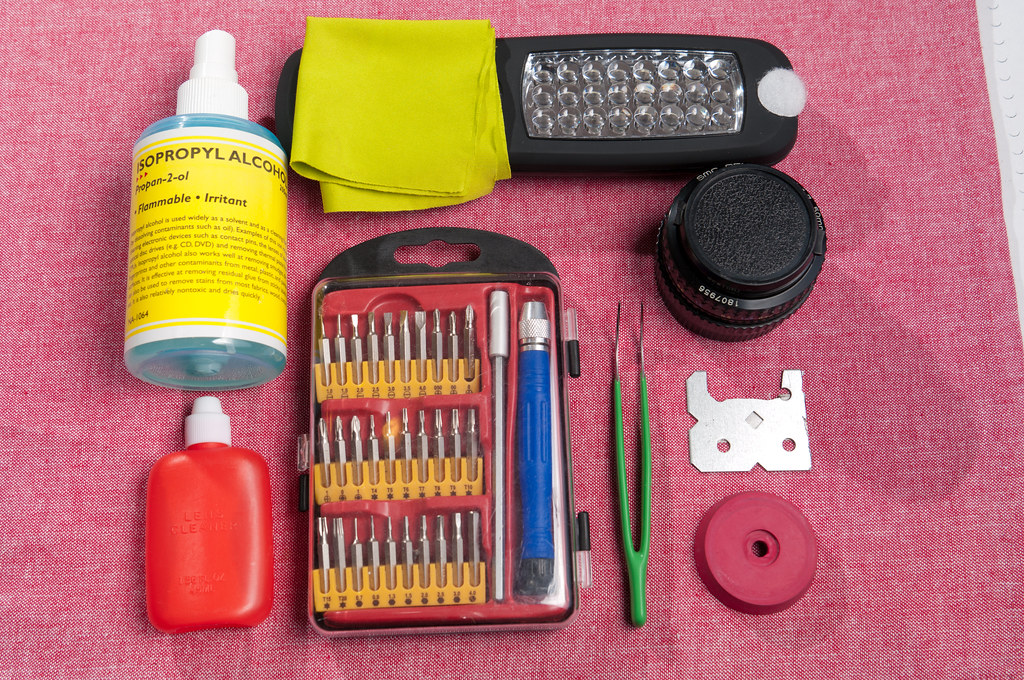
Isopropyl Alcohol, for cleaning the Fungus Off and misc cleaning;
Optical Cleaner, for final Lens Clean
Lint Free Lens Cloth
Torch for Inspection
Set of precision screwdrivers, including JIS bits
Tweezers
38mm Rubber Plug with Center Removed
Home Made Spanner Wrench suitable for front group
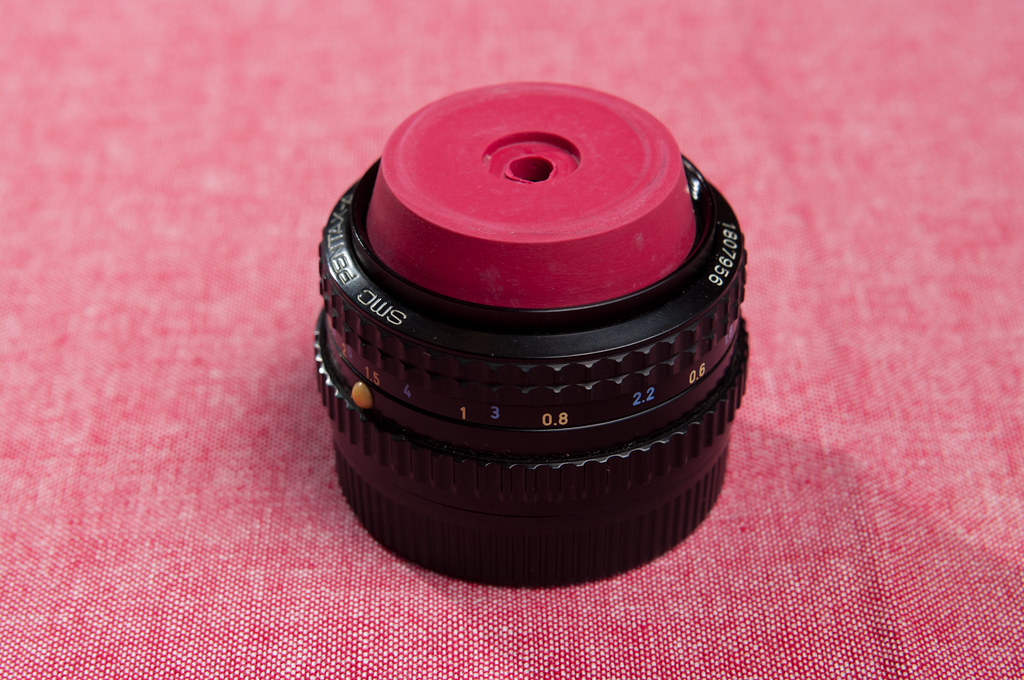
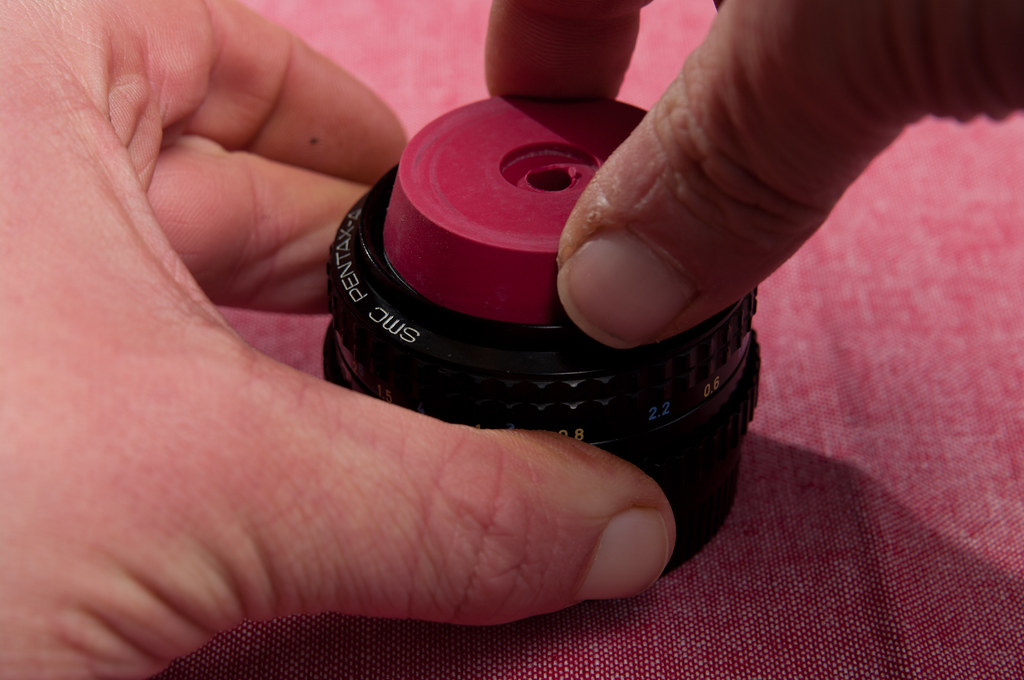
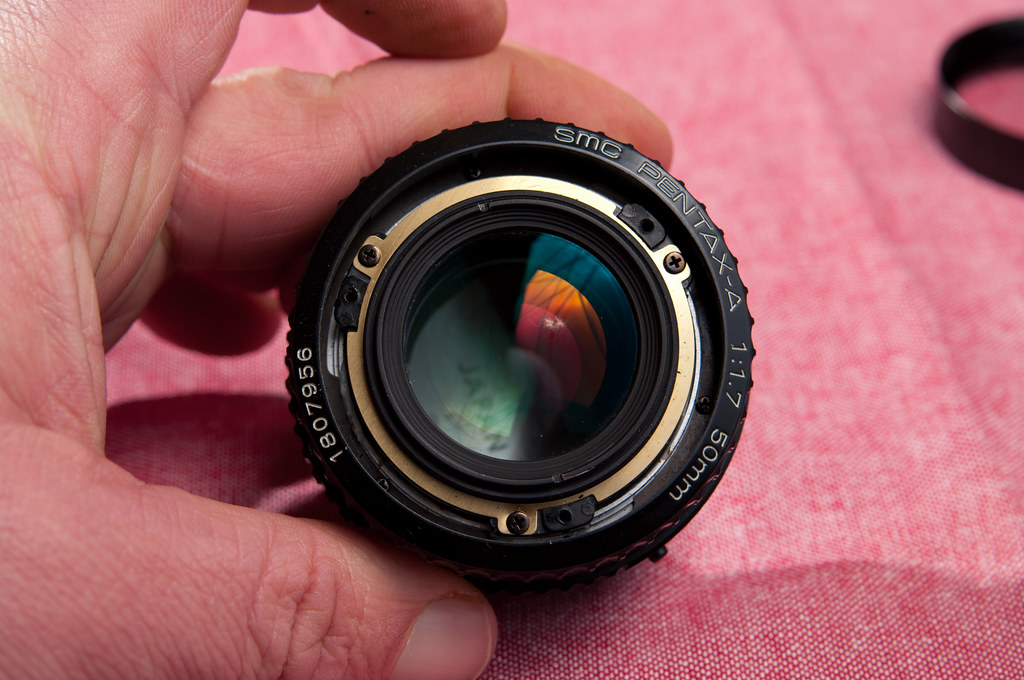
Set the lens to infinity to make it as short as possible. I then used the "rubber plug" trick to remove the front bezel from the A50/1.7. This is simply a 38mm Basin Plug with the center ring removed. Grip the base, and apply a firm downward pressure on the outside of the plug while twisting counter clockwise - it should spin right out with little trouble.
After removing the bezel, you should now see 3 #0 JIS screws. Remove these and you can lift up and remove the metal filter ring.

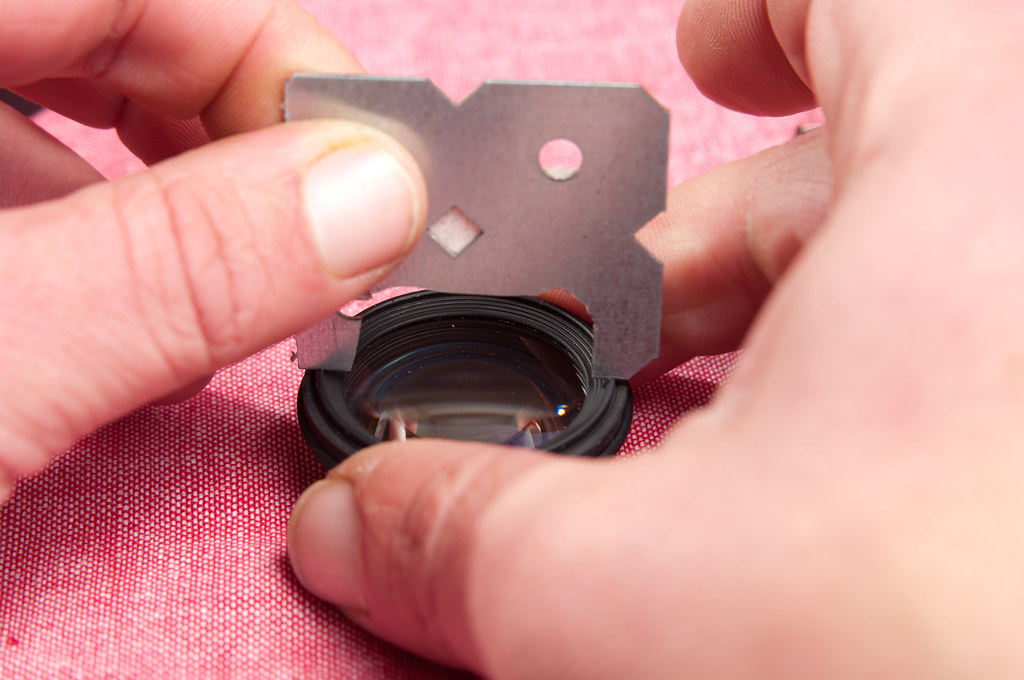
You can now see the retaining ring used to hold the front group in place. Once again it is fastened using 3 #0 JIS screws. Carefully remove the screws and set them aside.
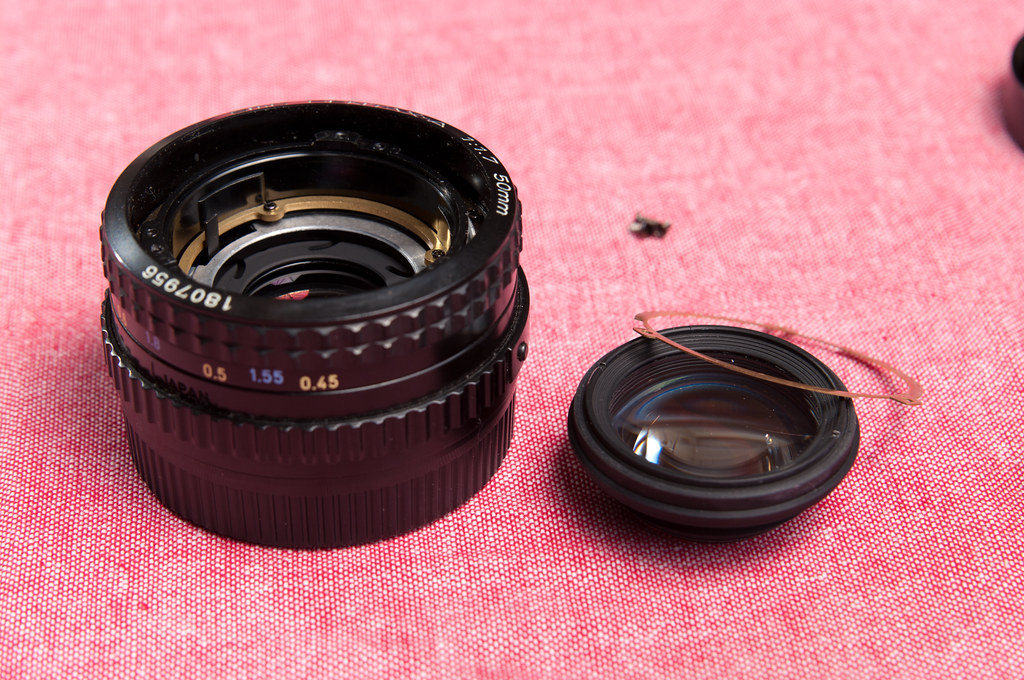
If you gently tip up the lens into your palm the front group should now just fall out. Set the rest of the lens body aside and perhaps replace the lens cap to at least stop too many dust mites collecting in there whilst all apart
Yes we will of course clean it before reassembly - but why make more work ?
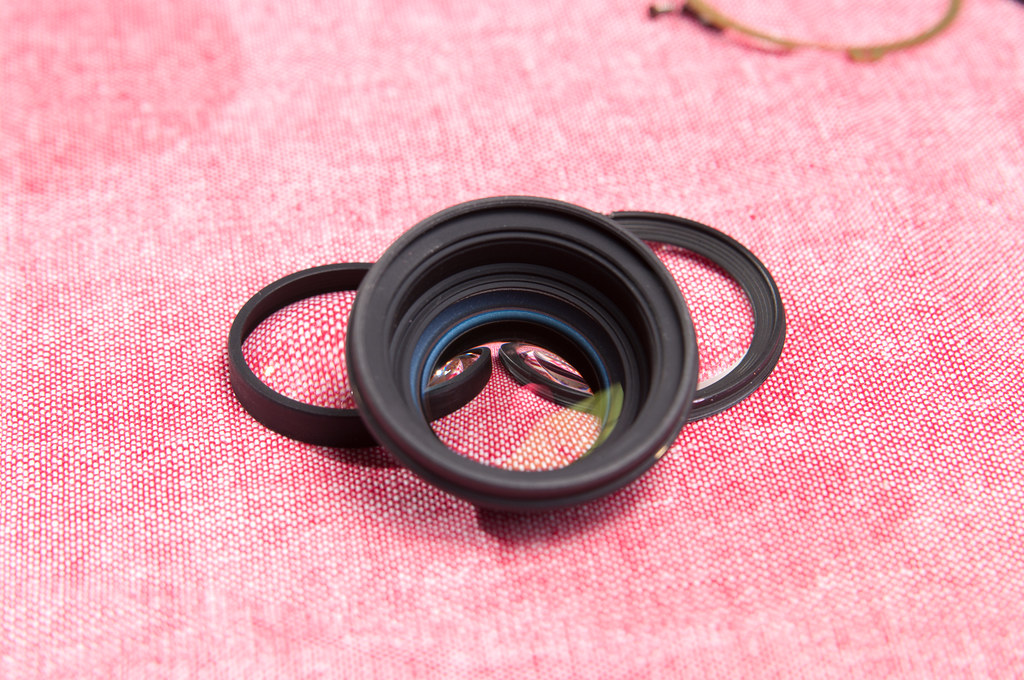
Here is the front group with its retaining ring on top set down next to the lens body.
Now - anyone who has proper tools for the job (I'd highly recommend them

) - LOOK AWAY NOW!!!
For any other heavy handy gits like myself - behold my home made Spanner Wrench suitably sized for the front retaining ring of the group:
Grip the base of the group, and with the wrench engaged in the notches whilst pushing down firmly simply rotate counter-clockwise and it should come loose. After I got it untorqued, I just spun it off with my finger tips.
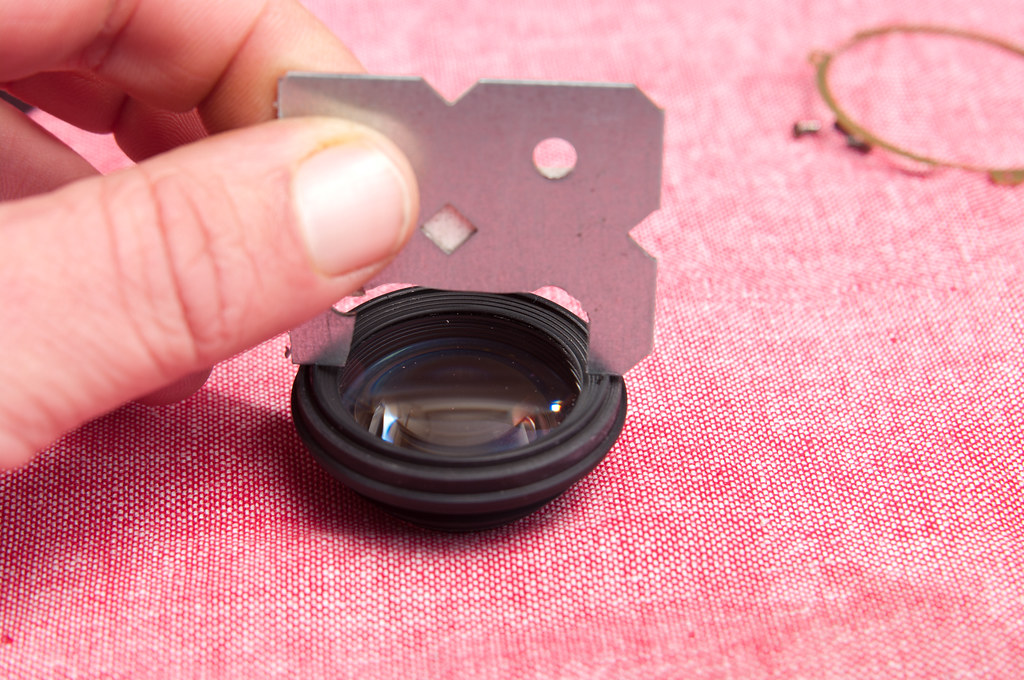
This will free the first lens element, which you can tip over carefully into your hand and set aside. Remember which way it goes - but thankfully on this lens its pretty easy because all the front elements are concave and go with the dome outwards. The middle element will also come free, or you may need to gently lift out the spacer located immediately underneath the first lens element.
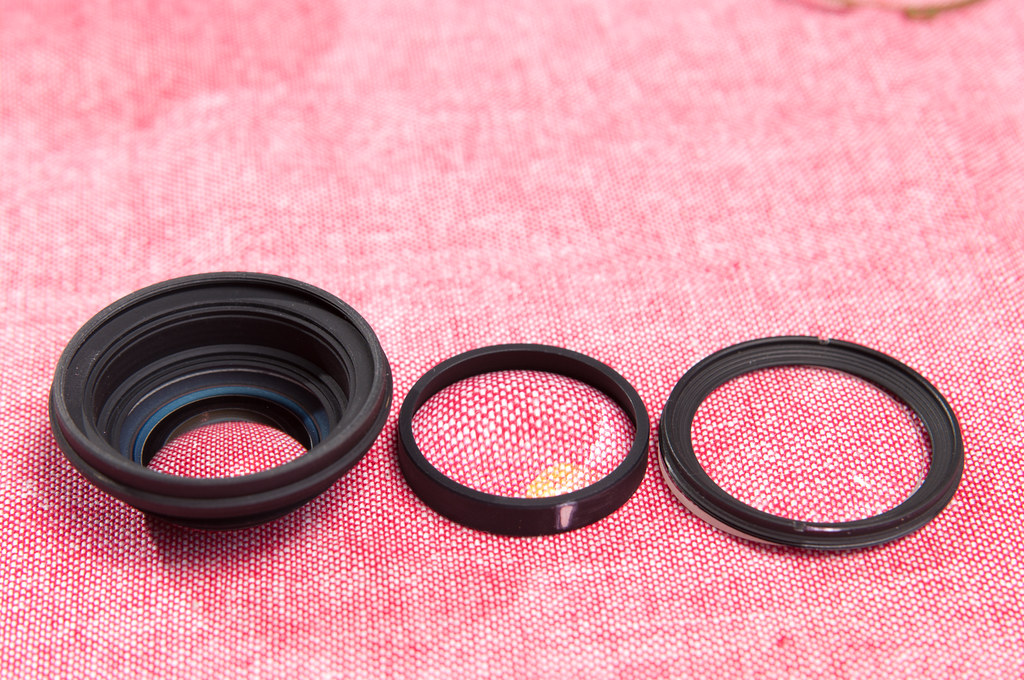
You should now be left with the the elements from the front group ready for cleaning and also now have easy access to the front side of the 4th element (not shown, but inside the Base behind the aperture blades. Set it to 1.7 manually to access them ).
Simply clean them and carefully polish them. There is some varied suggestions to removing the fungus - some suggest using Cold Creme and then letting it harden for an hour before removing with Zippo Fluid or Isopropyl Alcohol. I didn't have any Cold Creme available and it seemed to be removed very easily with just good strong Isopropyl Alcohol.
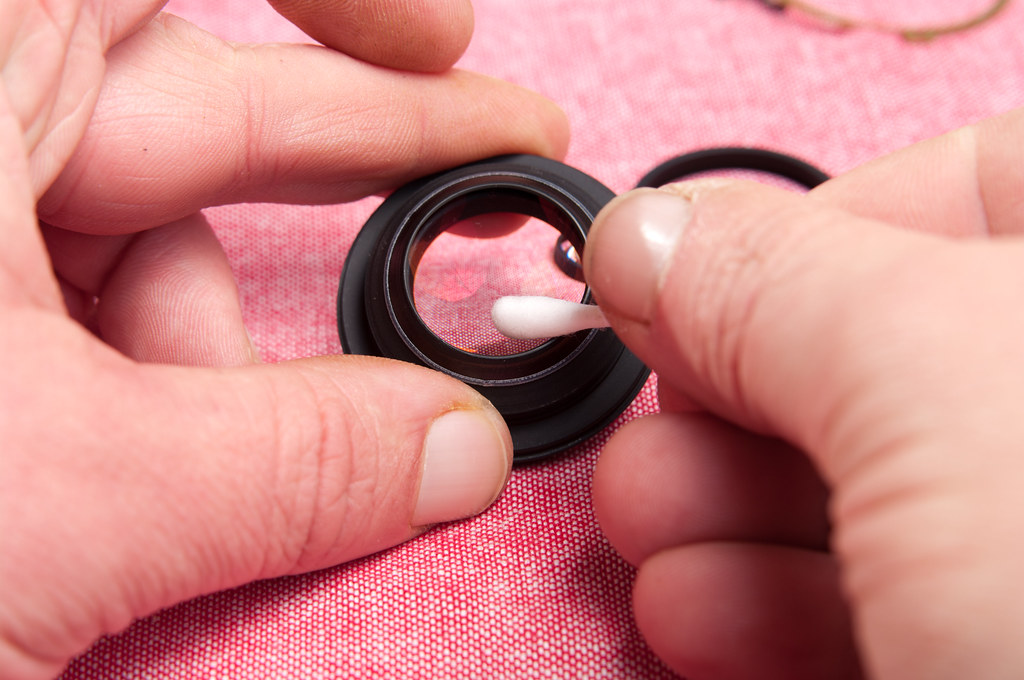
With all the elements cleaned with alcohol, I then used Optical Fluid to clean them all once again and polished them. Using a rocket blower I also blew the lens body out and reassembled the group polishing them each time. Then its simply a matter of reversing the above process to get it all back together ship shape.
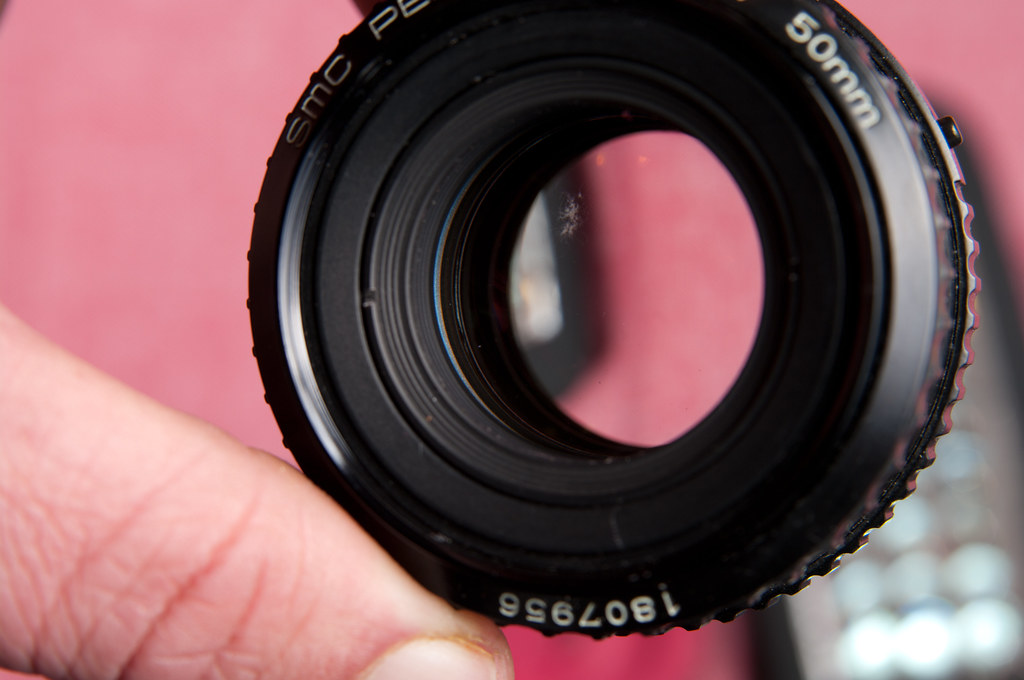
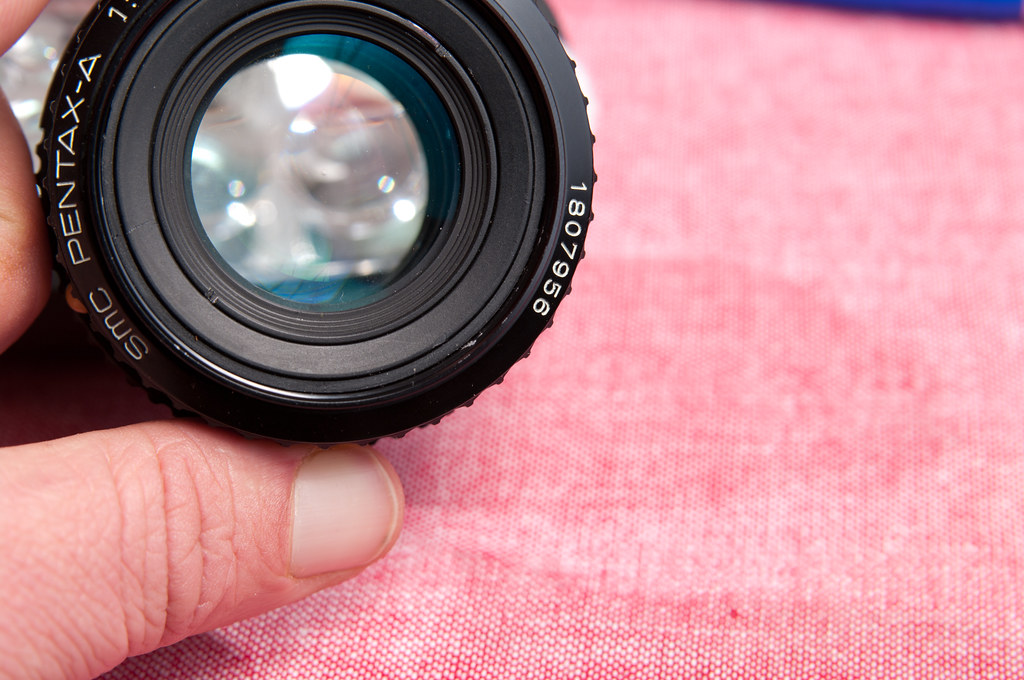
Here is the cleaned lens - I think you can tell its clean and Fungi Free I hope..
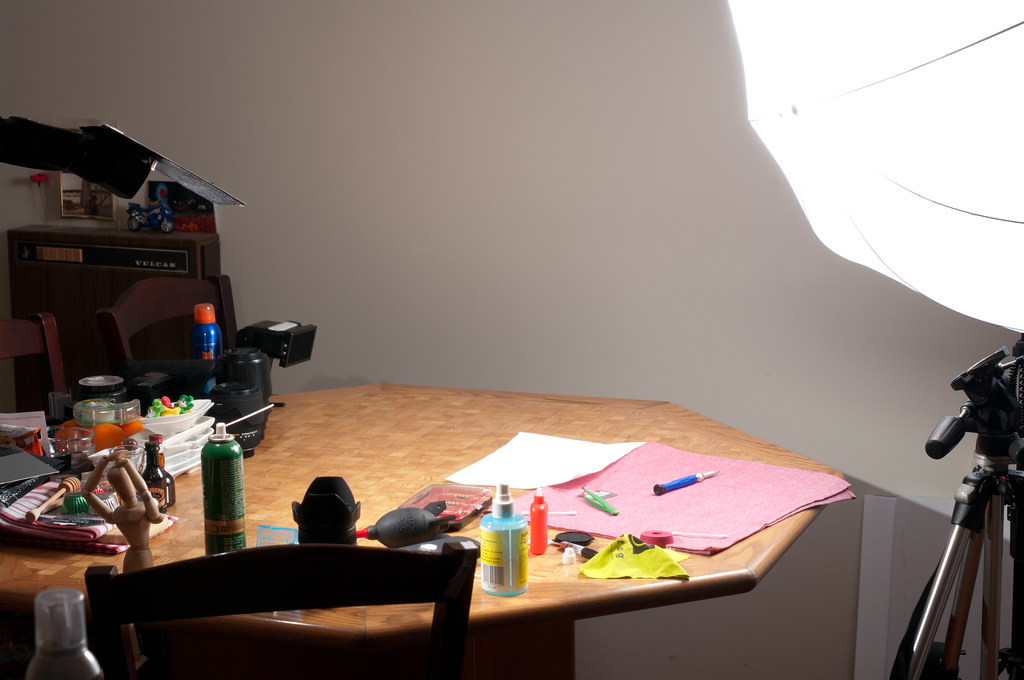
And here is a shot taken through the 50mm that also serves as a quick Strobist Setup shot (Basic cross light, One softbox, One bare for Rim light)
Focus was off a bit sorry - but its mostly sharp


 Post #1 by adr1an
 Similar Threads


