 Originally posted by scratchpaddy
Yes it does! It turns out we do mostly the same things. You just do it better than I do.

What do you use to convert your raw files into something Lightroom 4 can read? Have you ever used the brushes in Lightroom? It has a few. I just started trying my hand at the dodge and burn brushes, and the saturation brush can come in handy too.
My biggest headache in post is colors. Foveon cameras are the hardest to get right, IMO, and Pentax is the easiest, but the only Canon I've used was a point-and-shoot years ago. The Sony falls somewhere between, which seems weird to me, since my Pentax also uses a Sony sensor.

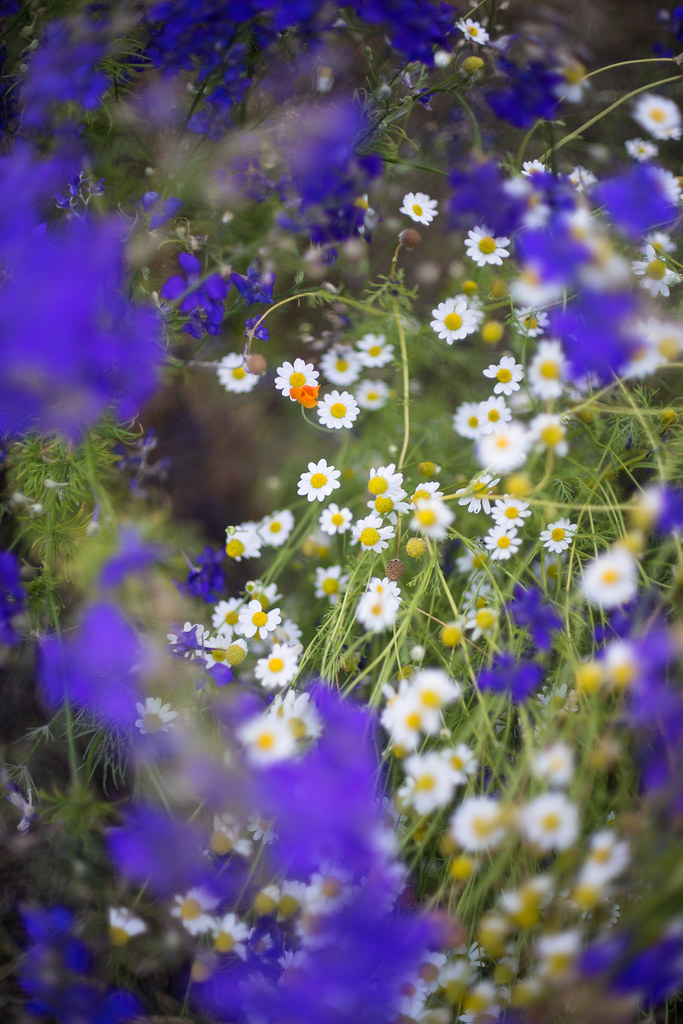
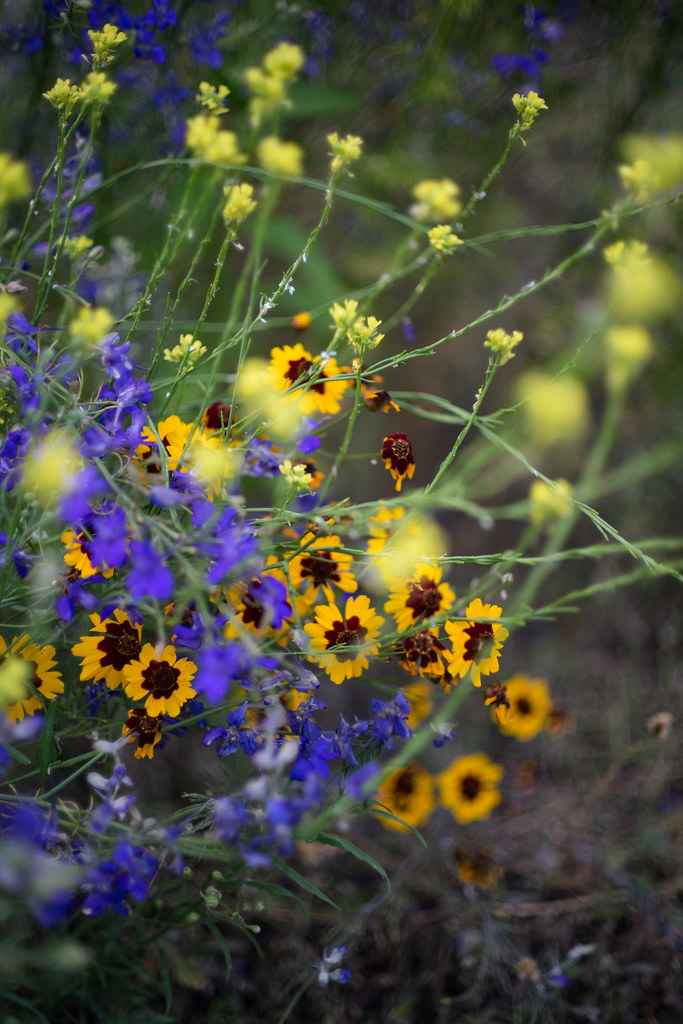
I'm usually changing around individual channels, especially orange and yellow.
urth-of-July-2014/i-p9jWXfs/0/O/2014-7r%20285-O.jpg"][/URL]
I need to convert them with the free adobe DNG converter first.
For brushes, yes, I started using them once I got hold of LR4.
Makes a big difference and often I just use it instead of going HDR or exposure blending if a single frame does not have clipped highlights.
To me,
Canon got the best skin tones (not correct, but pleasing); (it was a 5D, so it may be different on another model)
Pentax I prefer for everything else other than skin tones.
Sony, too yellow (and still struggling at this point to get consistently get correct)
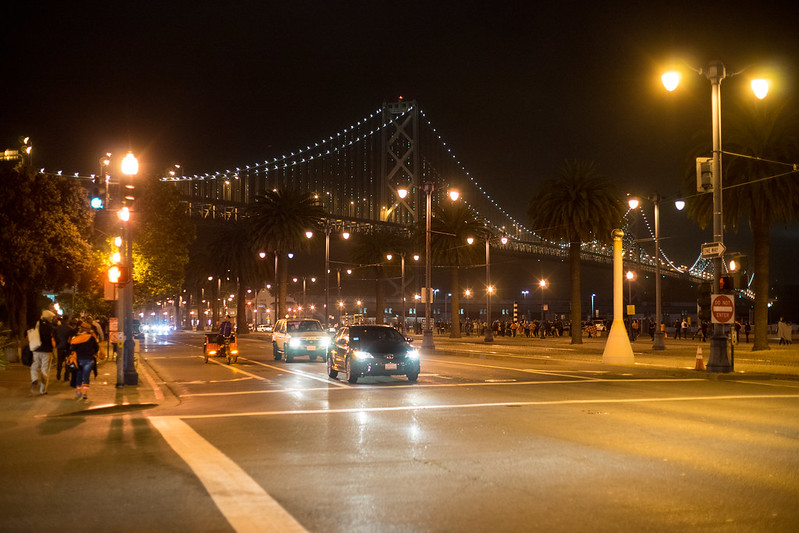
Originally posted by hinman Thank you so much for the help. I use the most current 5.5 version of LR. I shoot raw but I find the default raw conversion on LR to involve quite a bit of work. And I usually have to tune on clarity, tone cure on light, highlight and shadow to get the visual pop. I have the most issue on color especially on the warmer tone at night pictures. Here is a sample that is not adjusted well for the warmer tone at night
DSC07771
If I have to adjust the Orange and Yellow warm tone, which should I focus on as there are three areas on the per channel adjustment
I tried all of them but I can't seem to have a handle on the correction.
Try to play with the white balance first, then exposure.
You will be surprised how overall WB and exposure will change the look of different colors.
But in some situations, there will be too much mixed lighting in which case, I will just correct for the thing I want or use a brush with the WB adjusted (or layer in PS if the shot is important enough to warrant it)
The settings you mention to get more punch, I would save it as a preset (often a more conservative 'middle' setting)
I'd load that preset as default when loading in the new files.
If they look right, thats it.
If they look wrong or can be better, I revert to original settings and/or tweak from there.


 Post #703 by pinholecam
 Similar Threads


