 Originally posted by Nesster
C41 b&w of course has its own character, different from the silver based b&w films (and each of which... and so on). And each of these is different than digital (and each of which... and so on...)
Consider that in any medium and era, getting the best possible results (however you define them) is expensive and/or time consuming. The expectation that a relatively cheap scanner can produce the best results possible is something one ought to check at the door. A better question is what produces 'good enough' results, whether digital or film.
I find that often, though not always, a CVS drug store scan is good enough for my ordinary purposes. I can clearly see the differences between good and mediocre lenses, for example. But yes, more quality (and size) can be had. Depends on what you need it for.
I think Nesster's comments make a lot of sense. If you're looking for first class results, there's no substitute for doing it yourself. Most commercial scanning is butchery, producing images that may look good to the casual observer but chopping off highlight and shadow information necessary for best results, and irreversibly over-sharpening.
You need to develop a feel for what a good image looks like, and spend a lot of time acquiring the technical skills and artistic sense to translate your vision to a finished product. I started doing darkroom in 1973, and began scanning in 1995. I've prduced many thousands of images for publication.
From my perspective, scanning is a simple process that is based on not screwing up the image, rather than attempting to do fancy adjustments in the scanner software. Just capture the full tonal range and all possible detail, and do the real work in Photoshop. Even my Photoshop work is quite simple. My approach is based on techniques involving dodging, burning and tonal corrections I learned through many years of darkroom work, guided by a clear vision of how the image should look.
I have a number of friends who endlessly spend money and time looking for the perfect plugin, when what they really need to do is decide how their images should look and go for it with some basic tools.
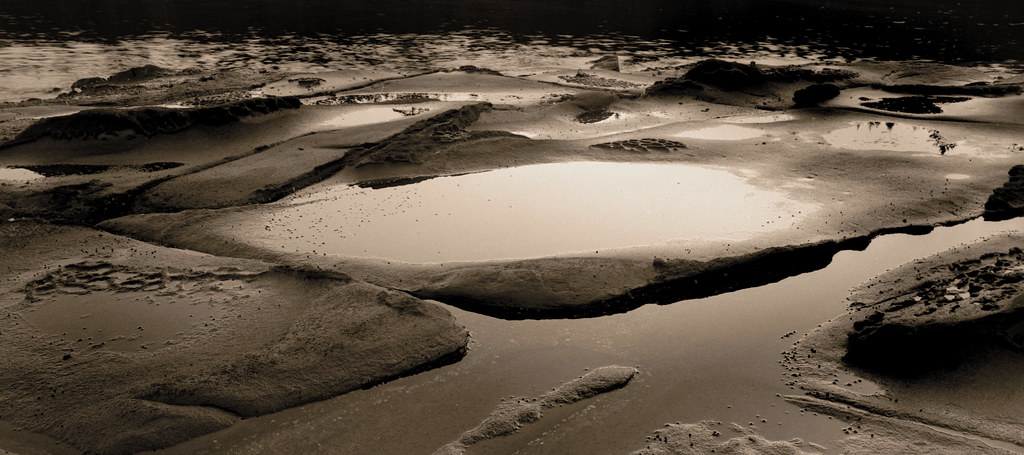
The image below was shot on Ilford XP2 with a K 28/3.5. It was scanned on an Epson V700 at 4800ppi, 16 bit grayscale. Photoshop tools used were crop, levels, curves, dodge and burn, image size, smart sharpen, and healing brush. After major editing was done, the file was converted to 24-bit RGB and given a simulated palladium tone using a free plugin (TLR). Curves were tweaked very slightly. The finished file is 20 inches across at 300ppi. Photoshopping time was about 20 minutes.


 Similar Threads


