After the camera covering was removed from the front as shown in a previous post, installing the new covering was fairly easy.
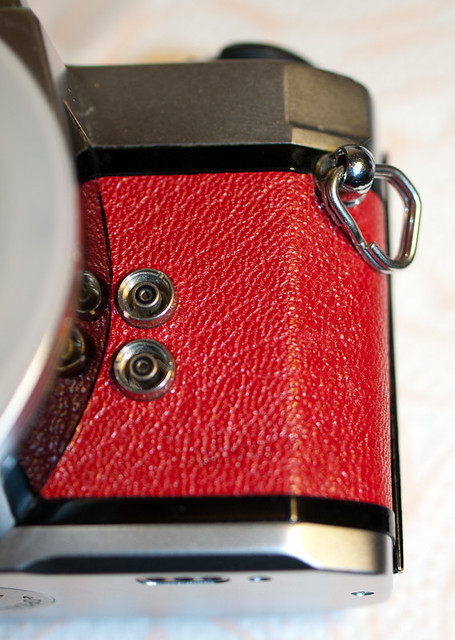
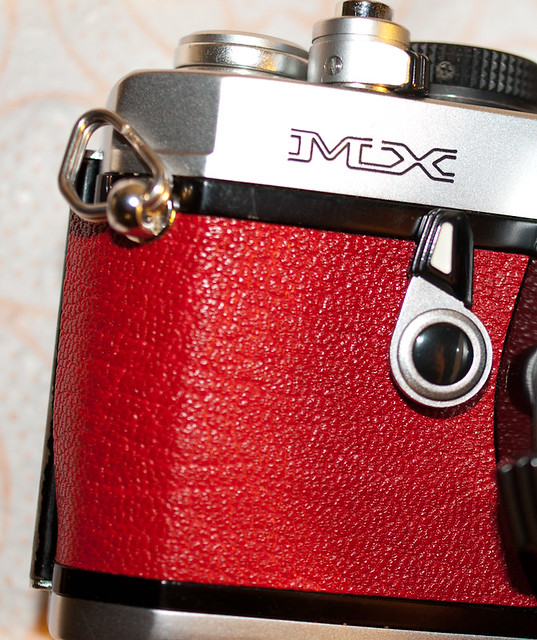
Perhaps the most important aspect was lining up the covering so it looked neat and fit properly. In the photo shown above, I carefully wet some areas of the adhesive and only stuck down the edge closest to the K mount first. After I was satisfied, I carefully laid down the rest of the piece, ensuring that it lined up properly.
At this stage I must apologise for not taking more photos of the work during this phase - at the time I simply wanted to get it done!
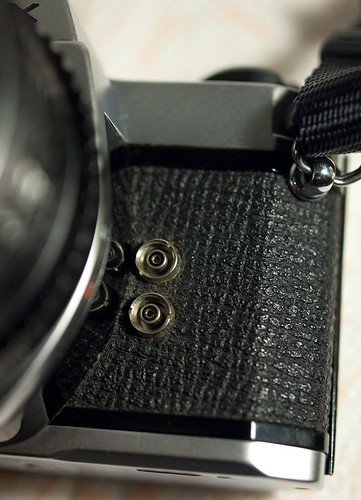
By about now I really got to see how well this particular kit fitted to the camera body. In the image shown above there appears to be a small gap - I managed to smooth this out somewhat and when looking at the camera in person the fitment looks just fine

The hardest bit for me at this stage was sticking down the right most edge. But after a while of repeated 'massaging' the piece was securely in place!
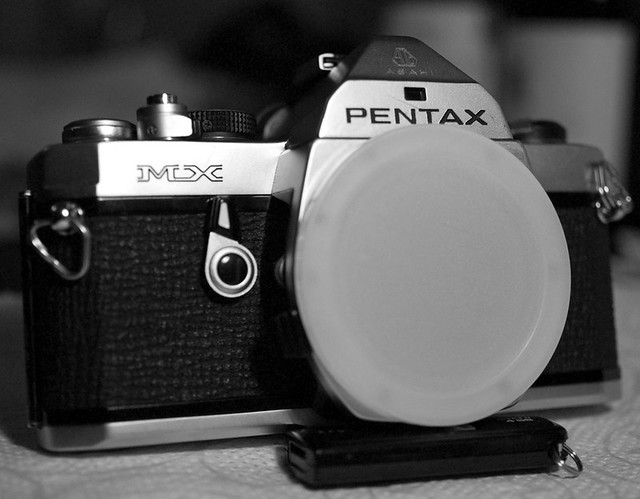
With both front pieces now in place I had done enough for the evening and ended up with something like this...

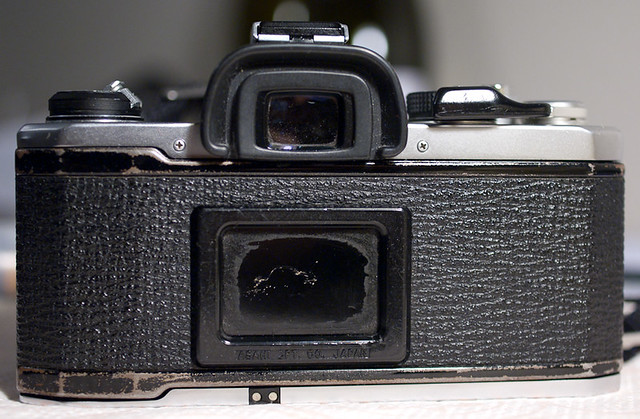
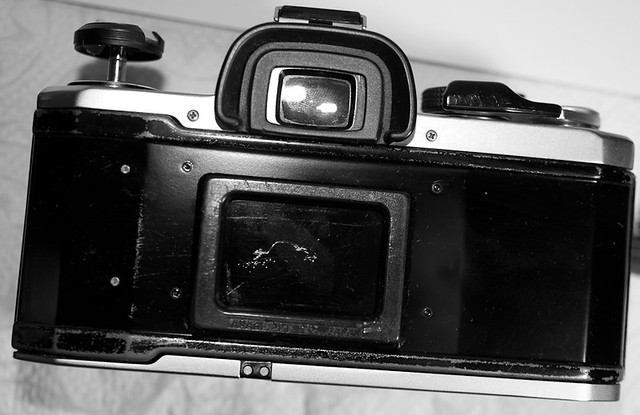
At this stage my little MX was already starting to look much fresher, but the hardest job loomed - fixing up the rear film door. Before getting to that stage I did perform a trial fit. Basically just placing the rear covering on top of the film door, keeping the plastic backing in place so it didn't stick just yet.

Next update I will get onto repainting the film door. This made me a bit nervous, as I'm really not that good at painting things nicely!
cheers,
Jason


 I am happy to say Spring is here! Hopefully it will be for you too soon.


 Post #17 by goddo31
 Similar Threads


