Well, I struggle weekly with scanning colour negative film, to the point where the best way to get accurate colours is to scan as a positive in the holder, and use the leader to set white and black points on the histogram (use the exposed black portion as the black point, and critically, the unexposed transparent orange mask as the white point). Then I scan as positive .tiff, open in GIMP, invert, save, then go into LR for my usual white balance punch/saturation,sharpening etc, which takes so long because of the low density. I can't seem to get the Epson software to keep colour correction and auto-exposure separate, and I can't seem to keep the histogram 'saved', so I have to manually use the marquee tool to select each frame.... silverfast or vuescan demos left me wanting with their implementation of multipass/digital ICE.
So I shot an old roll of Provia I had in my freezer all winter, it was given to me in a bag of film from a local pro photog.
Scan, open in LR, tweak white balance, punch, flat contrast, minor sharpen. Pretty effortless! Really need to expose bang on, as there's not much latitude to boost shadows, and the density is a challenge for my flatbed Epson V500. Resized from 3200 DPI .tiffs.
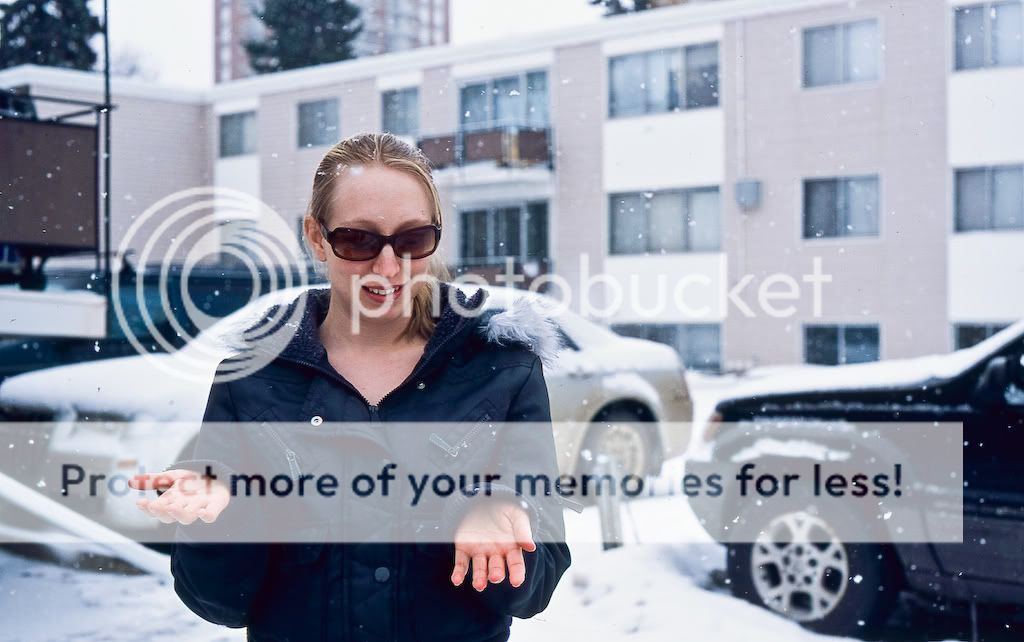
Holls enjoying a spring snowfall.
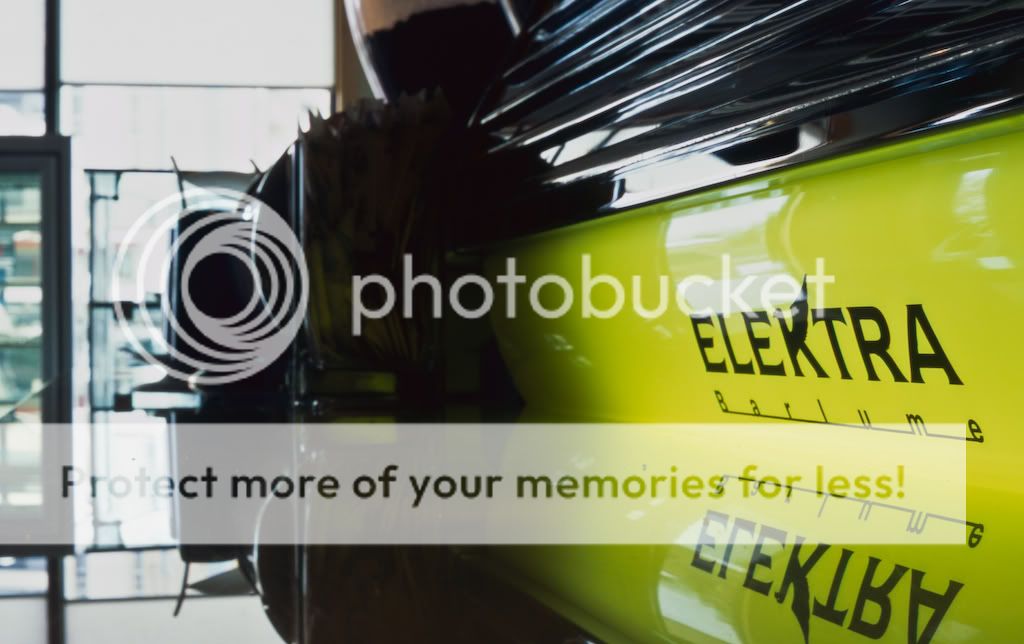
Crumbs on the counter at Da Capo cafe. Green from fluorescent light in the espresso machine.
Downtown from Oliver Square, a bit of extra contrast (too much?)

ISO 100 is a challenge for me, but the ease of scanning and processing makes it SO worthwhile. It was only $8.00 CAD to send away for development. Took 2 weeks though.


 ... great in MF
 .
.
 I'm currently infected with Velvia 50


 Similar Threads


