|
Forum: Photo Critique
12-07-2014, 08:44 PM
|
| |
If you put a gray card or color chart under the same lighting, preferably with the model in the frame, you can use it as a reference in your editing program. You should be able to click on the gray card with a medicine dropper to remove any extraneous color casts.
One thing to remember is that your subject is lit not only by the light source, but also by light reflecting onto her. In this case, she's essentially got a big pink bounce board throwing pink light onto her, and it is showing in her skin tone. If you try the method I mentioned, you should be able to remove the pink cast from her skin, to get a more natural tone.
|
|
Forum: Monthly Photo Contests
07-02-2014, 04:58 PM
|
| |
The delicate tissues of a leaf decay, revealing its more resilient skeletal network.
|
|
Forum: Post-Processing Articles
09-19-2011, 08:57 AM
|
| |
Here is an article that I wrote a while back for another forum.
I like taking night shots. Due to the high dynamic range in the scenes (bright lights and very dark shadows) it's best to take a series of shots at different exposures. Then you need to put them all together into one.
The method I use is not that different from the image stacking that is described in the macro forum. But instead of focus stacking (discussed over there) it is exposure stacking. From a series of exposures you pick the right exposure for the different parts of the shot.
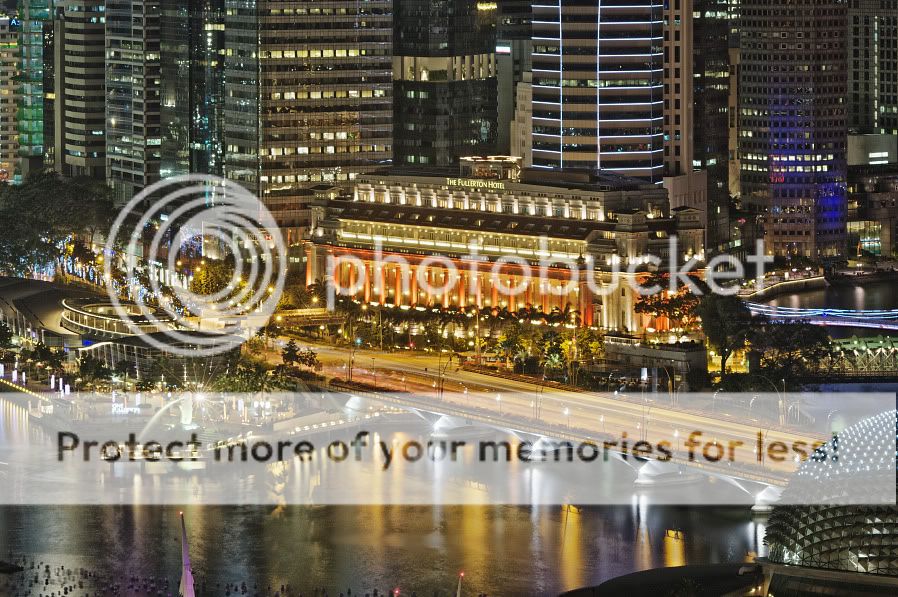
First prerequisite is of course an interesting scene to shoot. As I was in Singapore for a holiday there was no shortage of that. The example here is the Fullerton Hotel at Marina Bay. I did shoot this scene on the very first evening from the hotel balcony.
First you need a stable tripod. Then select the scenery and tighten all the knobs on the tripod. Focus carefully (sometimes not easy in the dark).
I did a series of exposures, using aperture priority at A8.0 and -2.5 to +2.0 EV in steps of 0.5 EV. So I ended up with ten exposures:
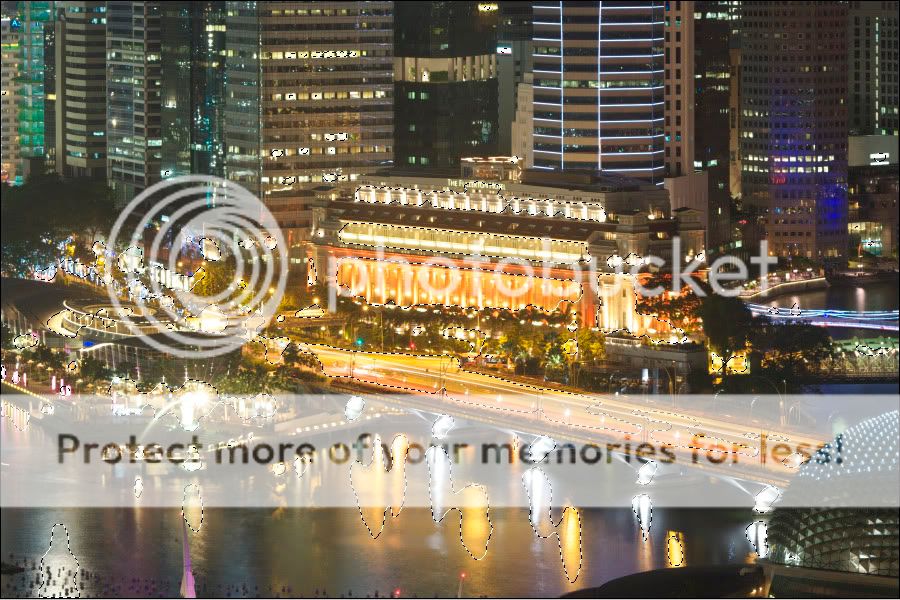
This is the darkest:

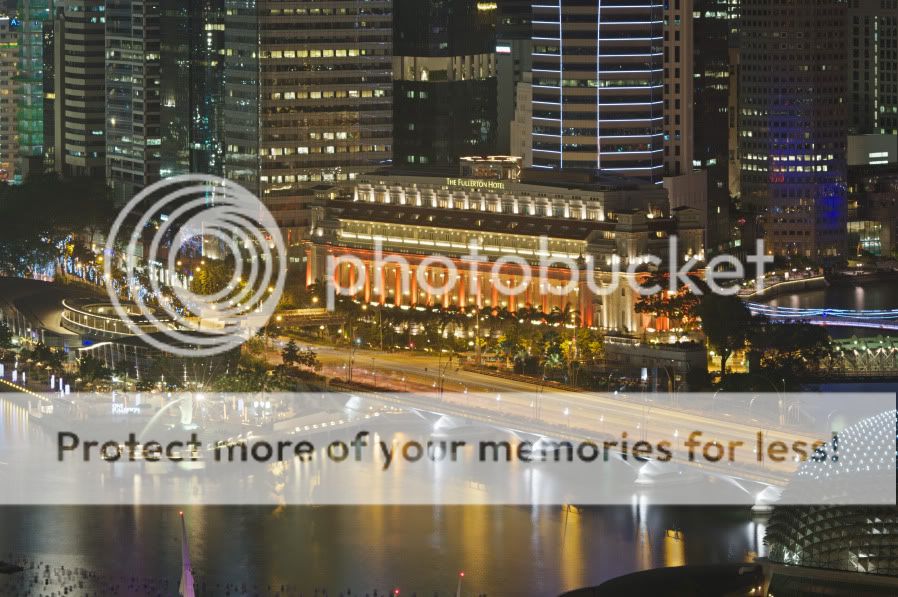
And this the brightest:
[img width=850 height=565]http://i156.photobucket.com/albums/t5/Prieni/howto%20night%20shot/_PRI7788brightest.jpg[/img]

All were developed to TIFFs in SilkyPix from the RAW images. The technique should work equally well with JPGs, though.
Next I loaded them up in Photoshop, starting with the darkest (-2.5 EV). Then I opened the -2.0 EV exposure and put it on the first one as a new layer. On top of that the -1.5 EV one and so on. So I end up with seeing the brightest one on top. I selected that top layer.
Now I selected all the bright parts in the image (Select, Color range, highlights works but CTRL+SHIFT+ALT+~ does the trick as well).
You see the selection "ant-street" around the bright parts. Now I used the Feather... command from the Select menu at 30 pixels and then I added a layer mask with "hide selection" option.
Here is what the result looks like when you use a pure black background layer. Remember, this was the brightest exposure and what you see here is the contribution to the finished product:

Do you see how all the overexposed parts have disappeared?
While leaving the top layer (that I just worked on) enabled, I now select one layer down (the +1.5 EV exposure) and start the same process again (CTRL+SHIFT+ALT+~, then feather 28, i.e. a bit less than before, add layer mask "hide selection").
And in this way I work my way down the layers. The result then is this image:
Now is the right time to save that result and flatten the image (10 layers plus masks at the image size of the K20D does take some memory).
Almost ready...
Now I took the brightest exposure and loaded it into Corel PhotoPaint. This has an image adjust function called local equalisation, which I use quite frequently. It brings out the local contrast of an image. The result is an image that looks like drawn with colour pencils:
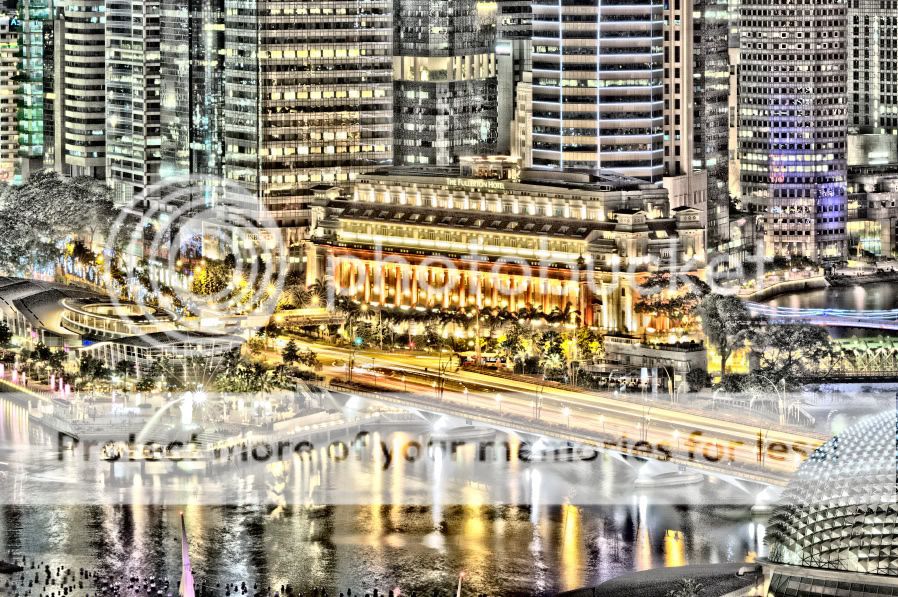
That is loaded into Photoshop again and put on top of the (now flattened) result. Layer mode switched to "soft light". Now I took back the opacity a bit (to around 40% for this image).
Saving, resizing and a bit of unsharp mask and the image is ready:
Of course you can apply a bit of curve correction, de-saturation (putting on the local equalisation layer sometimes over-saturates the result which might not be fitting for all images) or whatever you fancy.
It also is interesting to see what a bit of curve correction in one of the masks does for the image. That way you can fine-tune the lights a bit.
I had used this method before but only on three or four exposures. I probably didn't take bright enough ones also. This time round I am satisfied with the results. I will go out around home some time soon and test this method on my home turf.
There are alternatives to this method, of course. One is very similar, you stack the exposures the other way round, i.e. the darkest one on top. You select the lights again and do the feather on the selection, but this time round you add a mask with 'reveal selection'. Then you work your way down.
And last not least there are methods to save a lot of manual work (but also limiting your freedom to adjust things and fiddle around with them) using a HDR software. I downloaded a trial version of Photomatix (there are other similar packages out there) and after a very short time (and without knowing in depth the parameters) I already got a very decent result:

I only can imagine what would be possible if I really knew what I am doing in Photomatix, so the above result is more like a worst case!
I hope that I was able to inspire you to go out with the tripod (or bean bag or whatever) and take some exciting night shots.
Prieni
P.S.: The images are a bit sharper when you click on them.
|


