HD Pentax-D FA 70-210mm F4 ED SDM WR
Sample Photos
There is probably no better way to judge a lens than by looking at the images it produces. In addition to the various lens club available on our forum and the sample photo search system, we've provided this gallery of sample images for your perusal.
Pentax HD D FA 70-210mm Sample Gallery
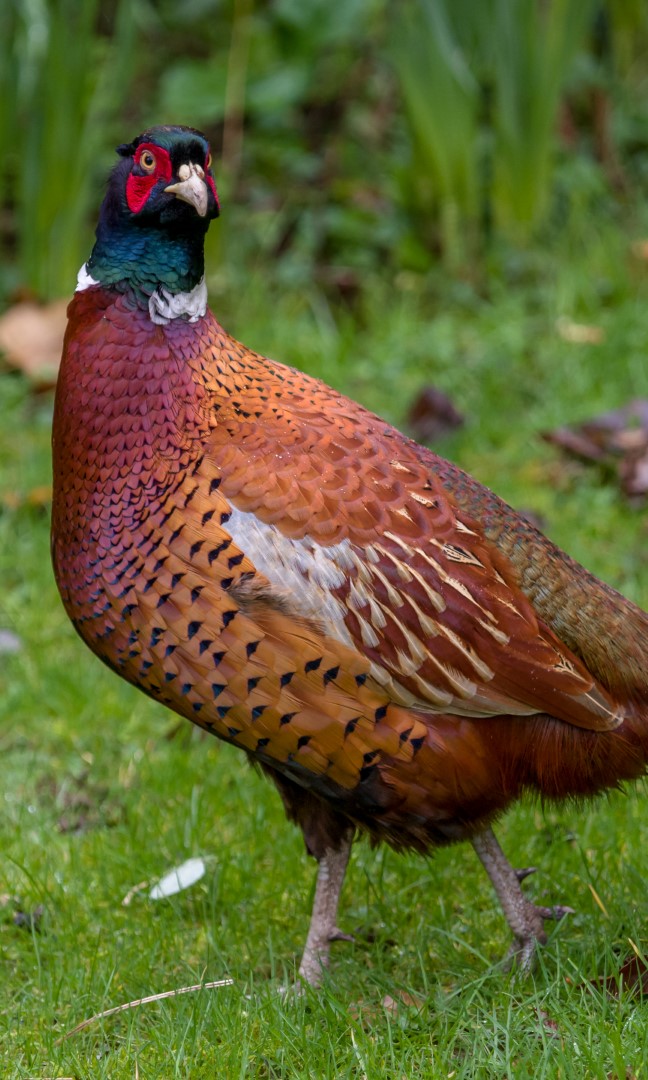
This gallery contains images shot with full frame and APS-C cameras in a variety of scenarios. You can cycle through the images by clicking on one and using the left-right arrows. Many thanks to the users who contributed to this gallery. Whenever possible, we try to include information about the image parameters.
|
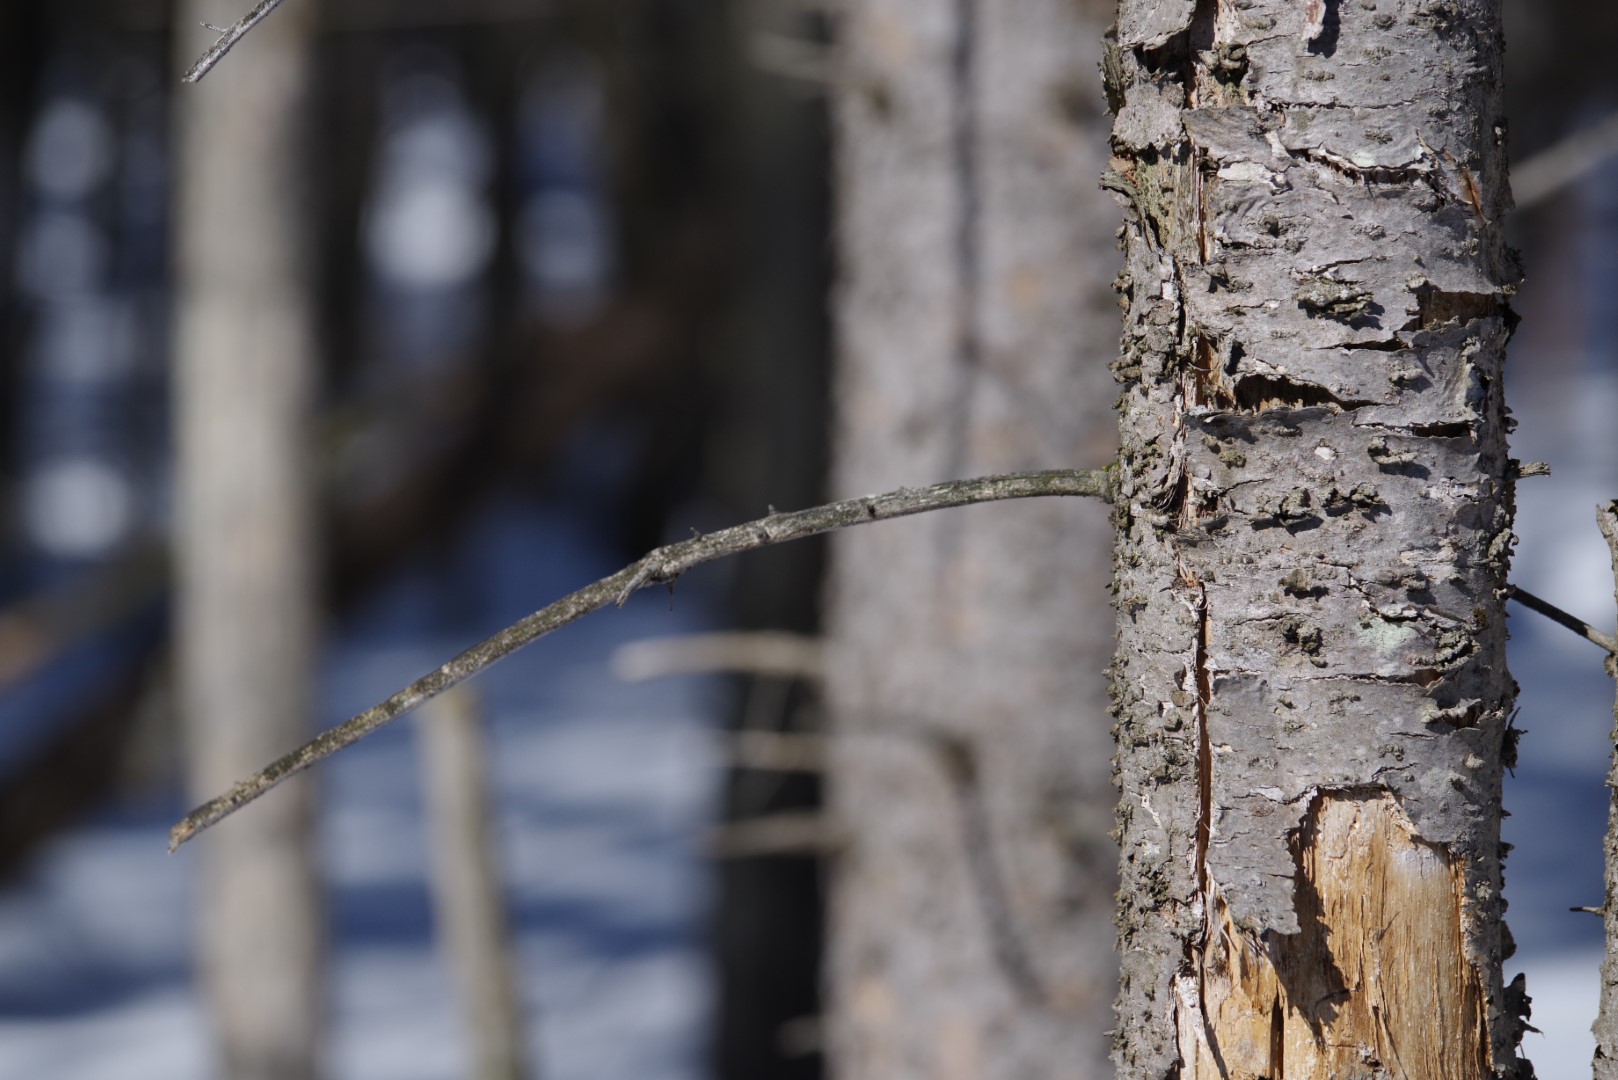
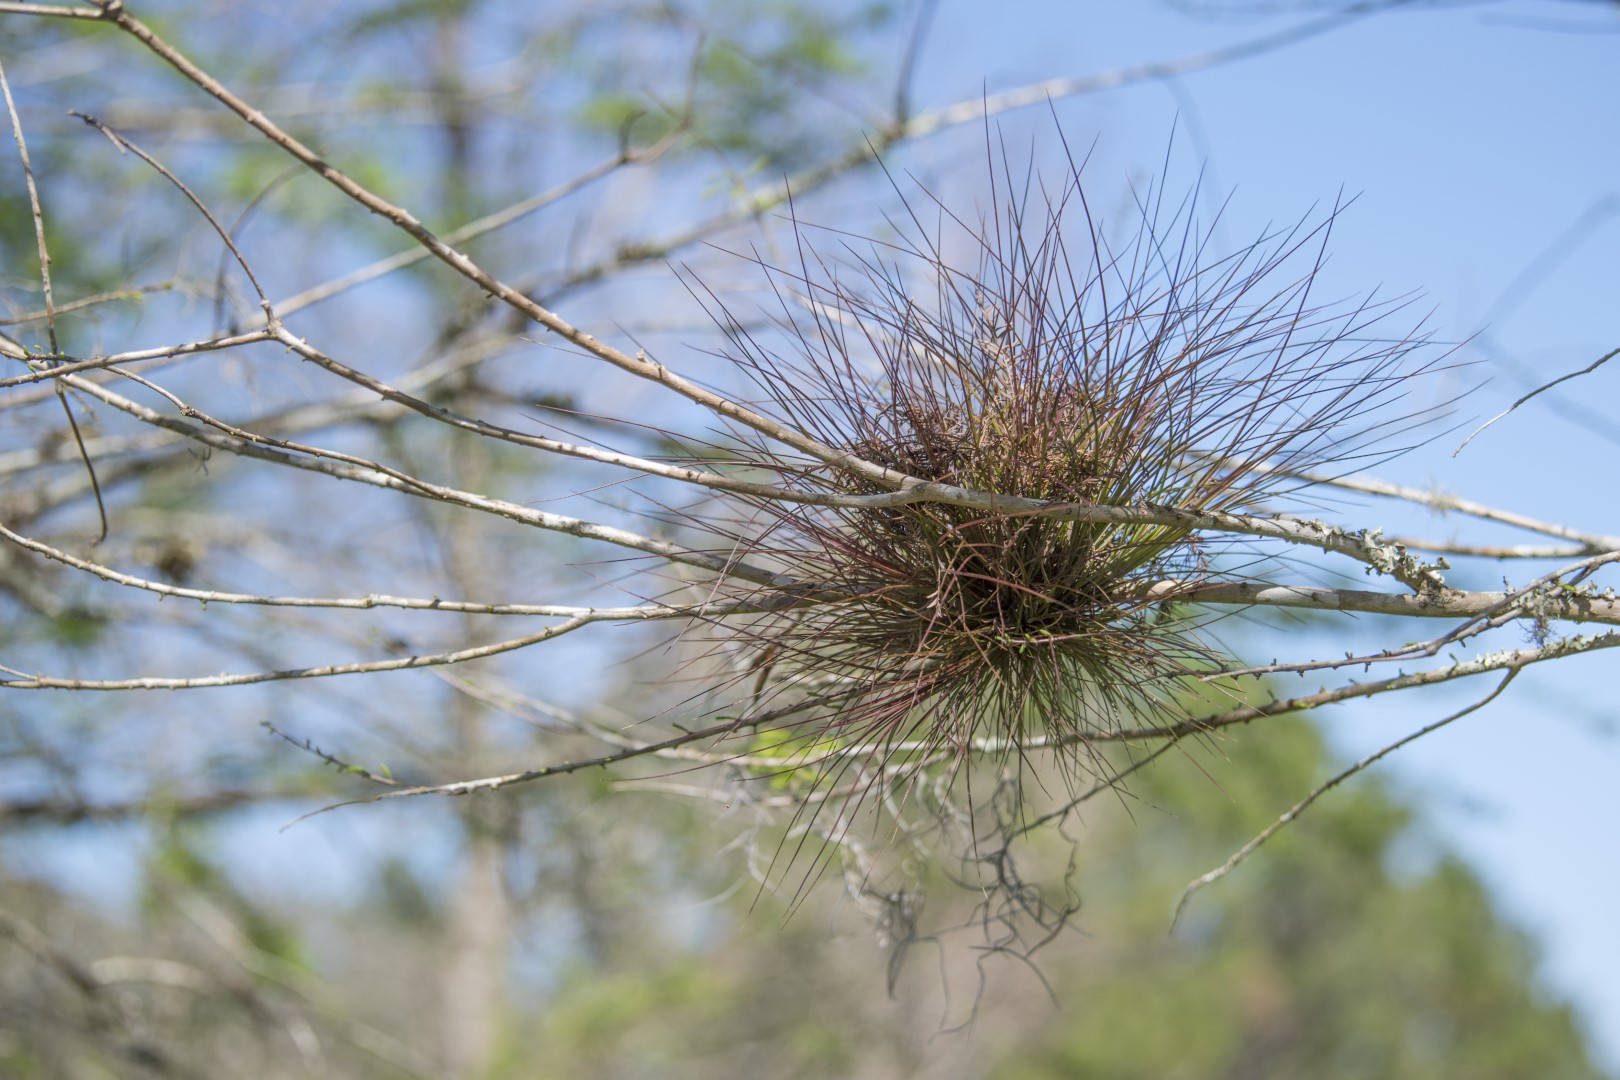
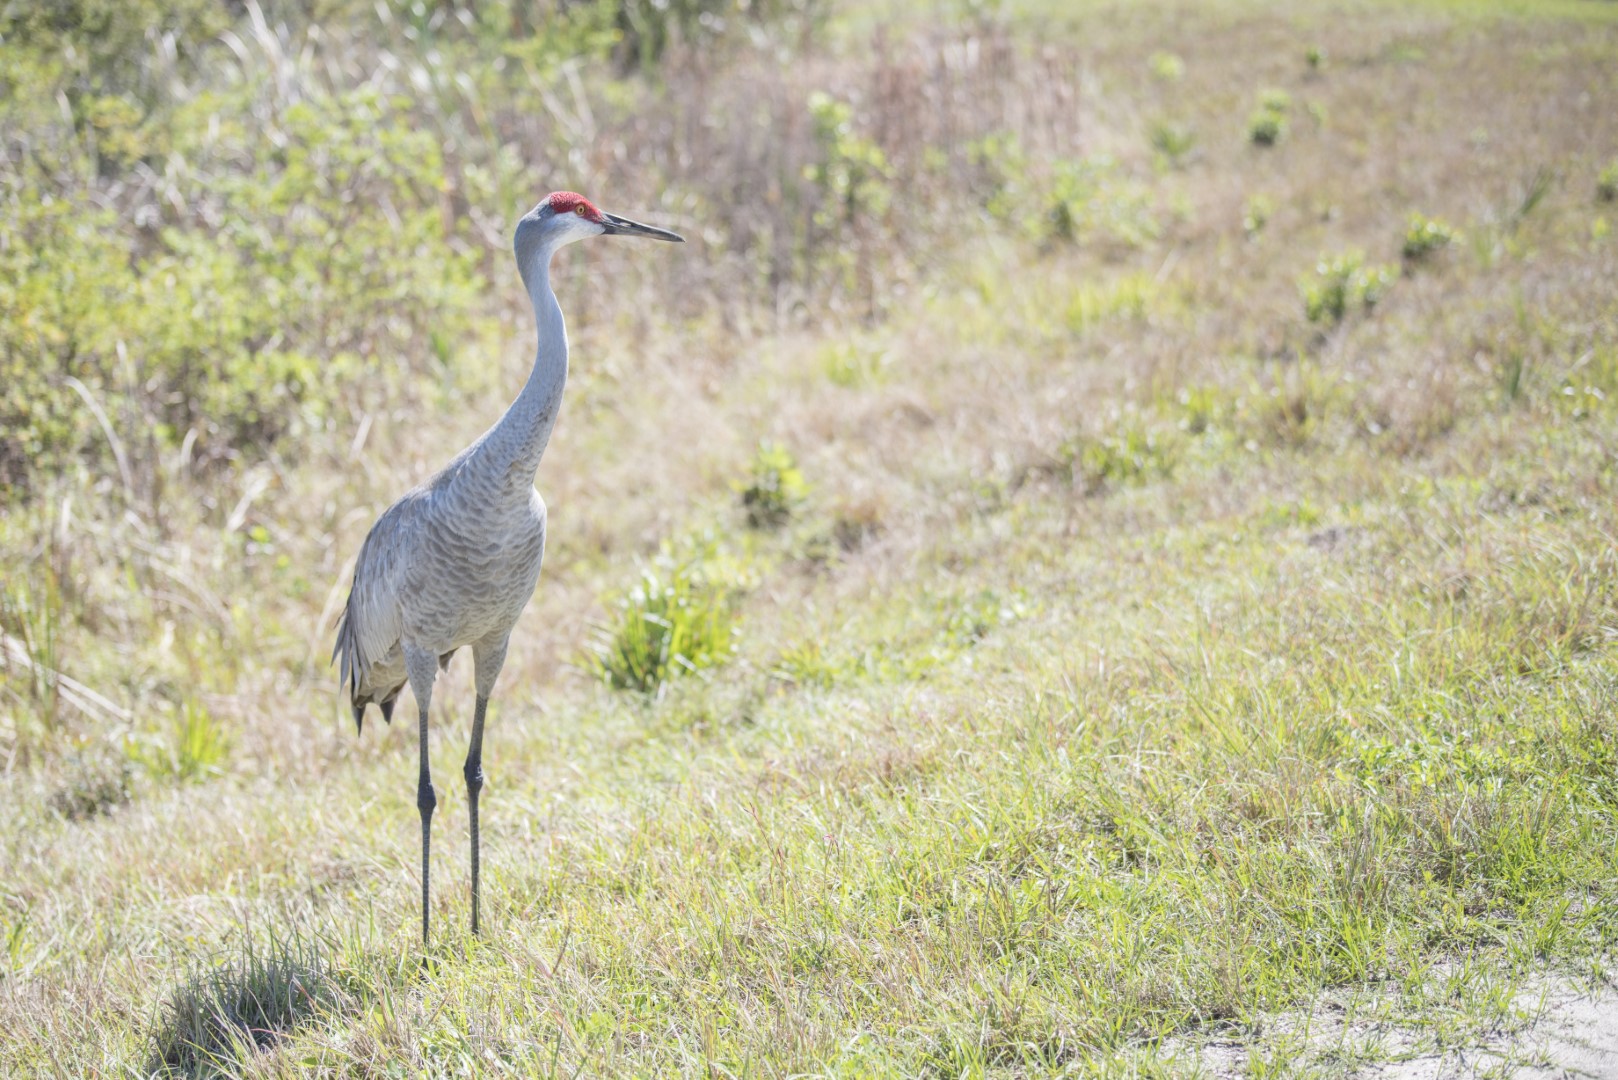
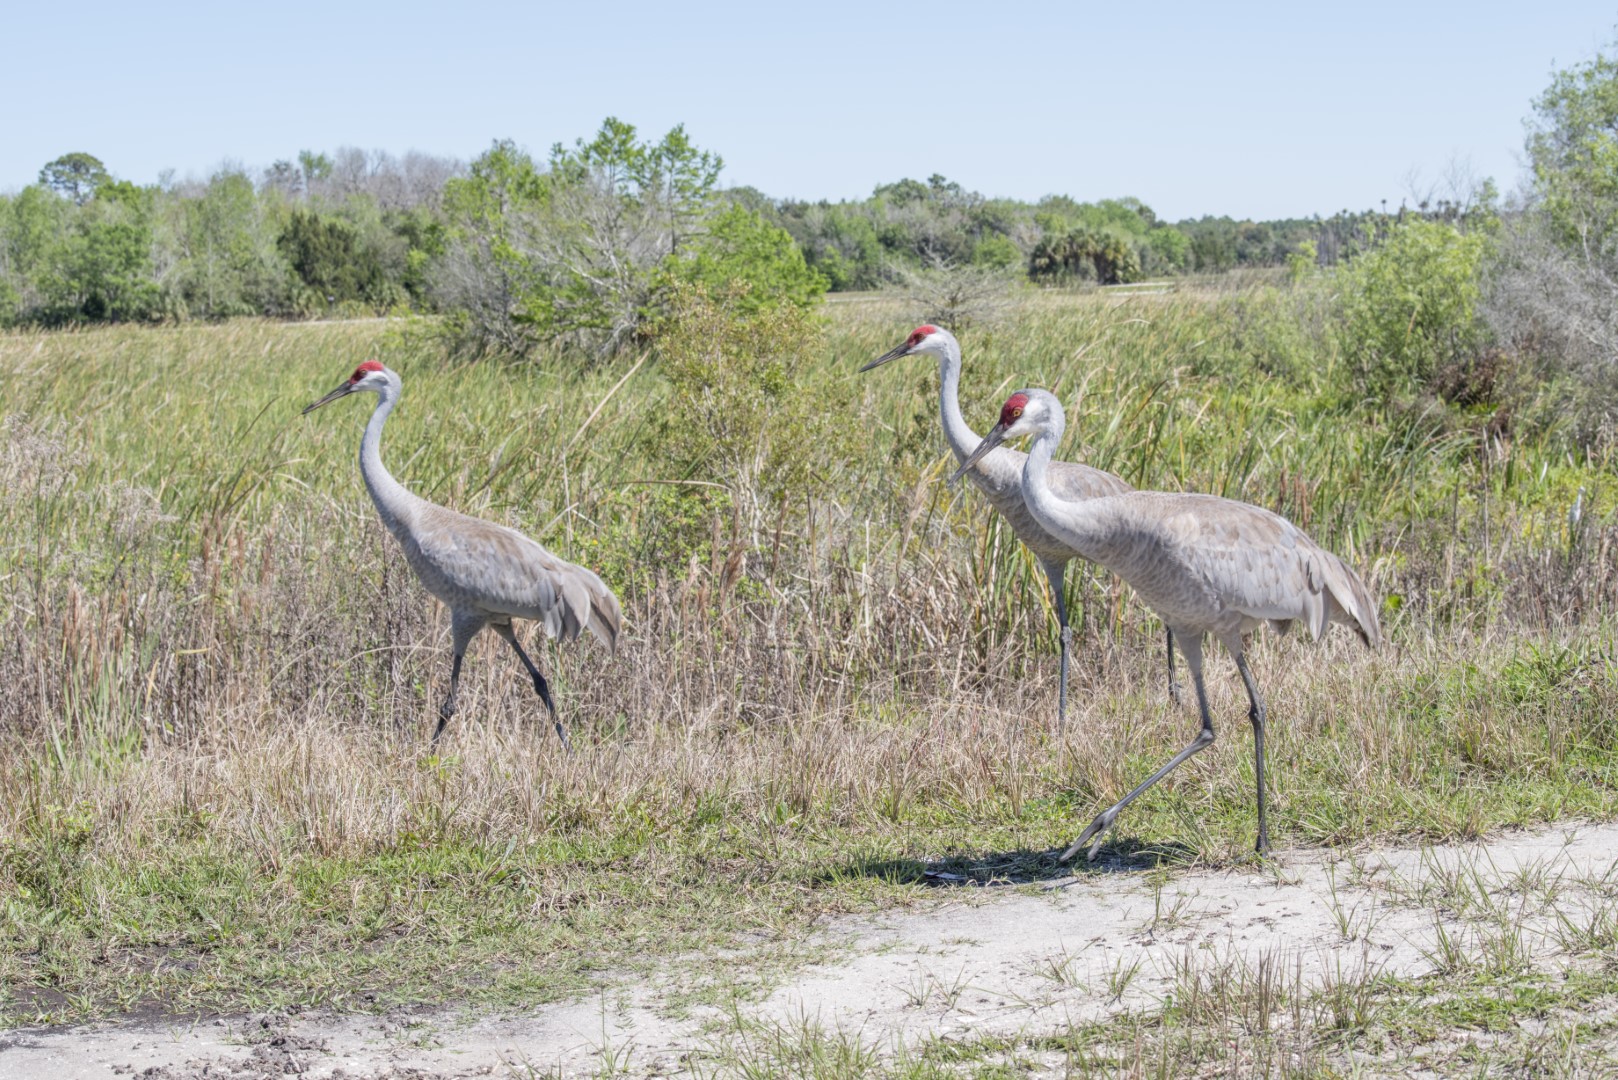
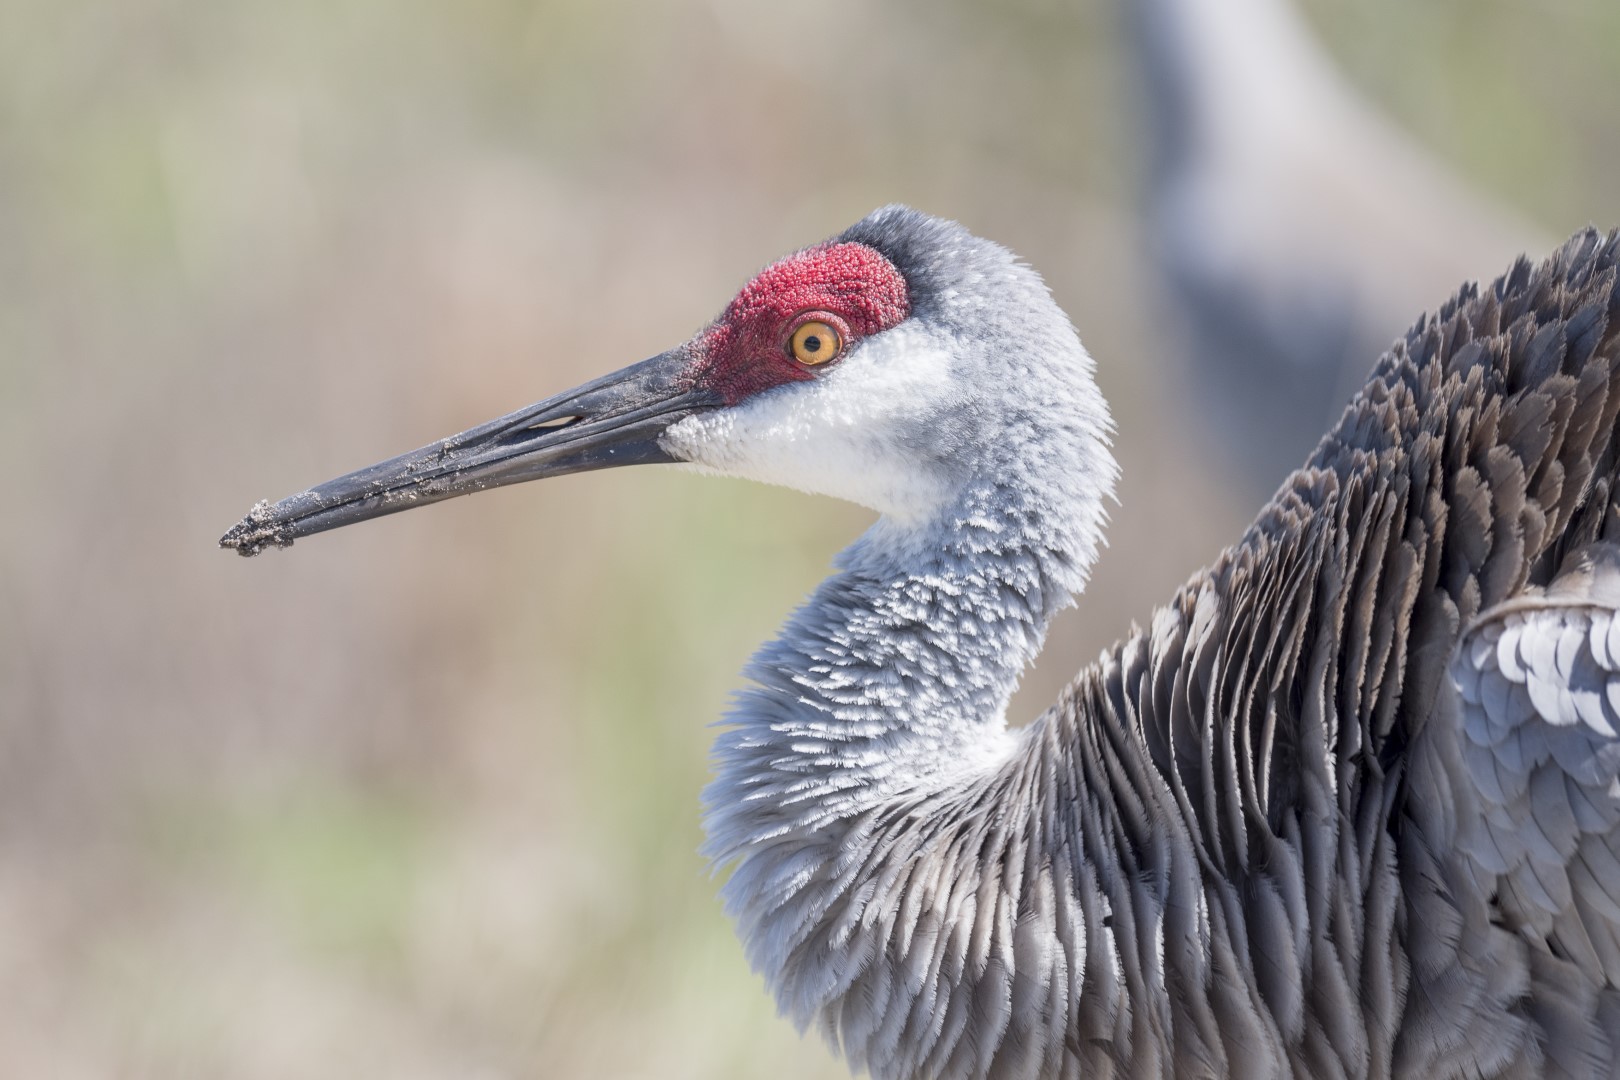
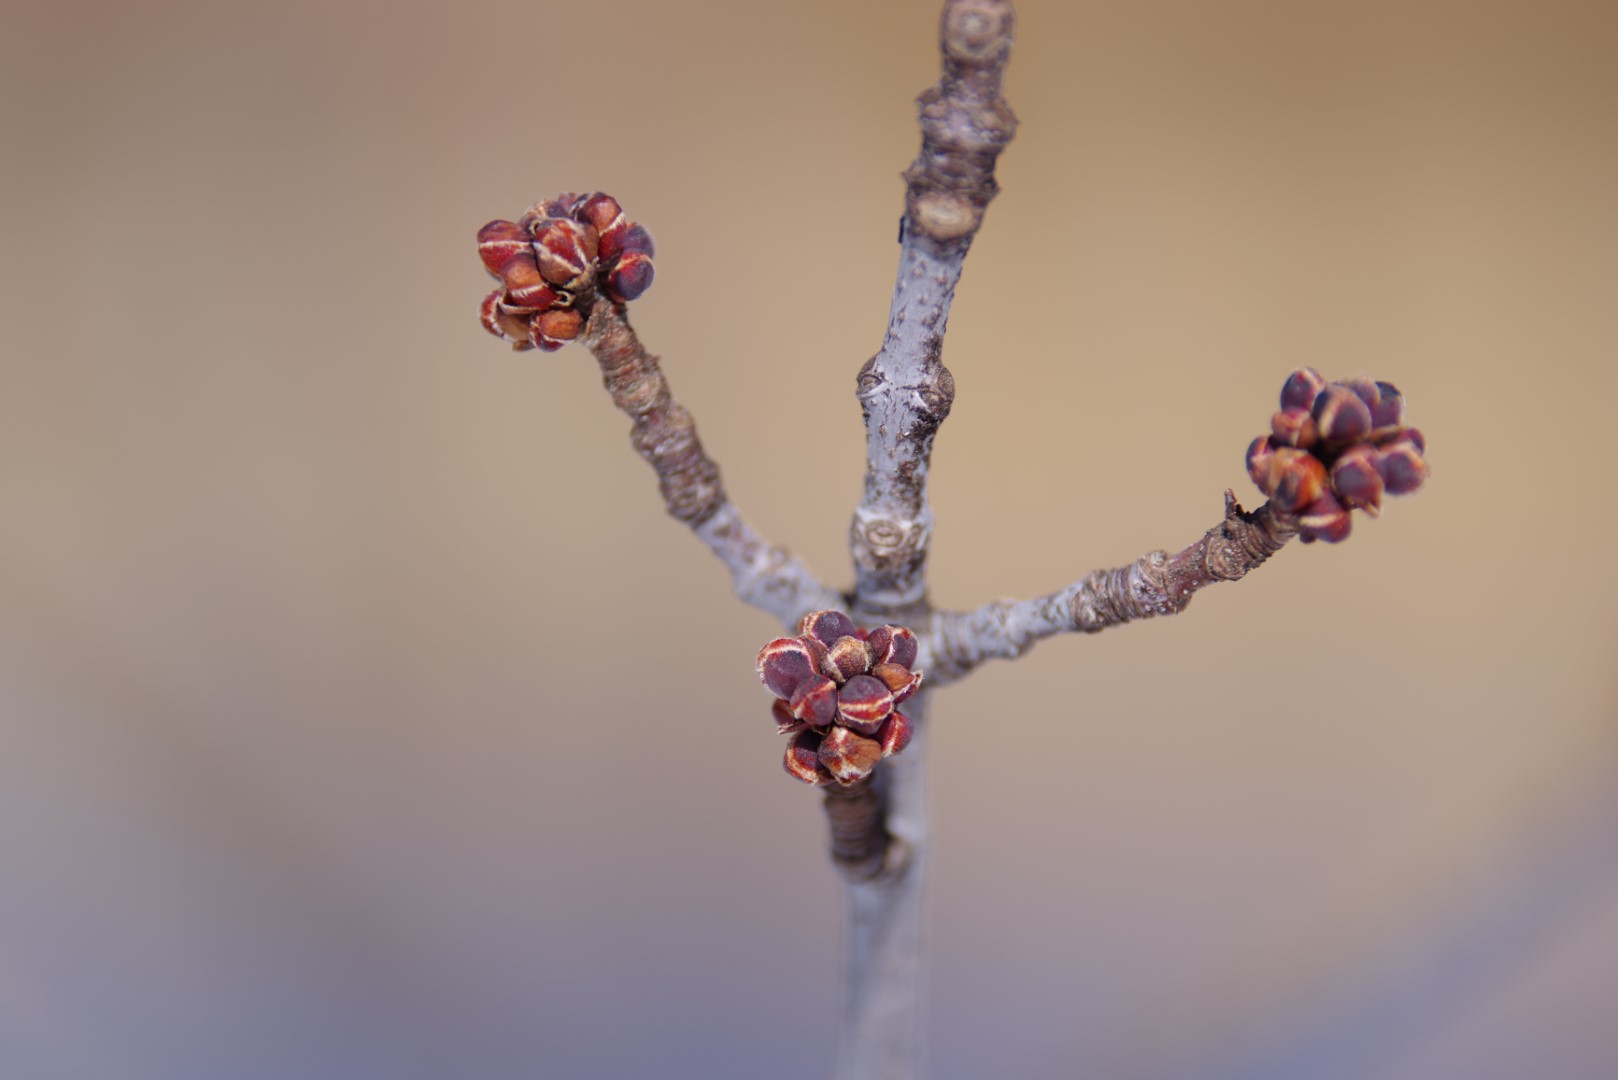
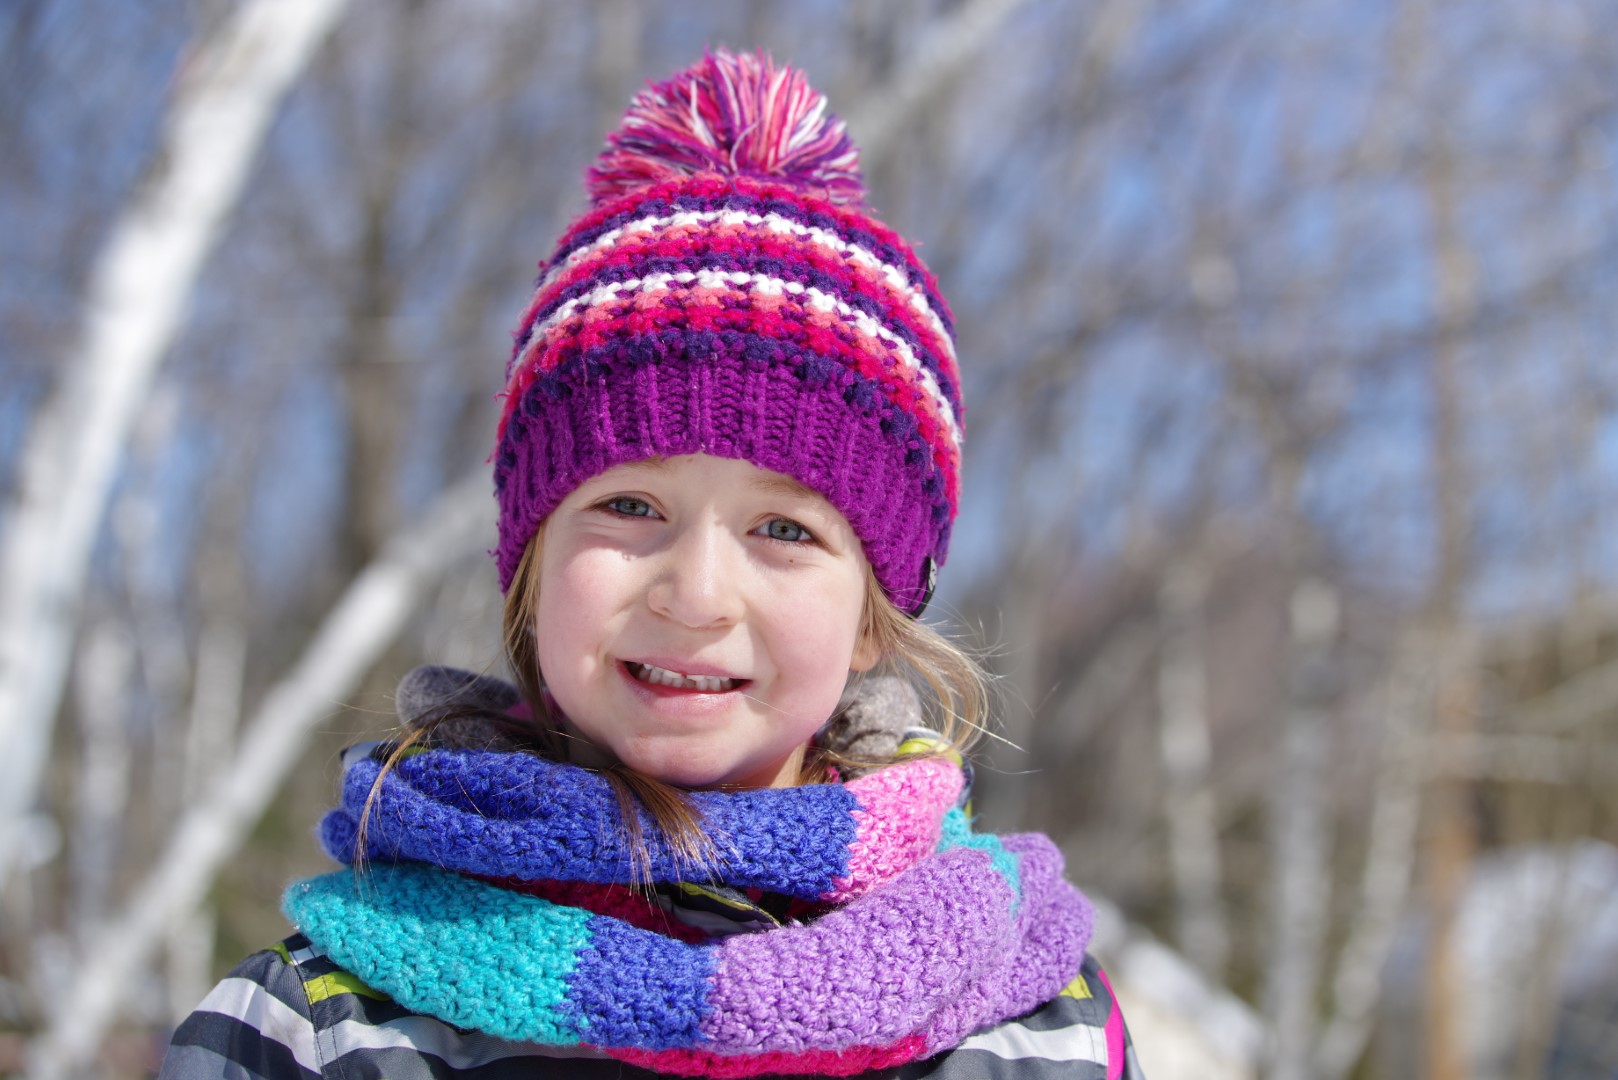
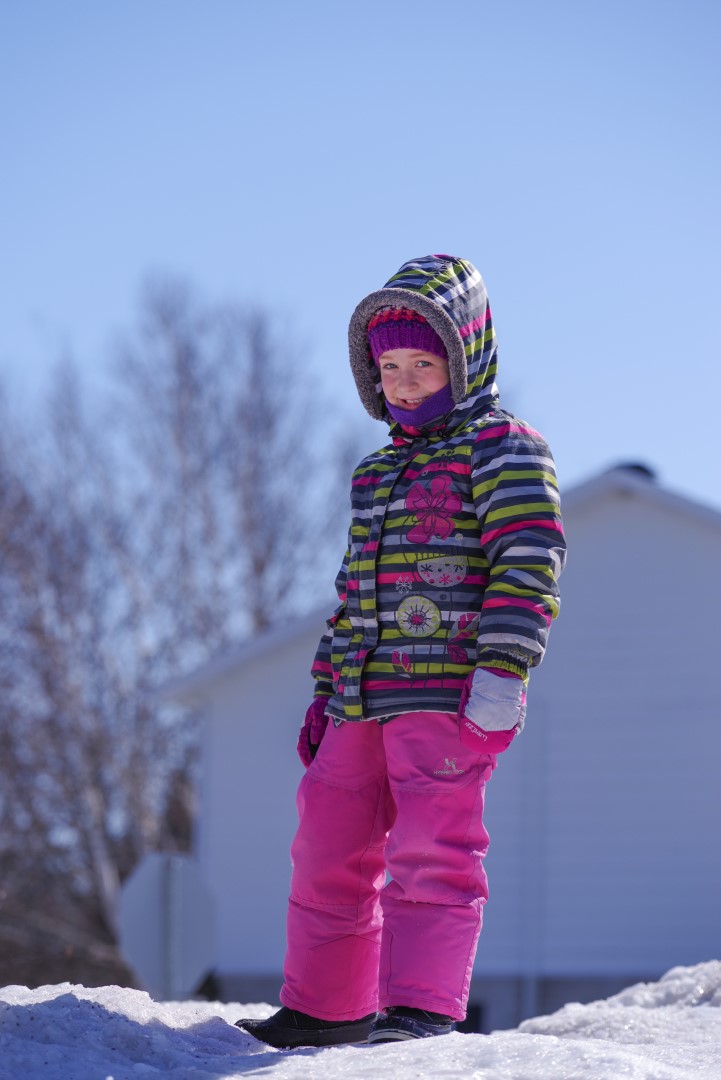
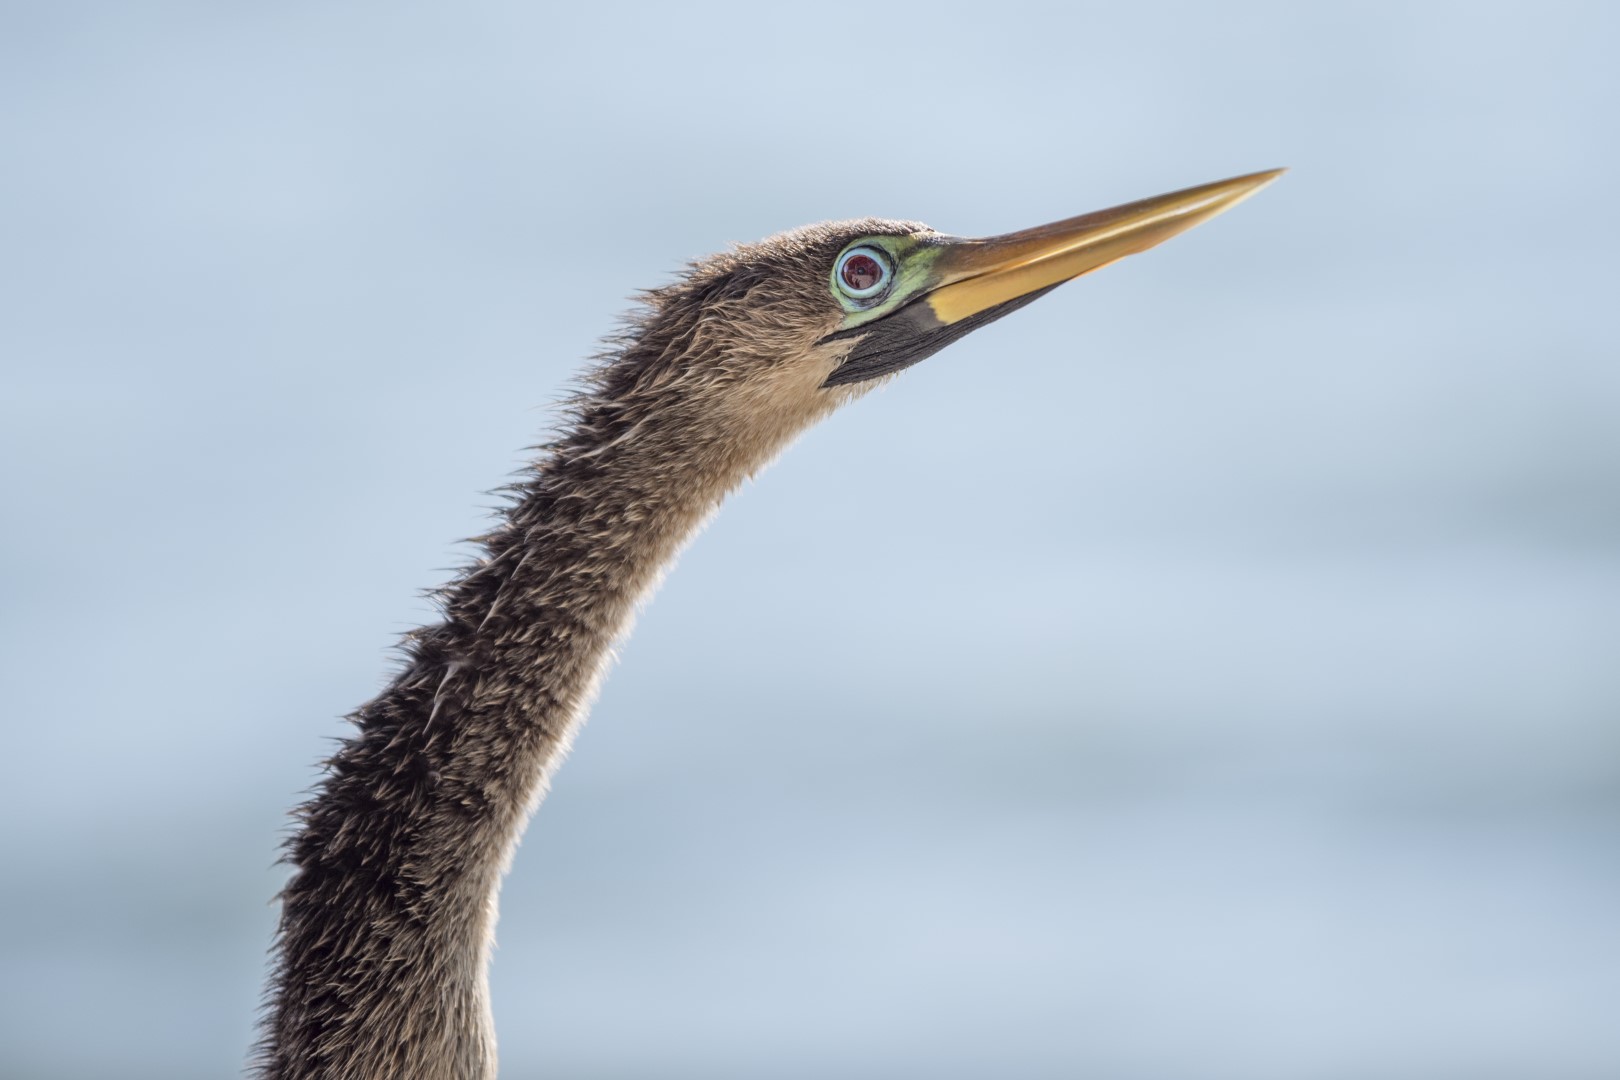
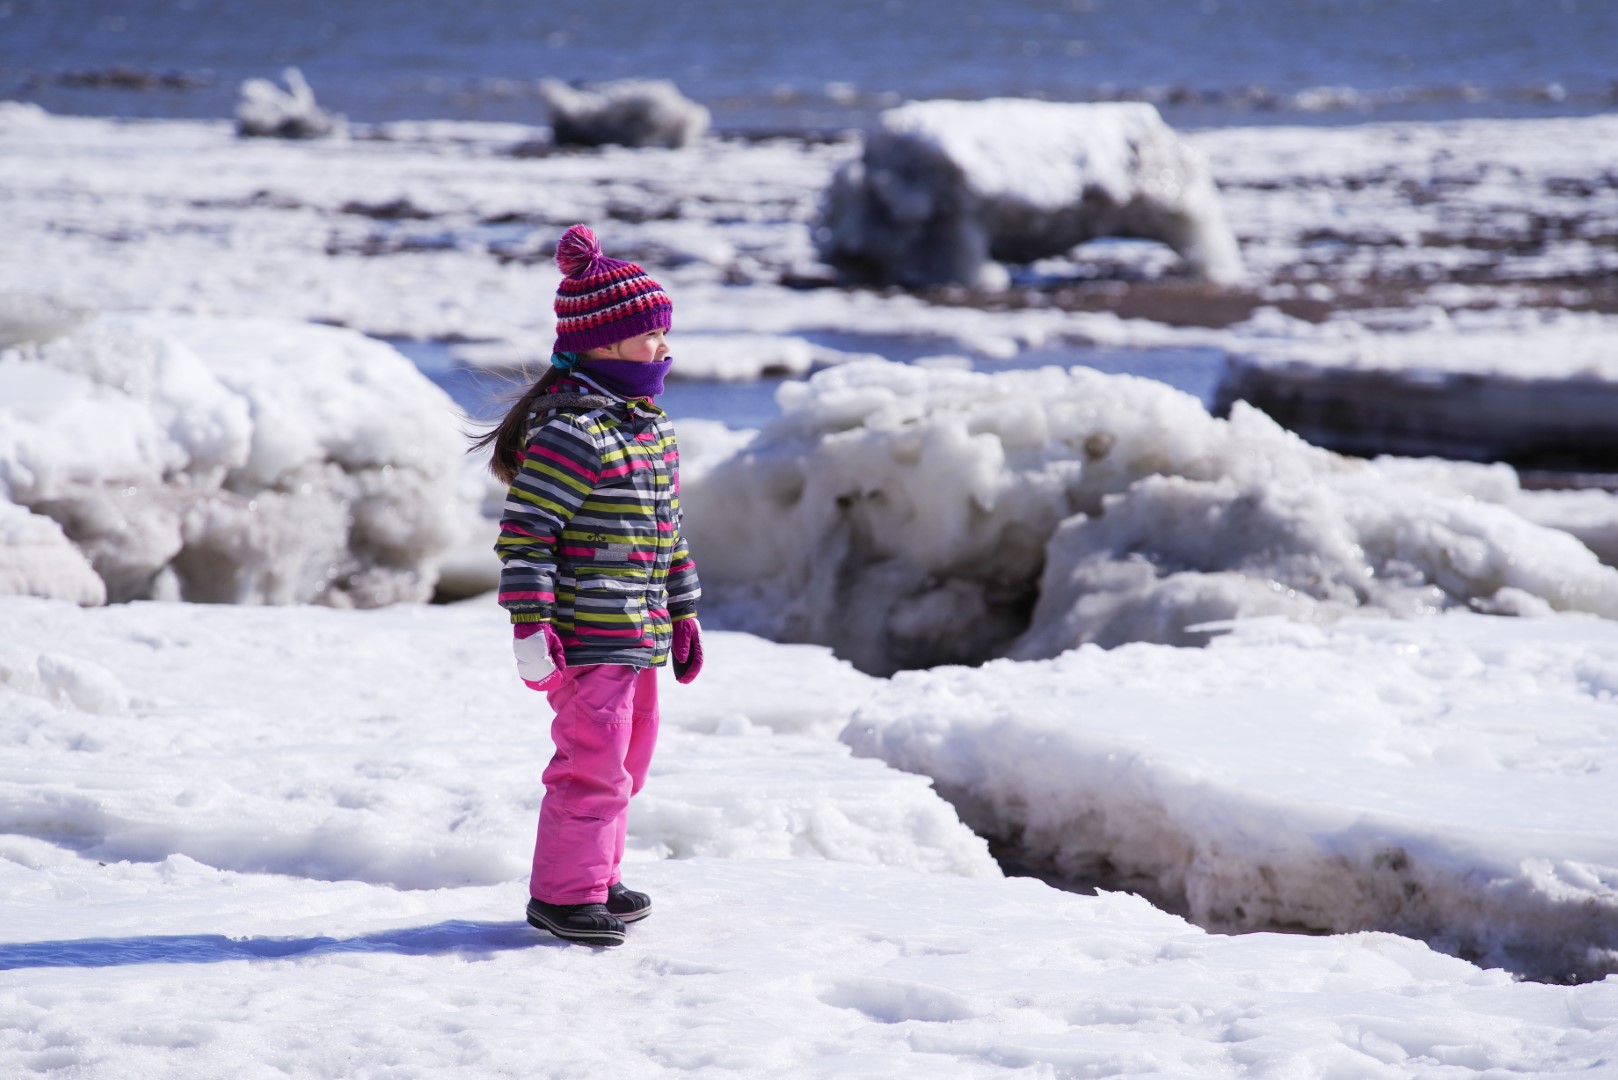
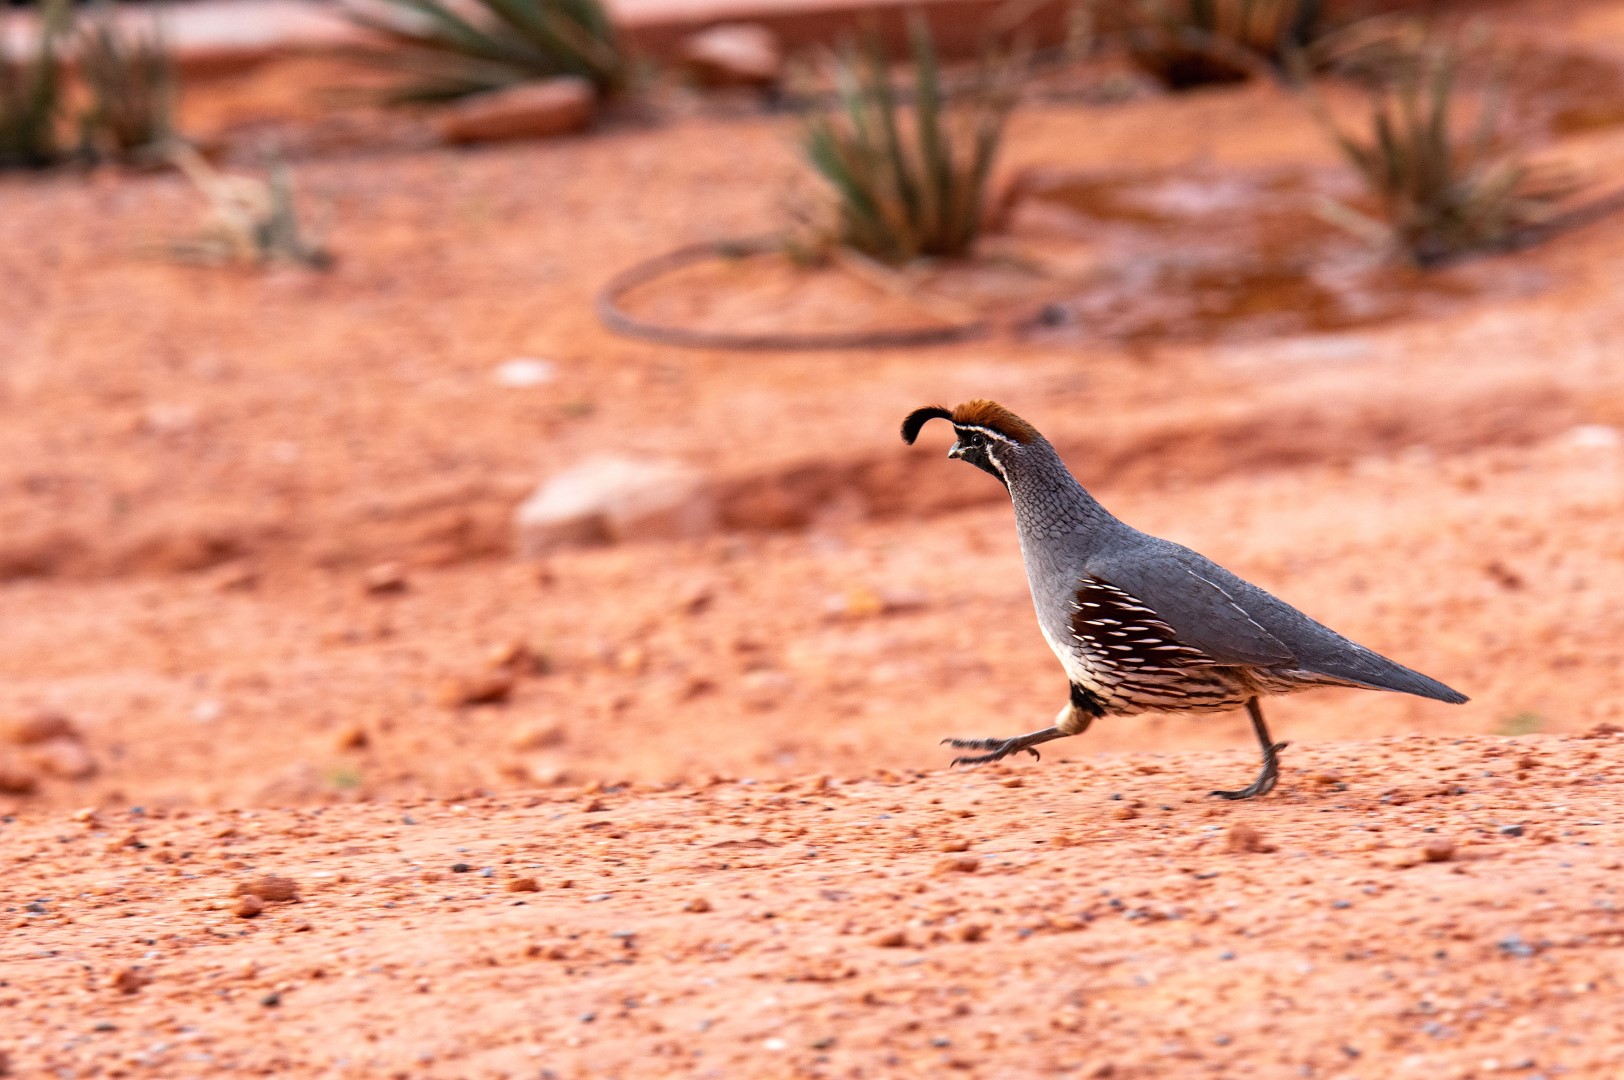
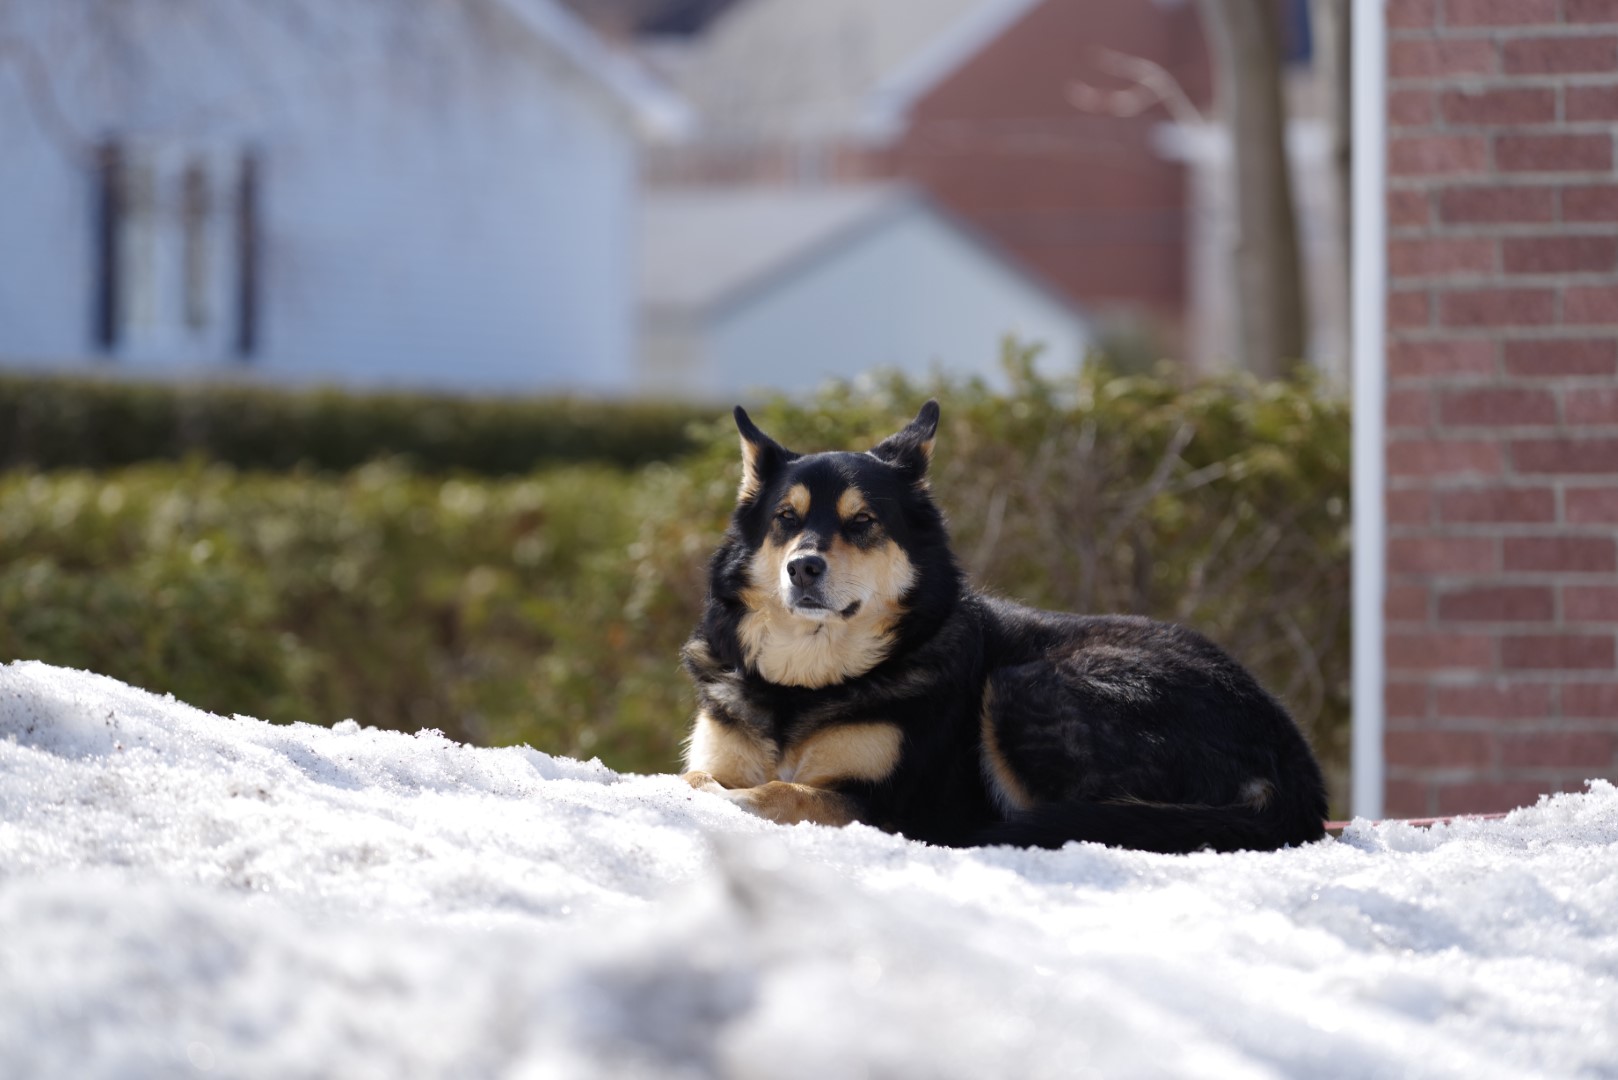
K-1 II | 210mm | F7.1 | 1/1600 seconds | ISO 400 Full size (JPEG) |
K-1 II | 210mm | F4.5 | 1/160 seconds | ISO 100 |
|
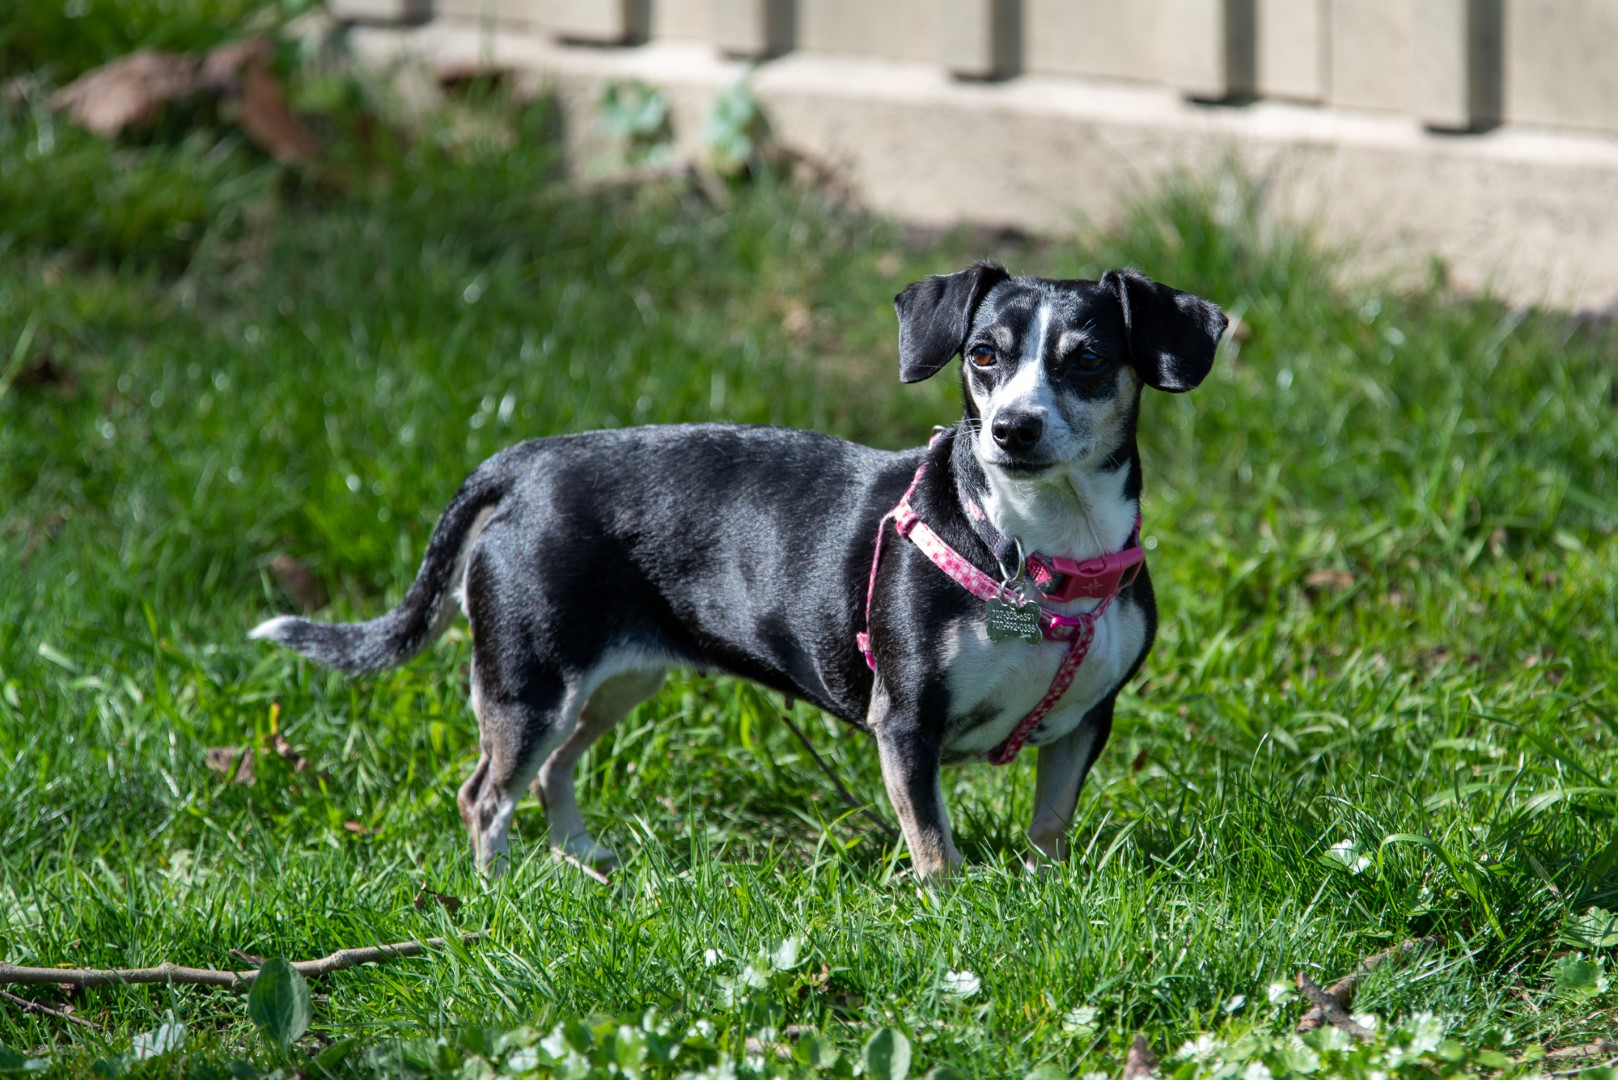
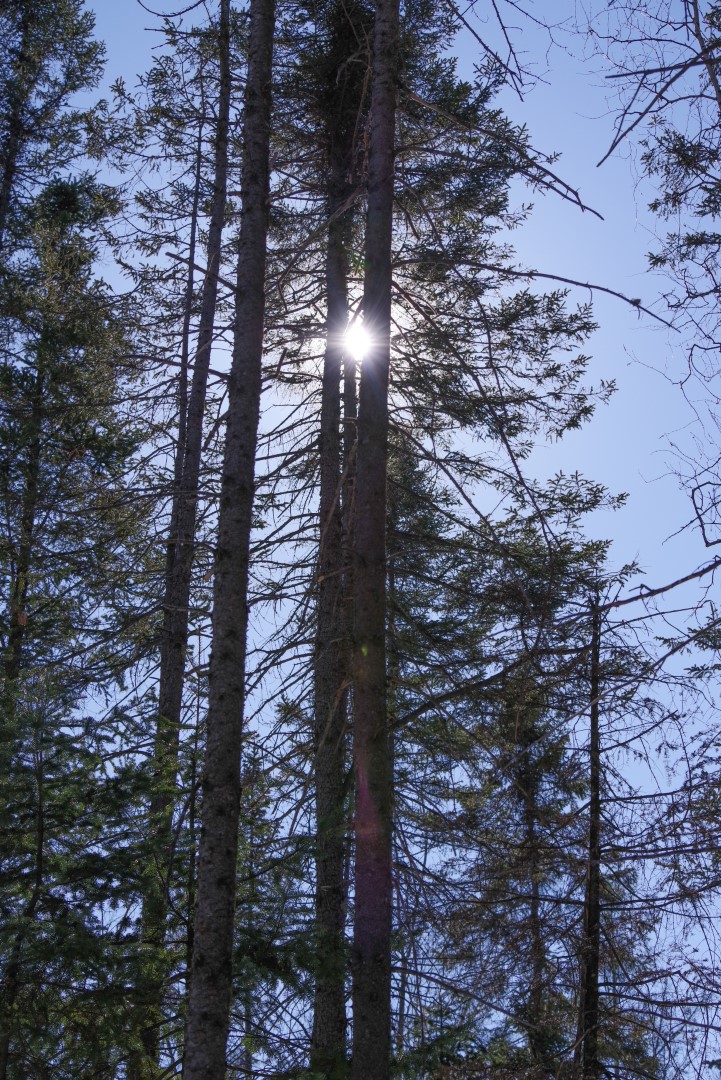
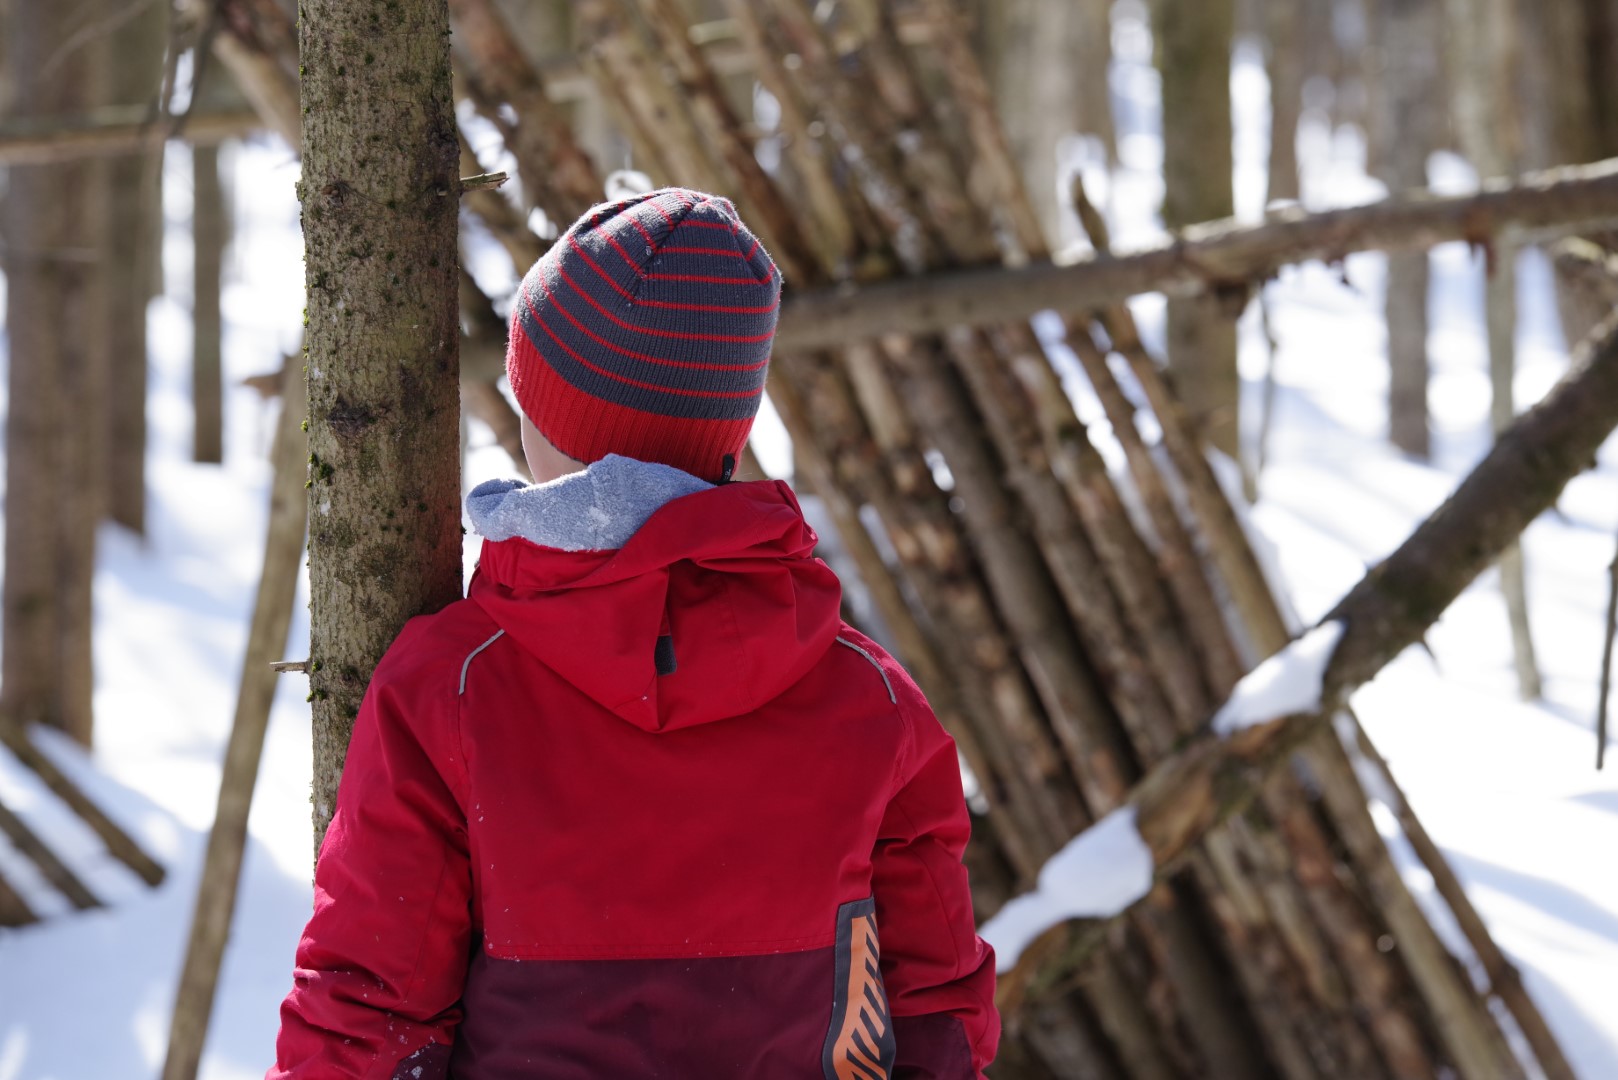
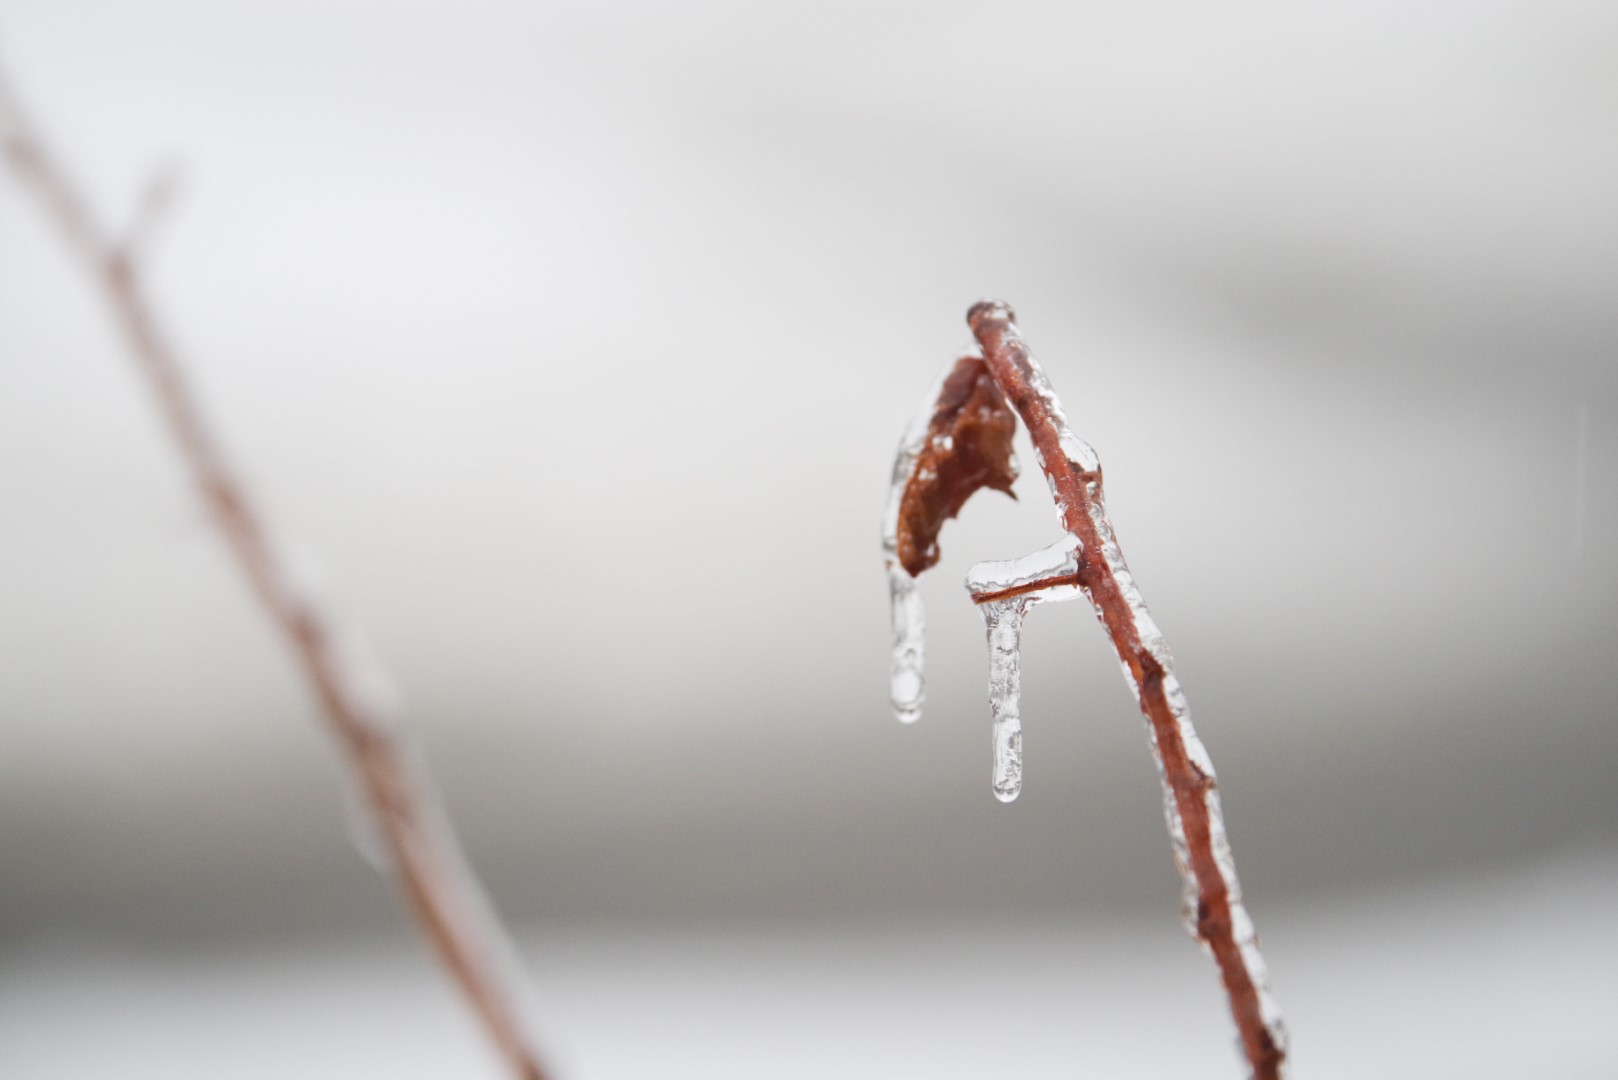
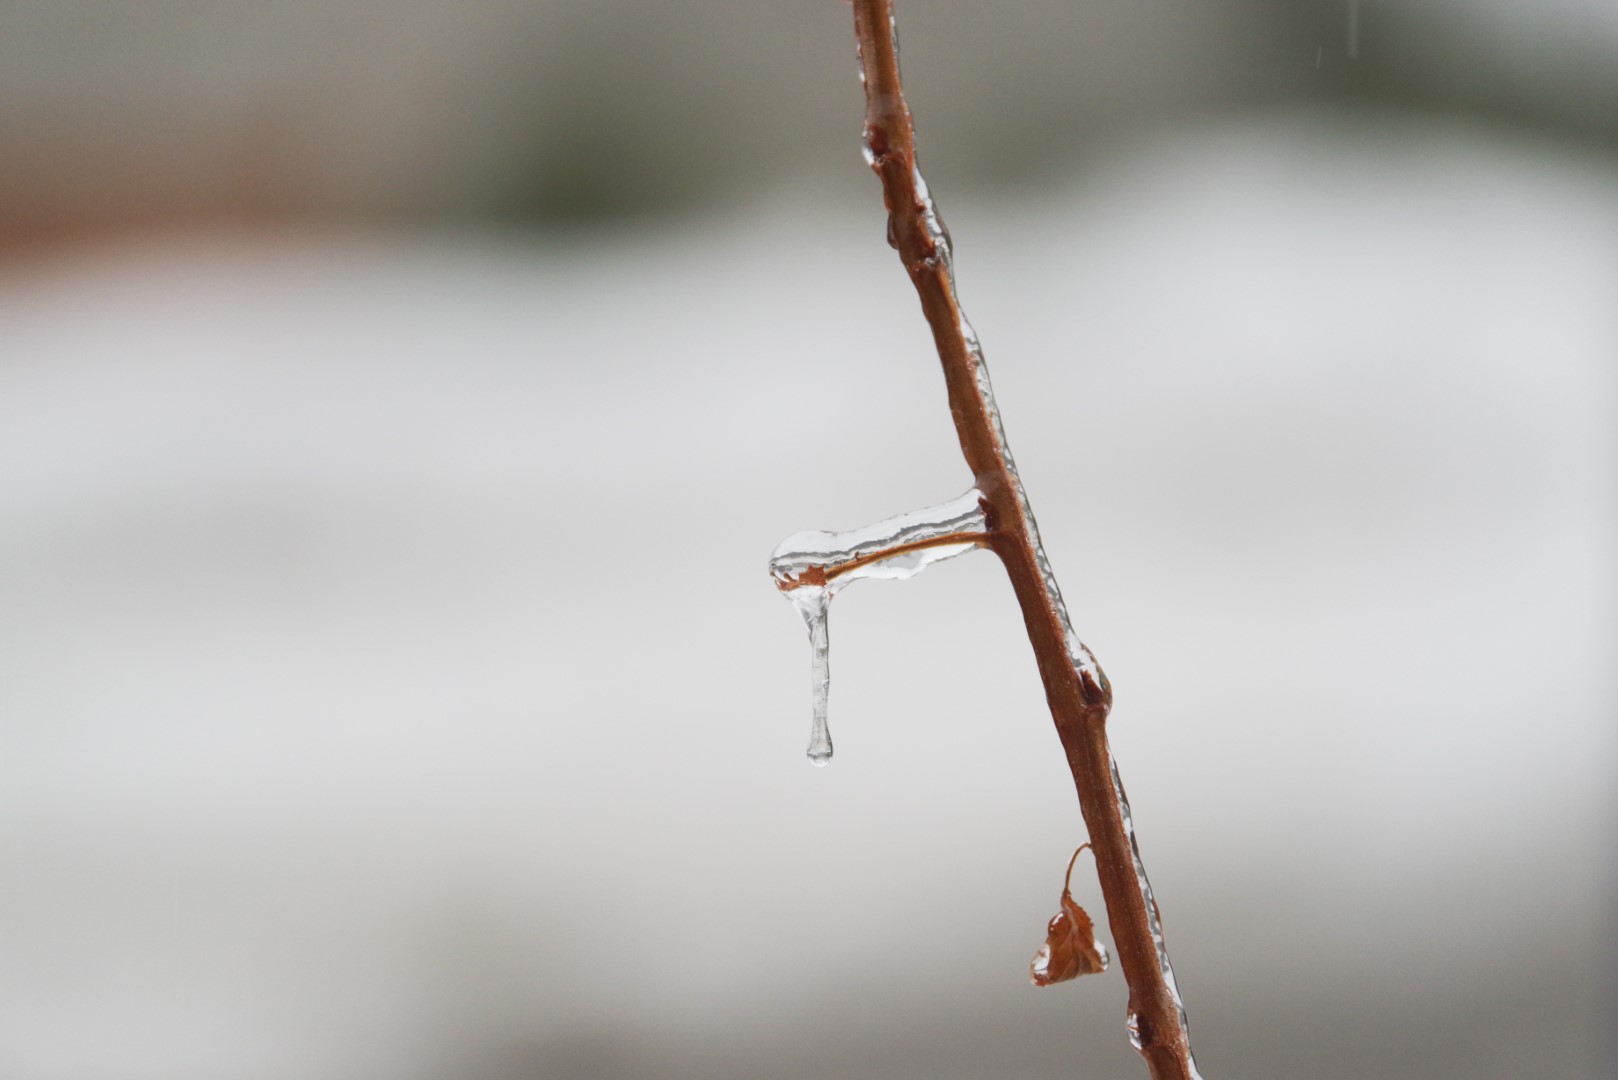
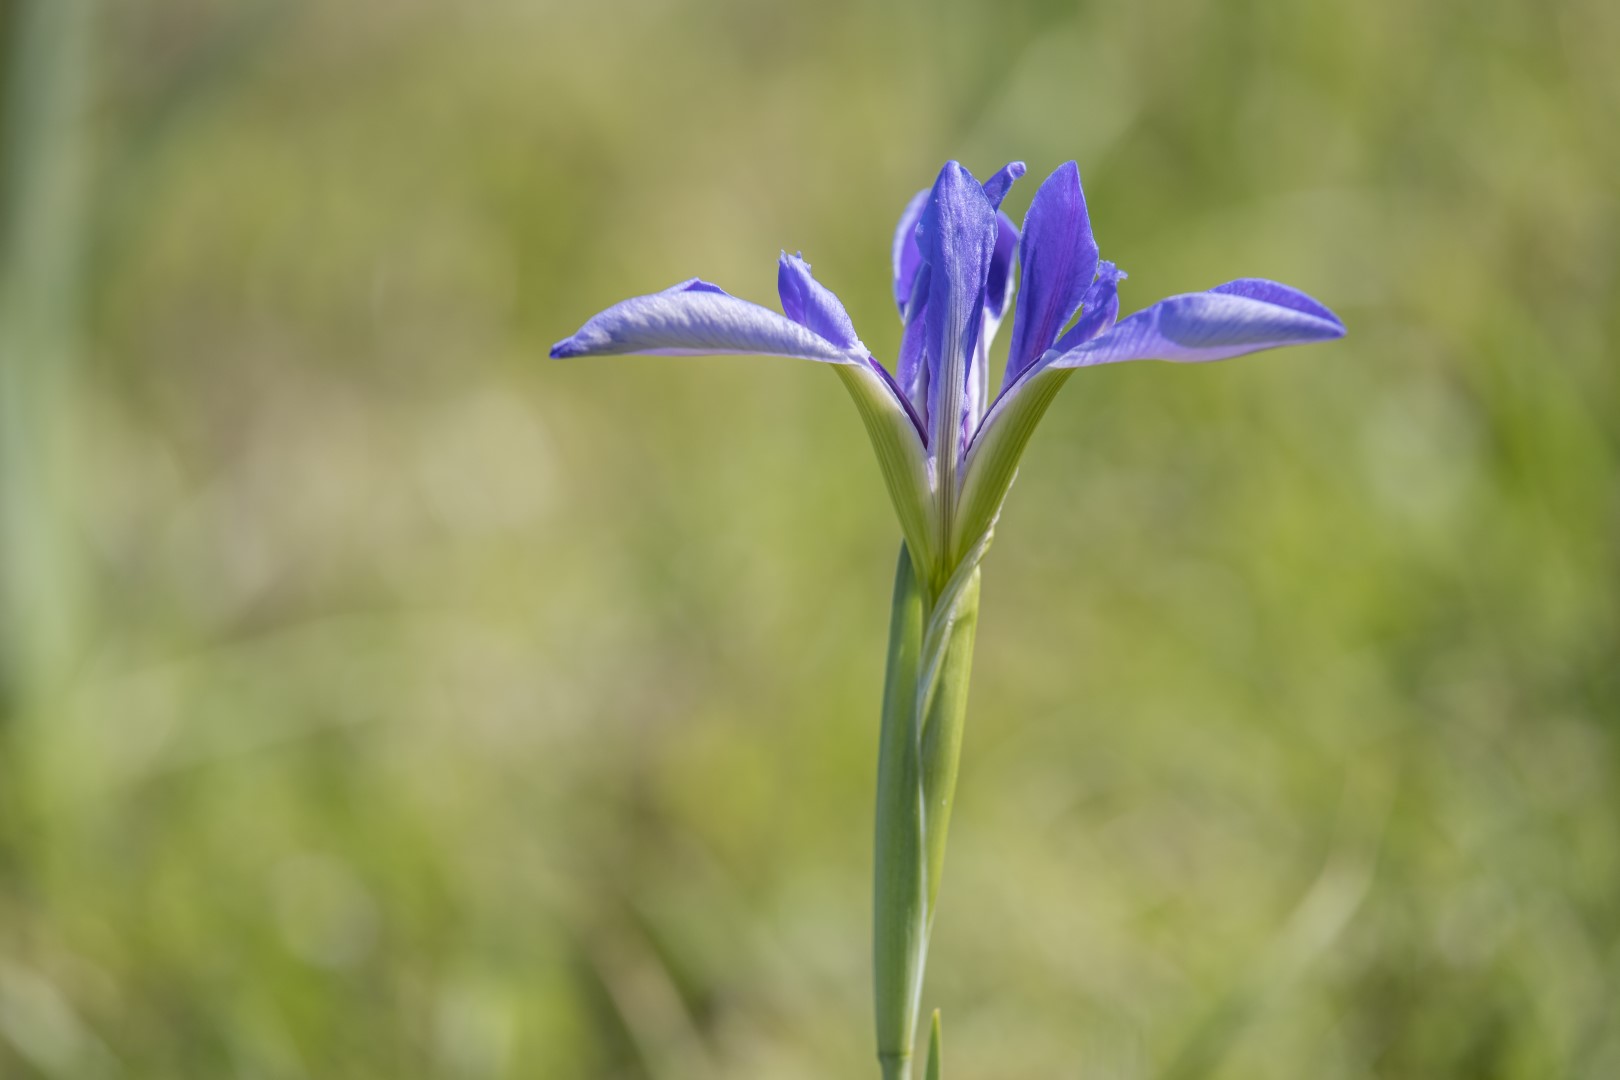
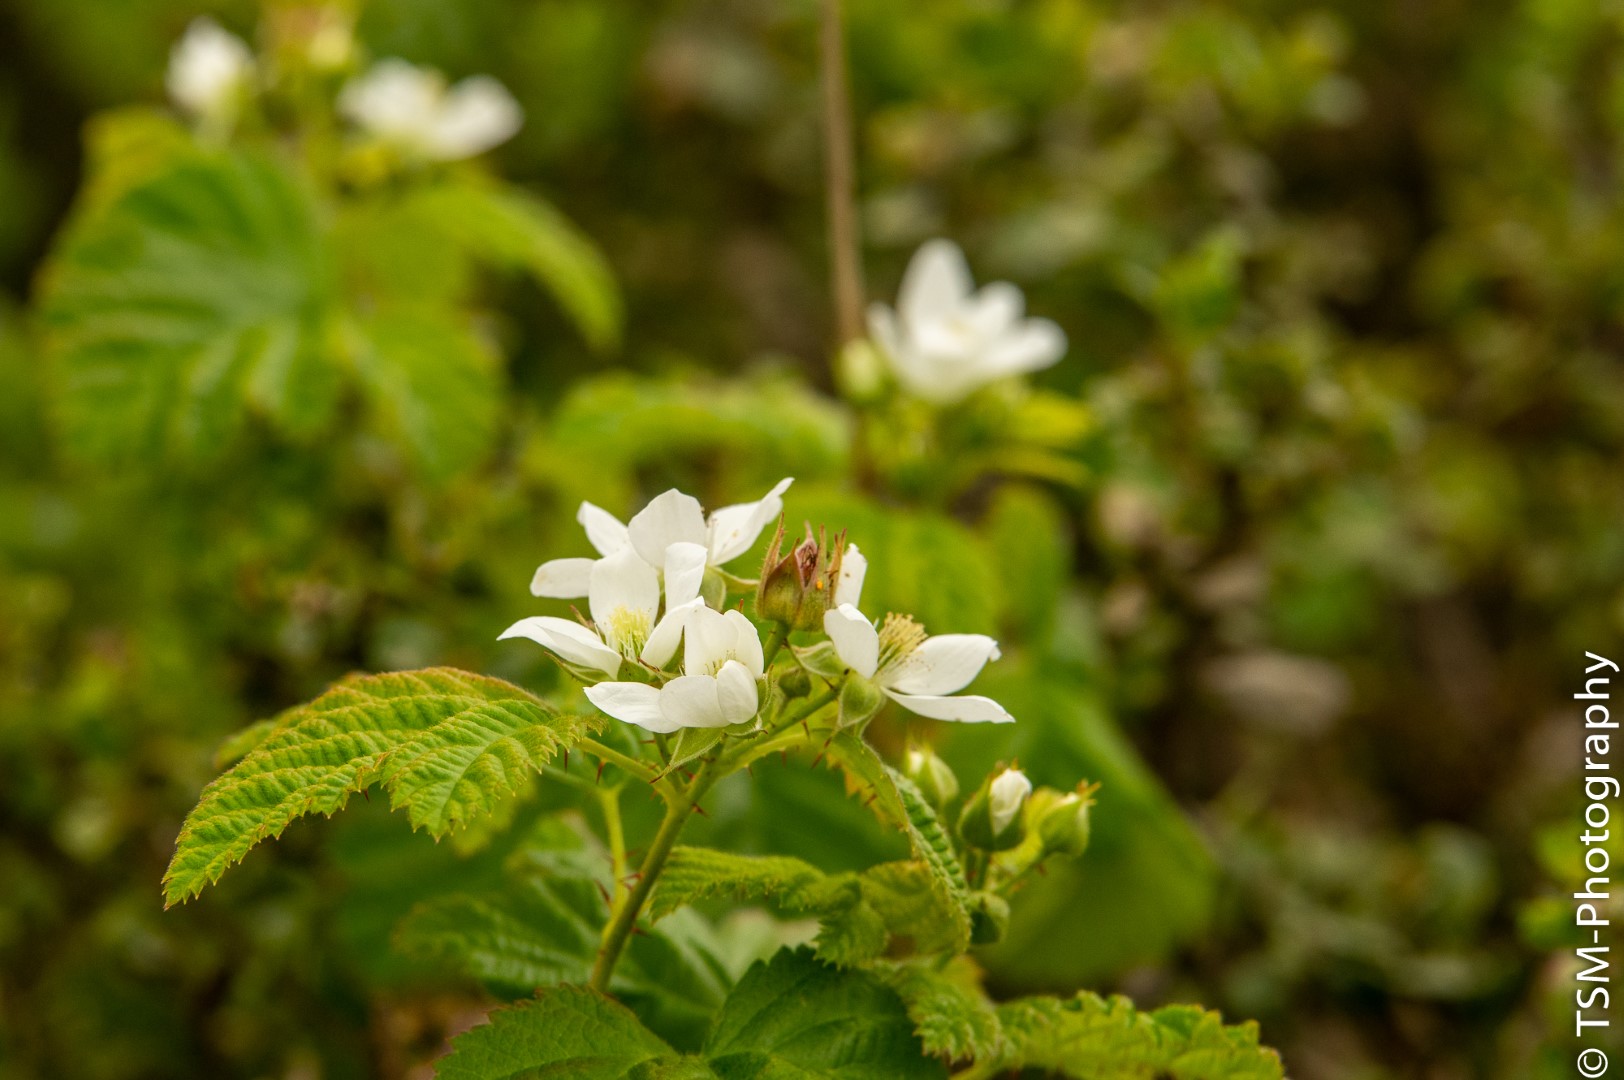
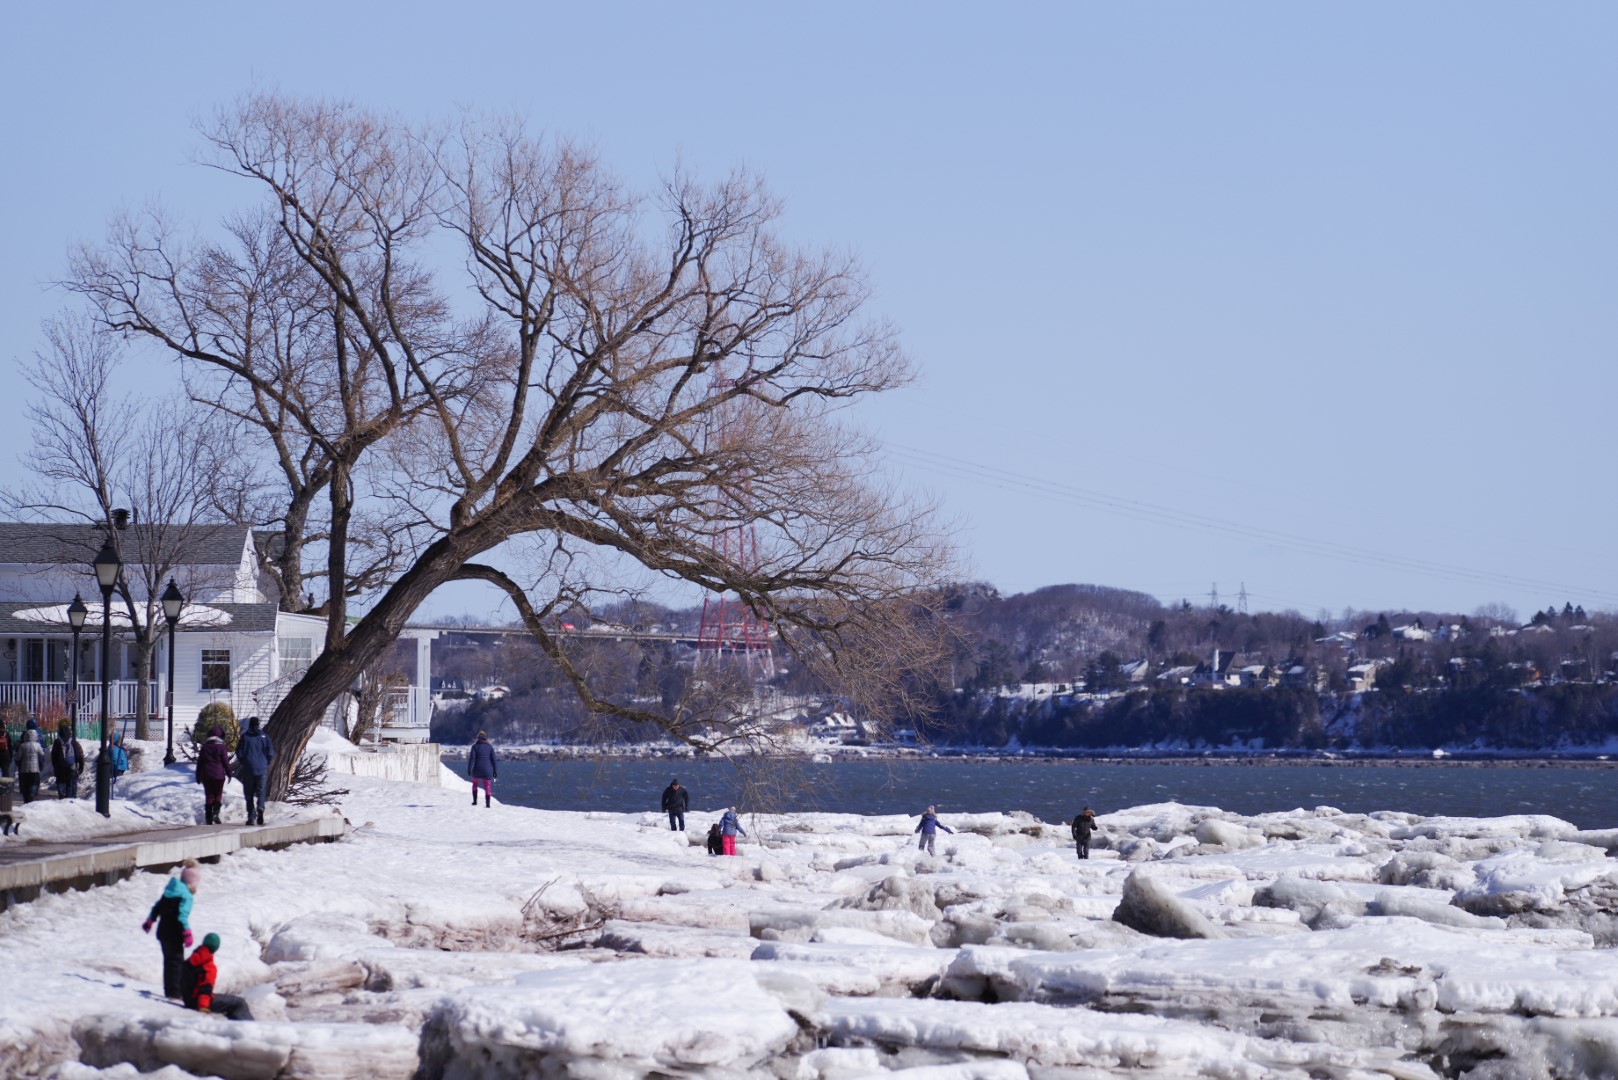
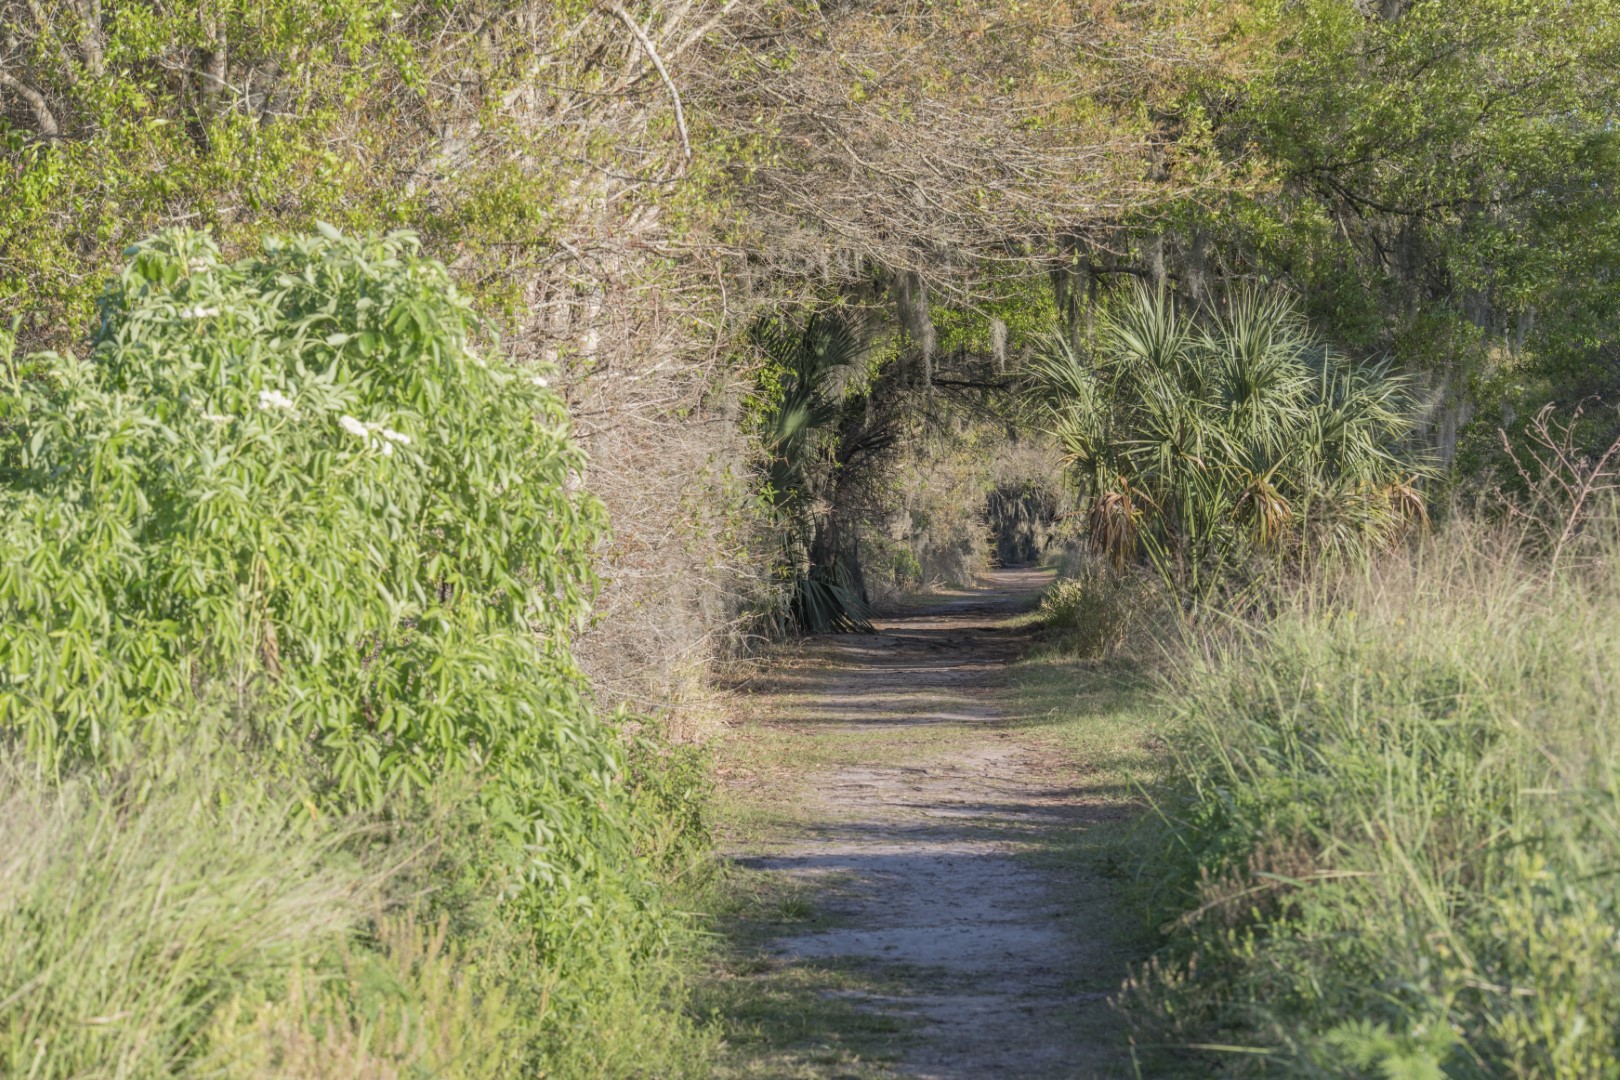
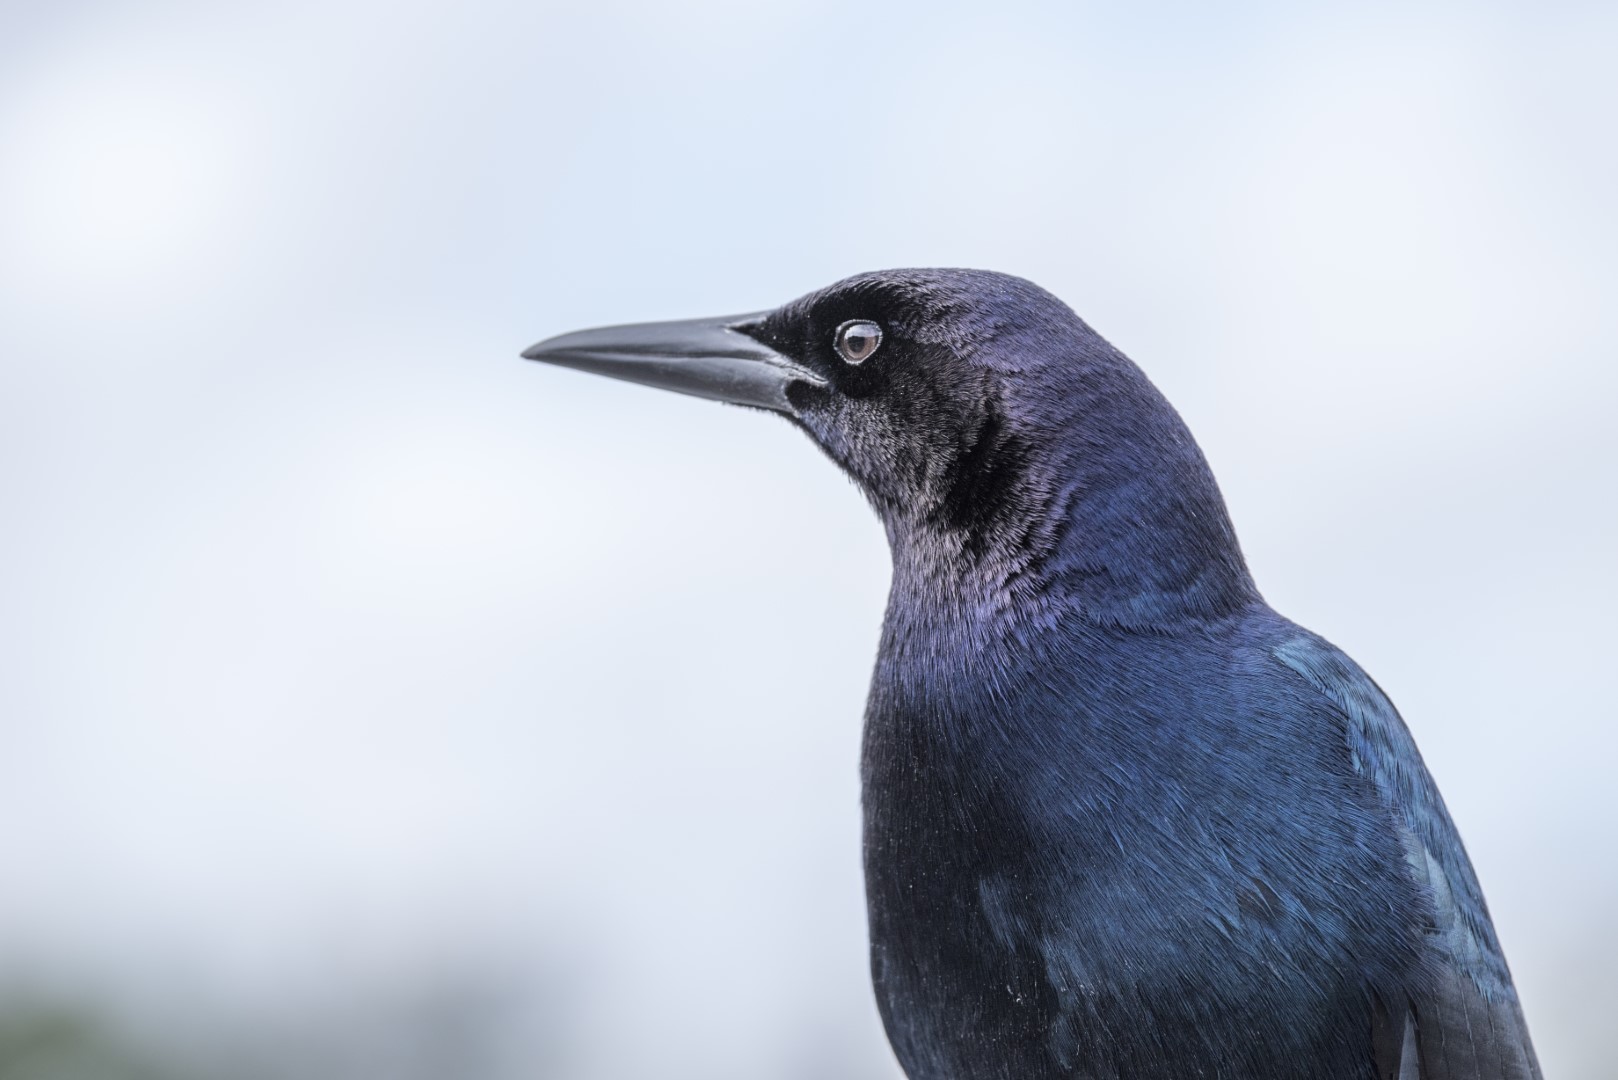
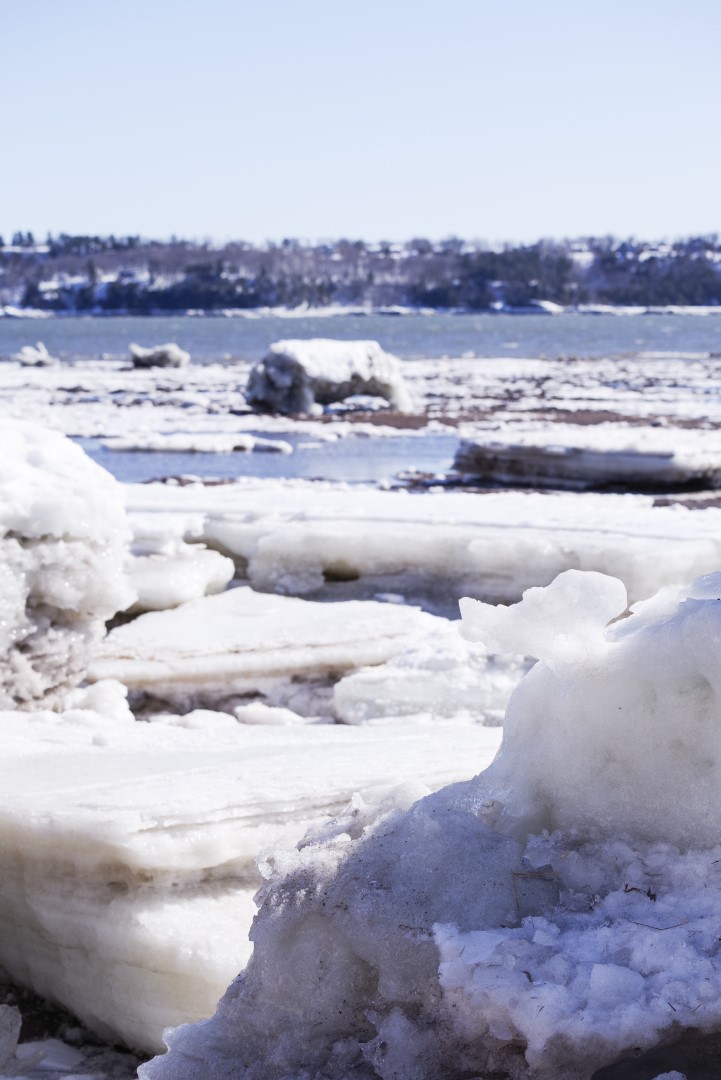
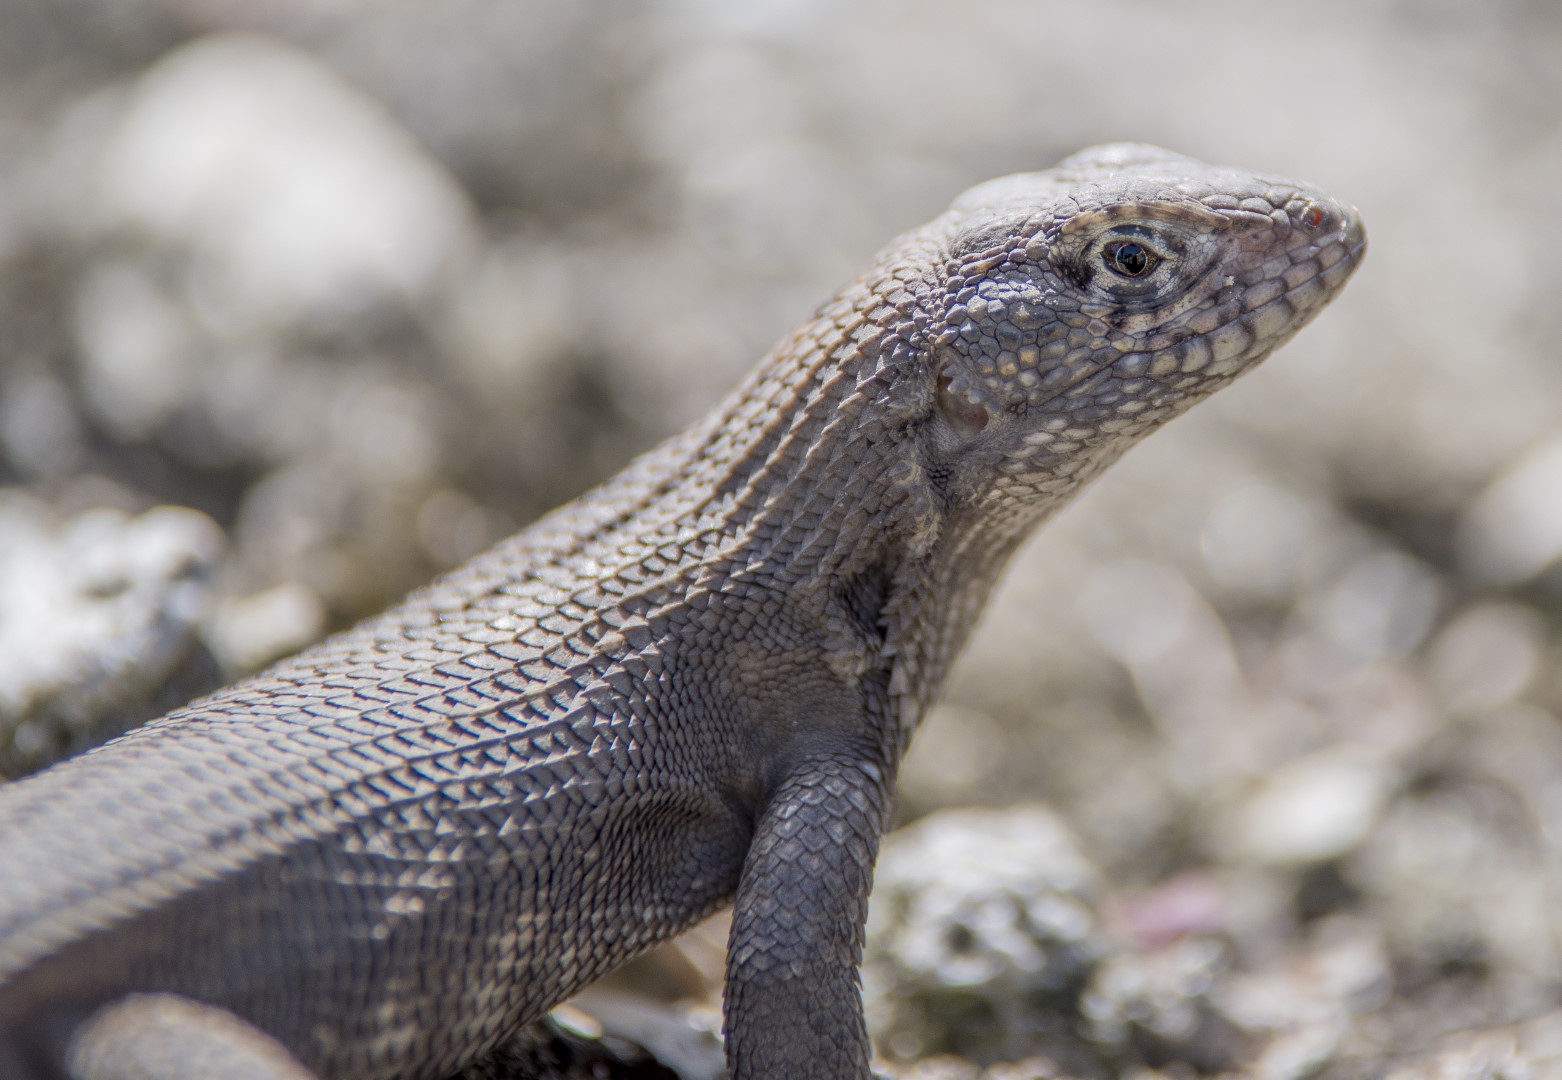
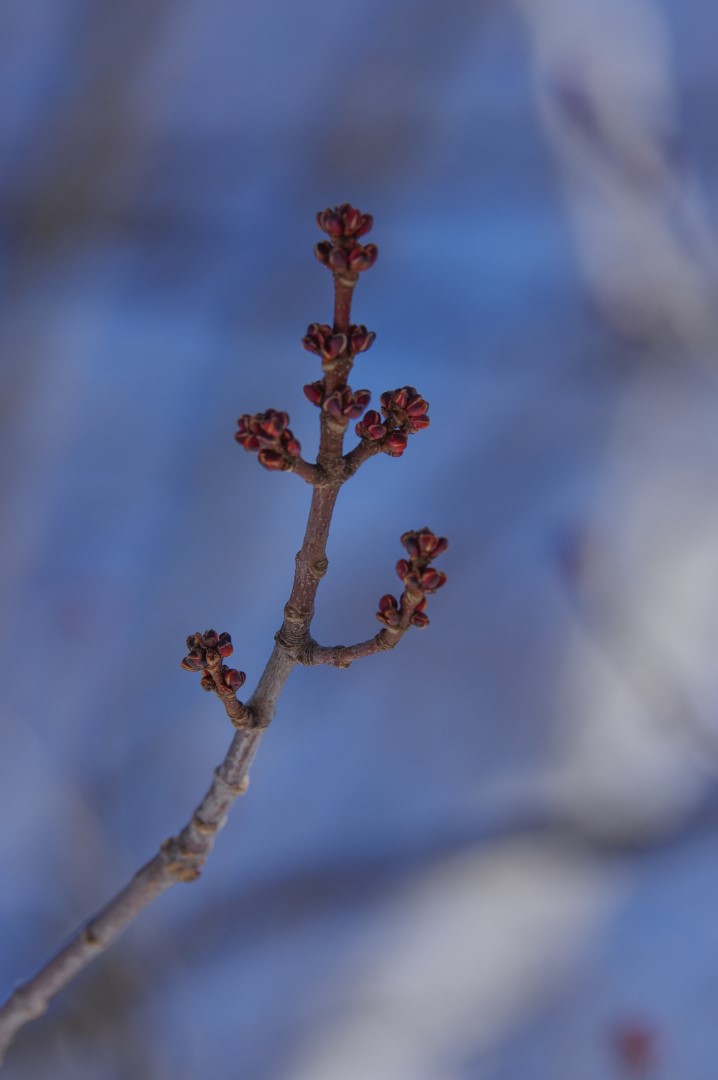
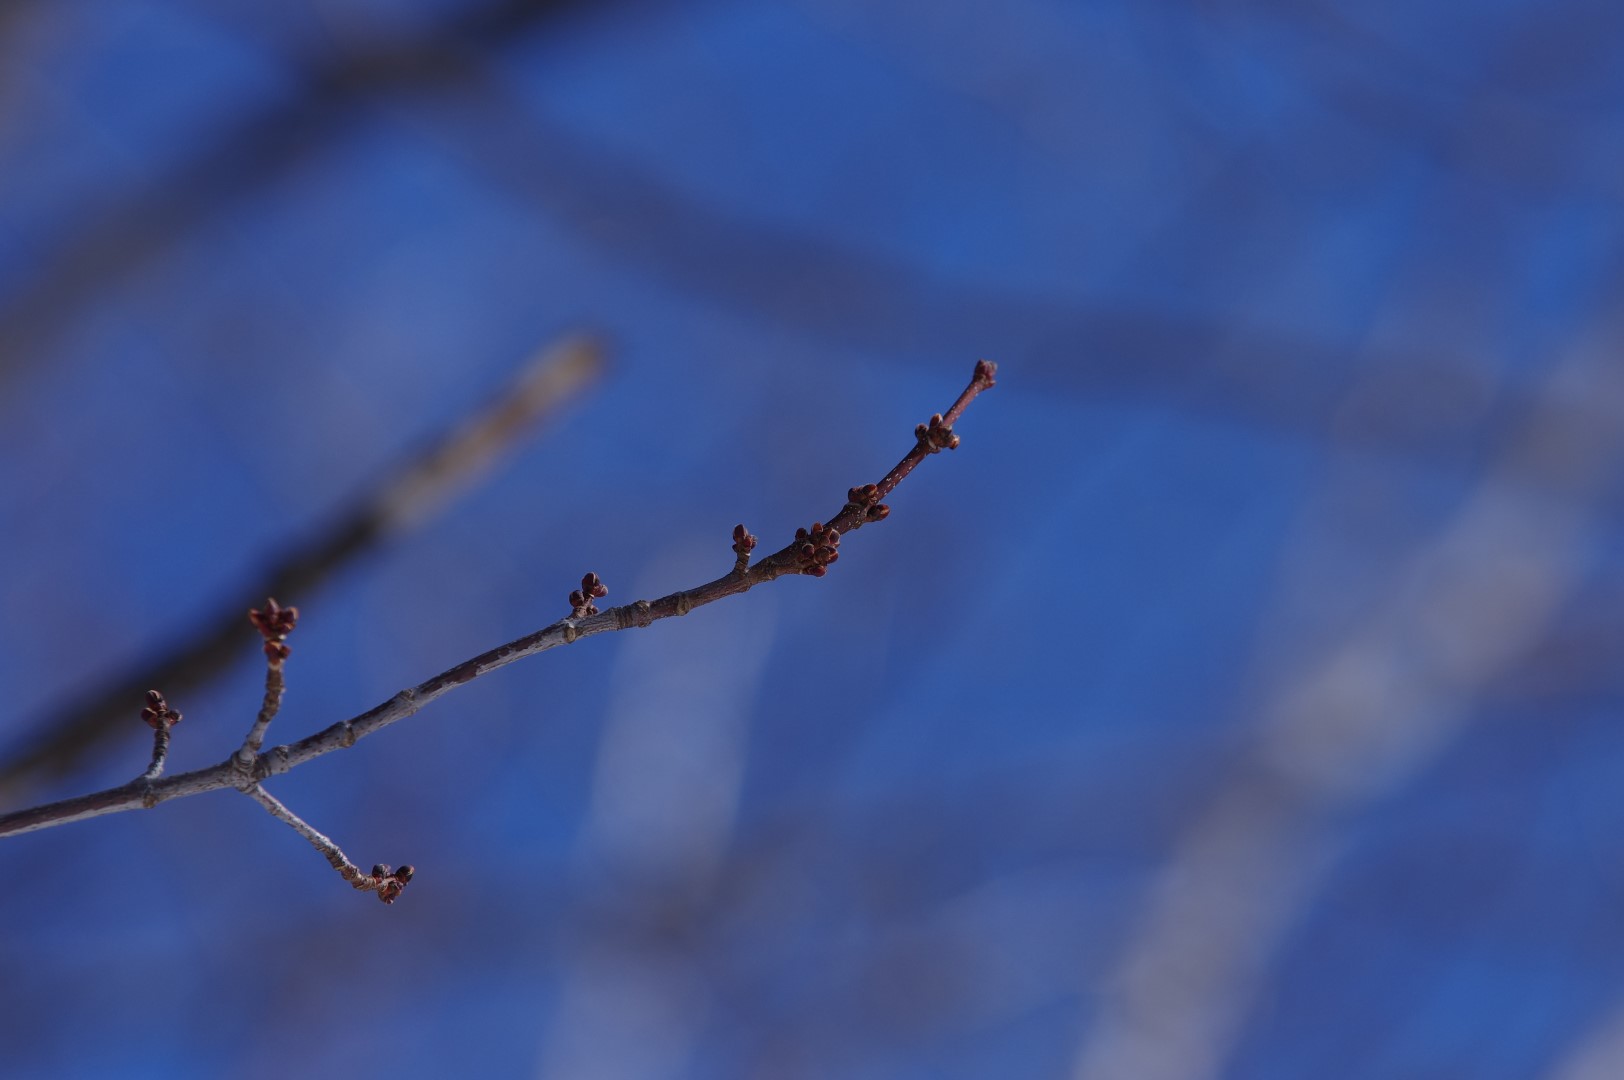
K-1 II | 210mm | F4 | 1/1000 seconds | ISO 100 Full size (JPEG) |
K-1 II | 210mm | F10 | 1/160 seconds | ISO 100 Full size (JPEG) |
|
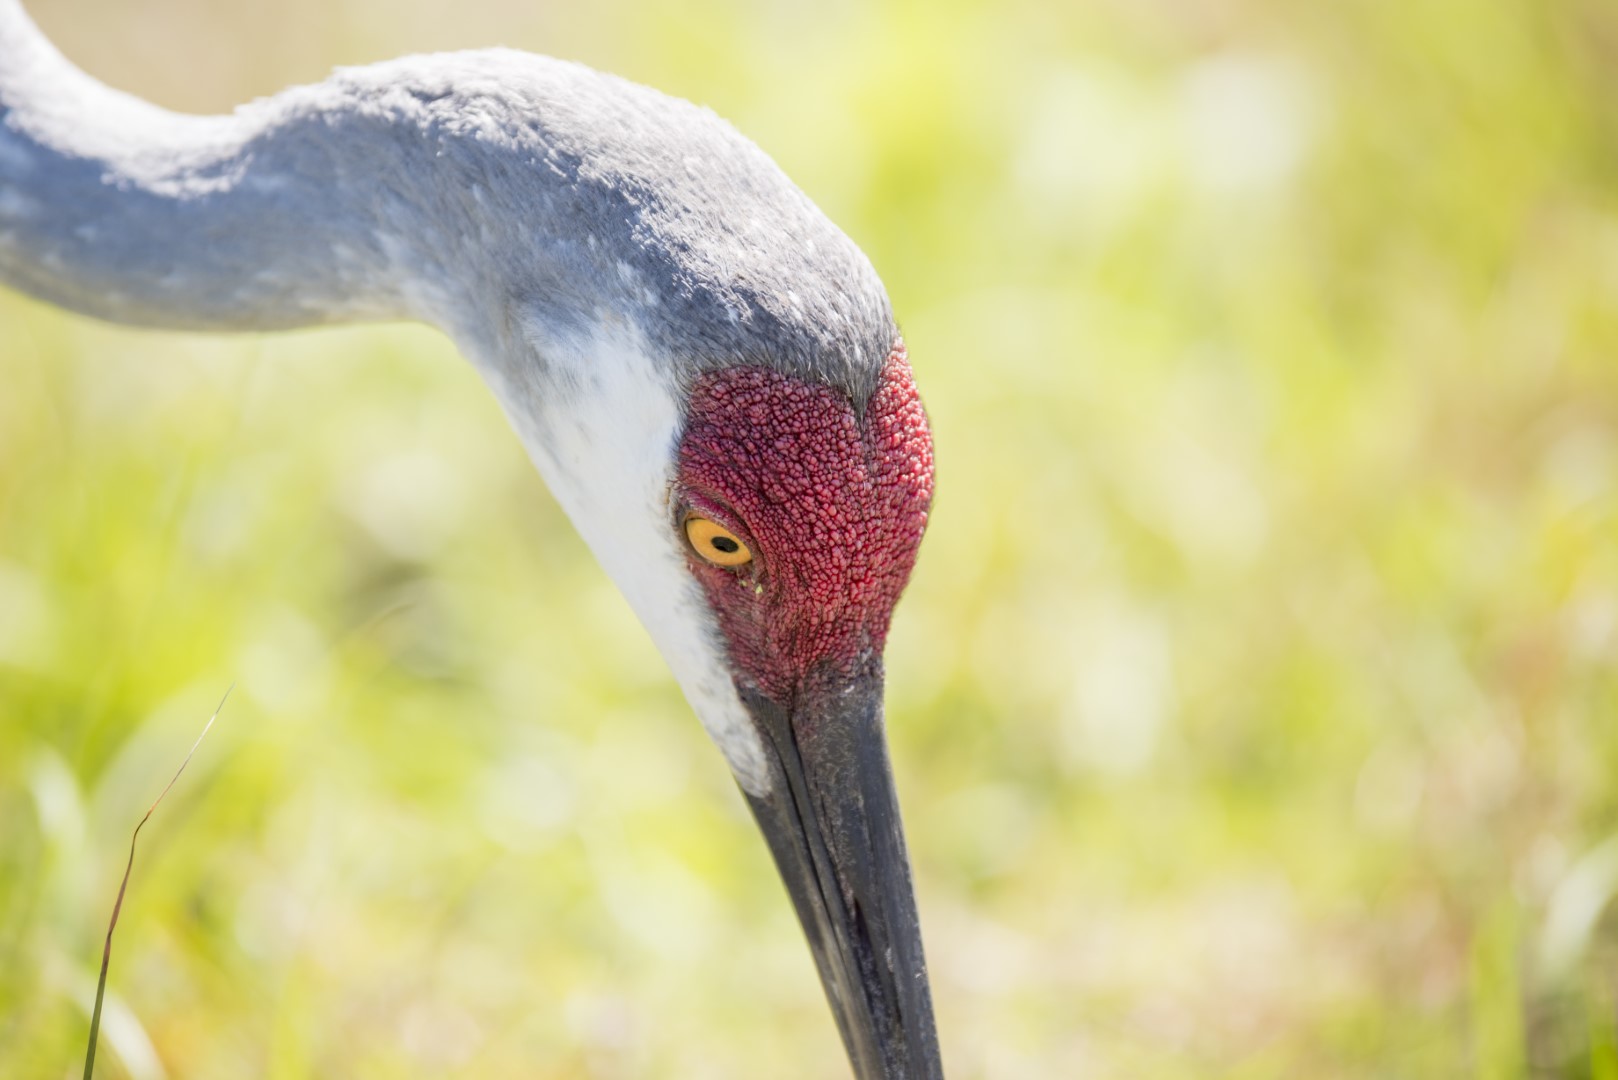
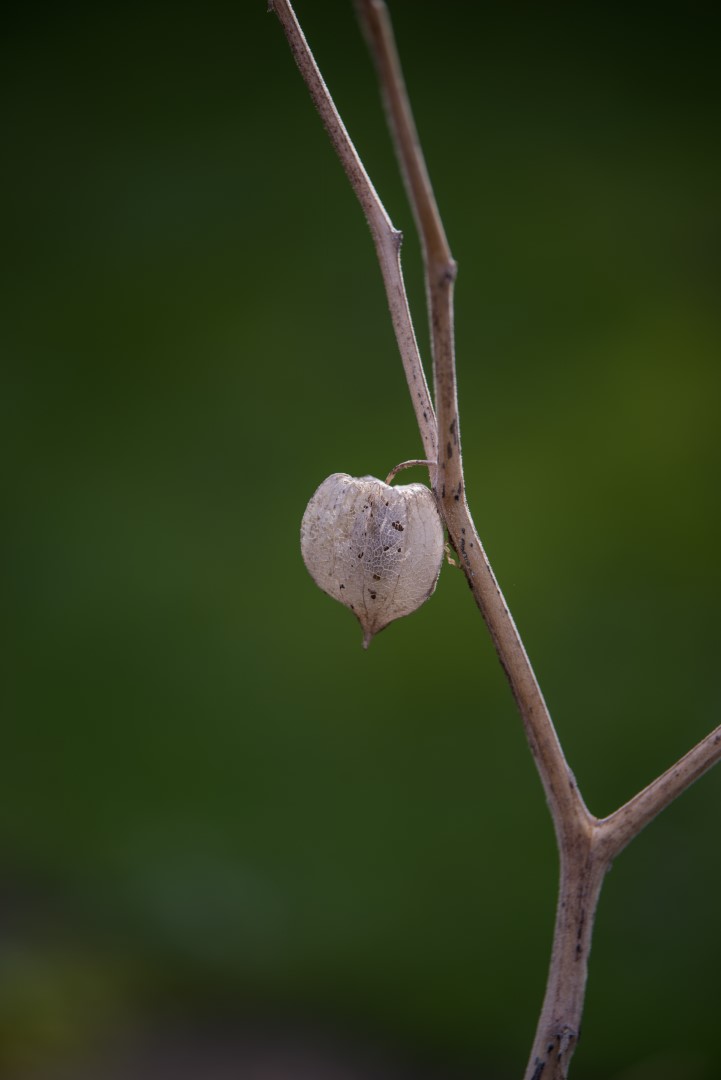
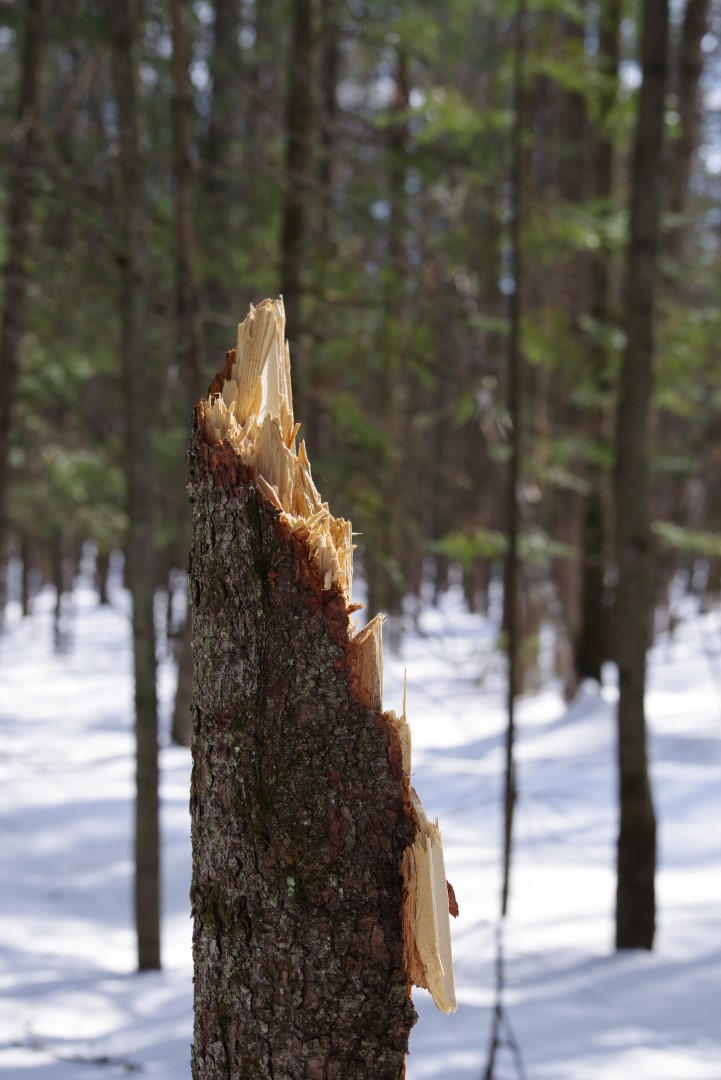
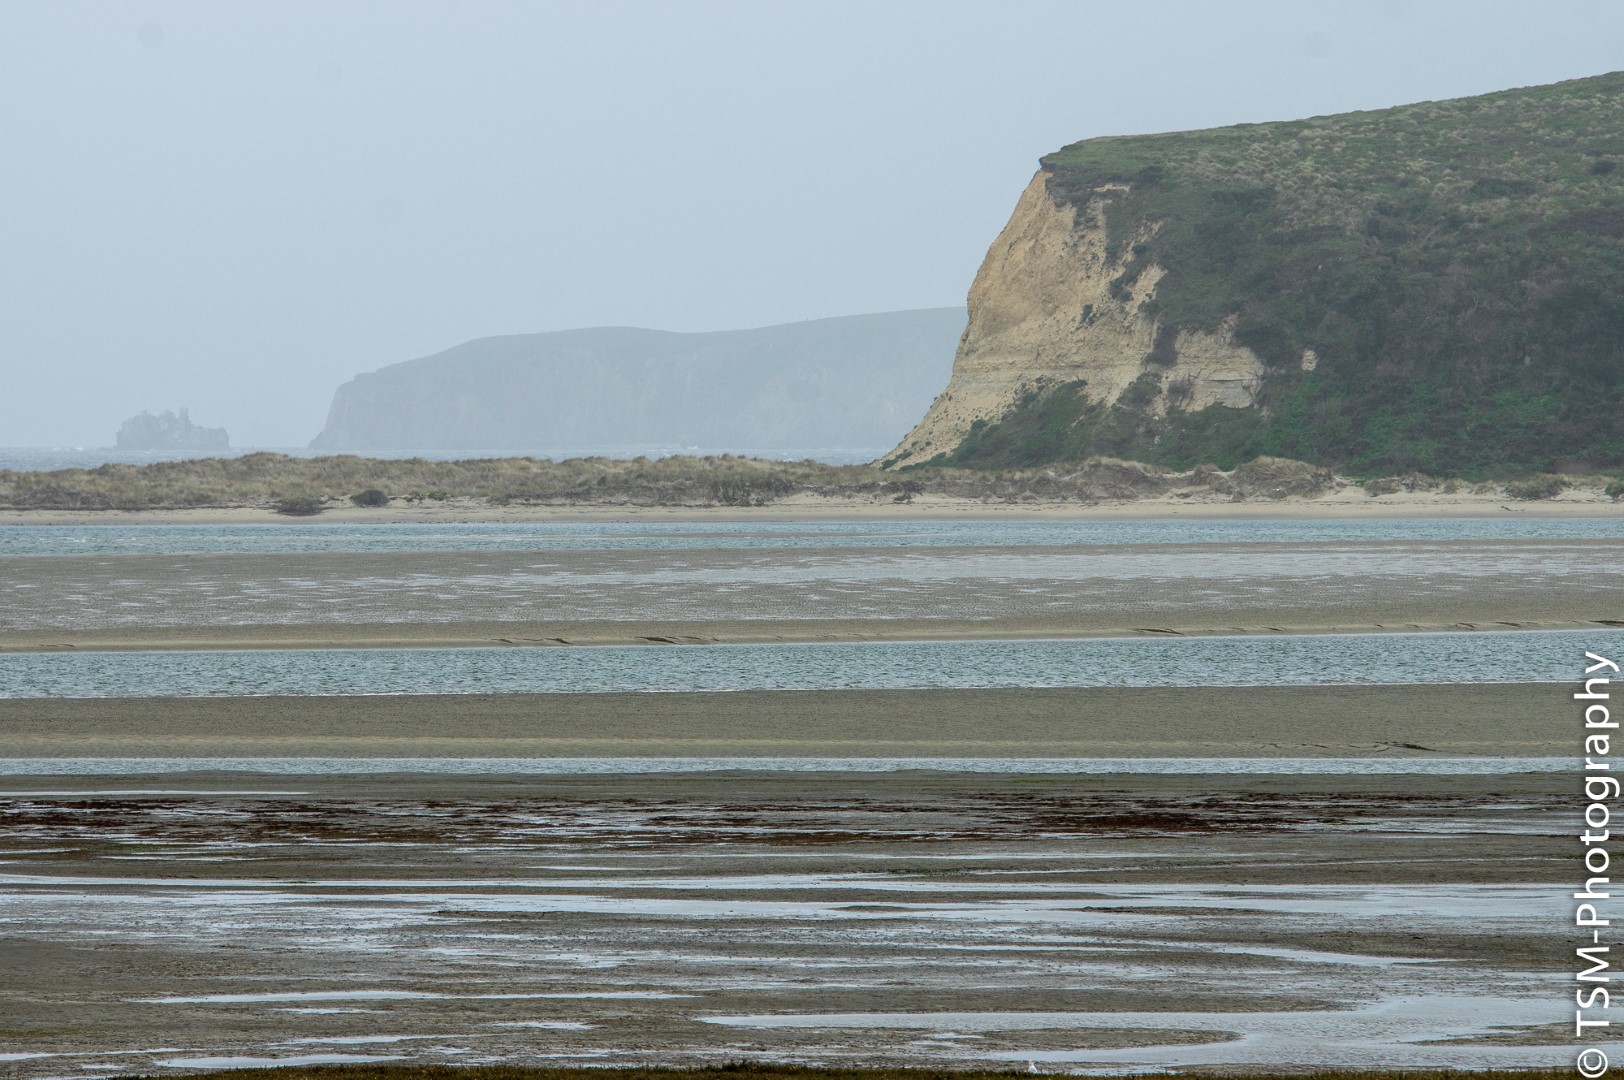
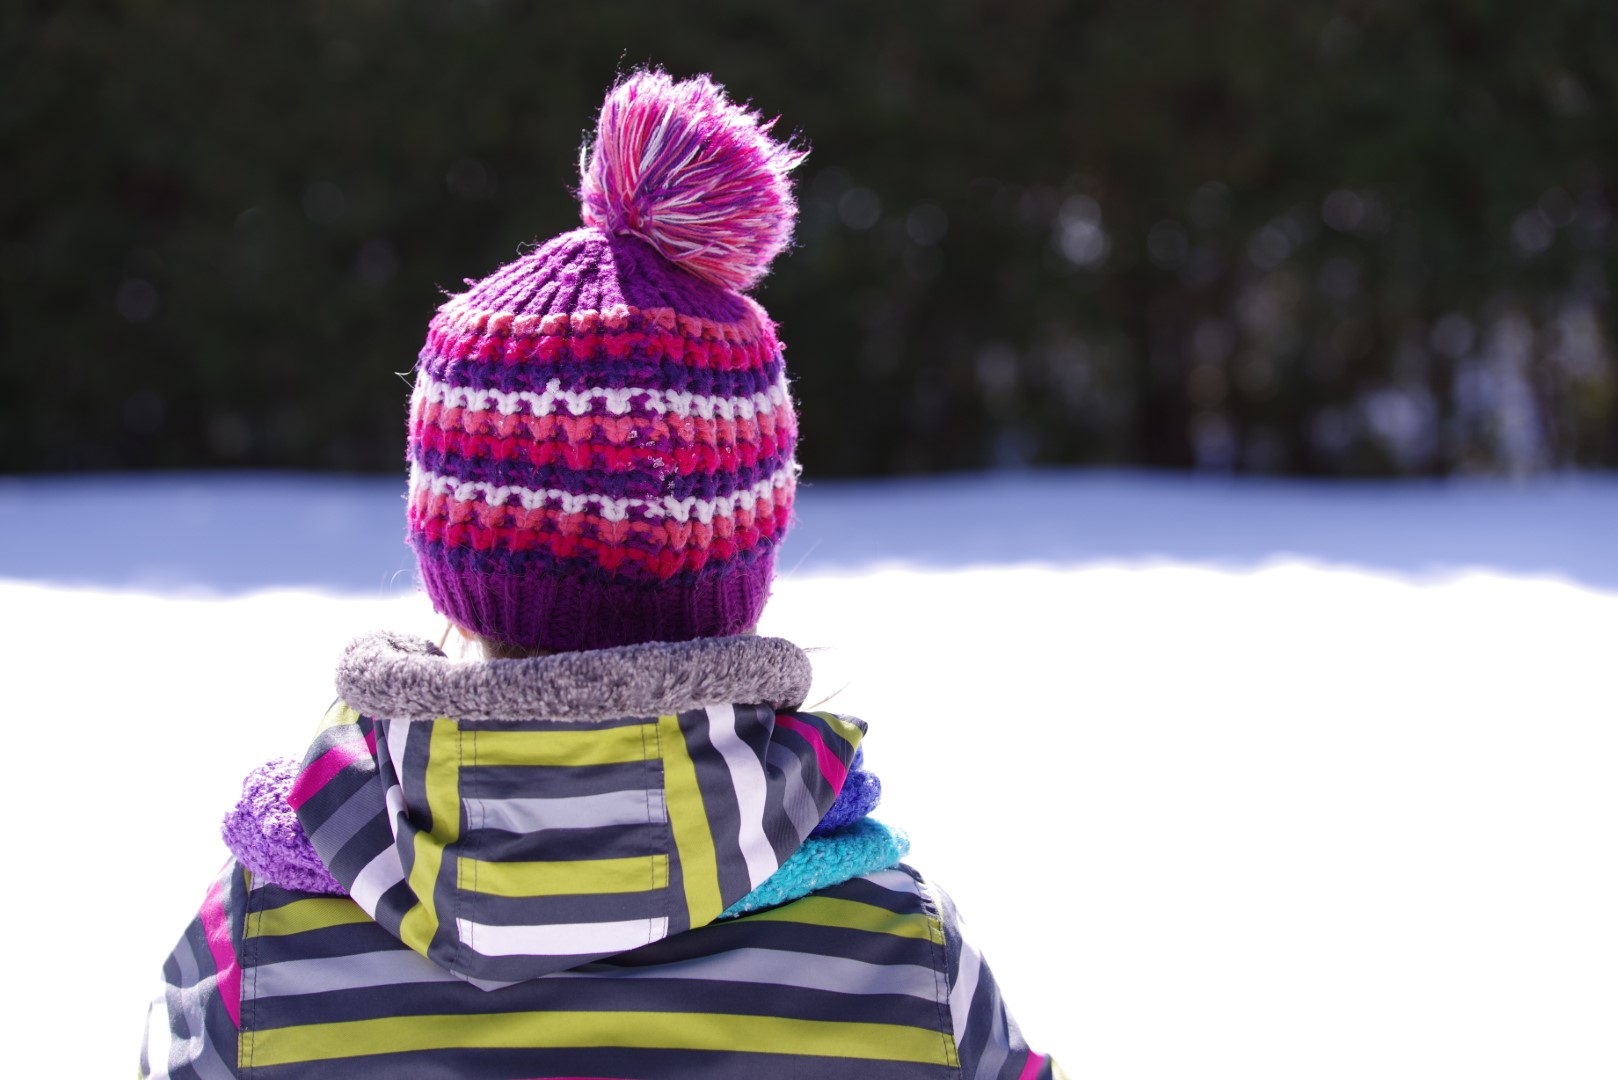
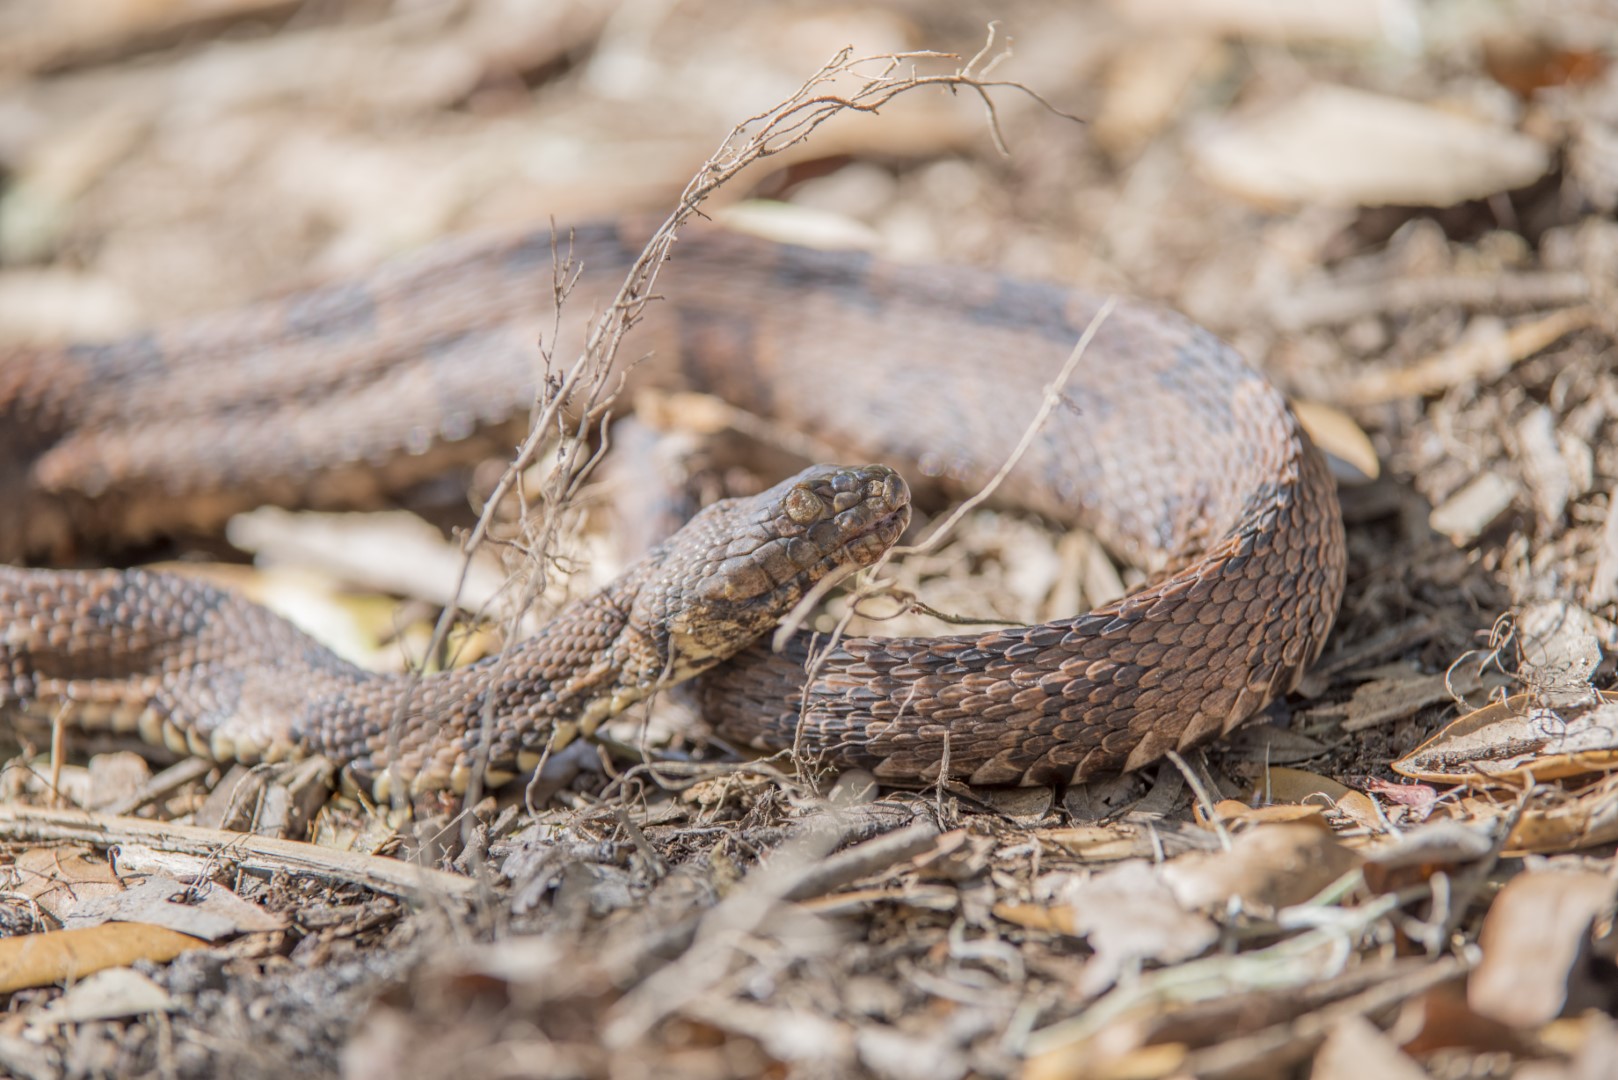
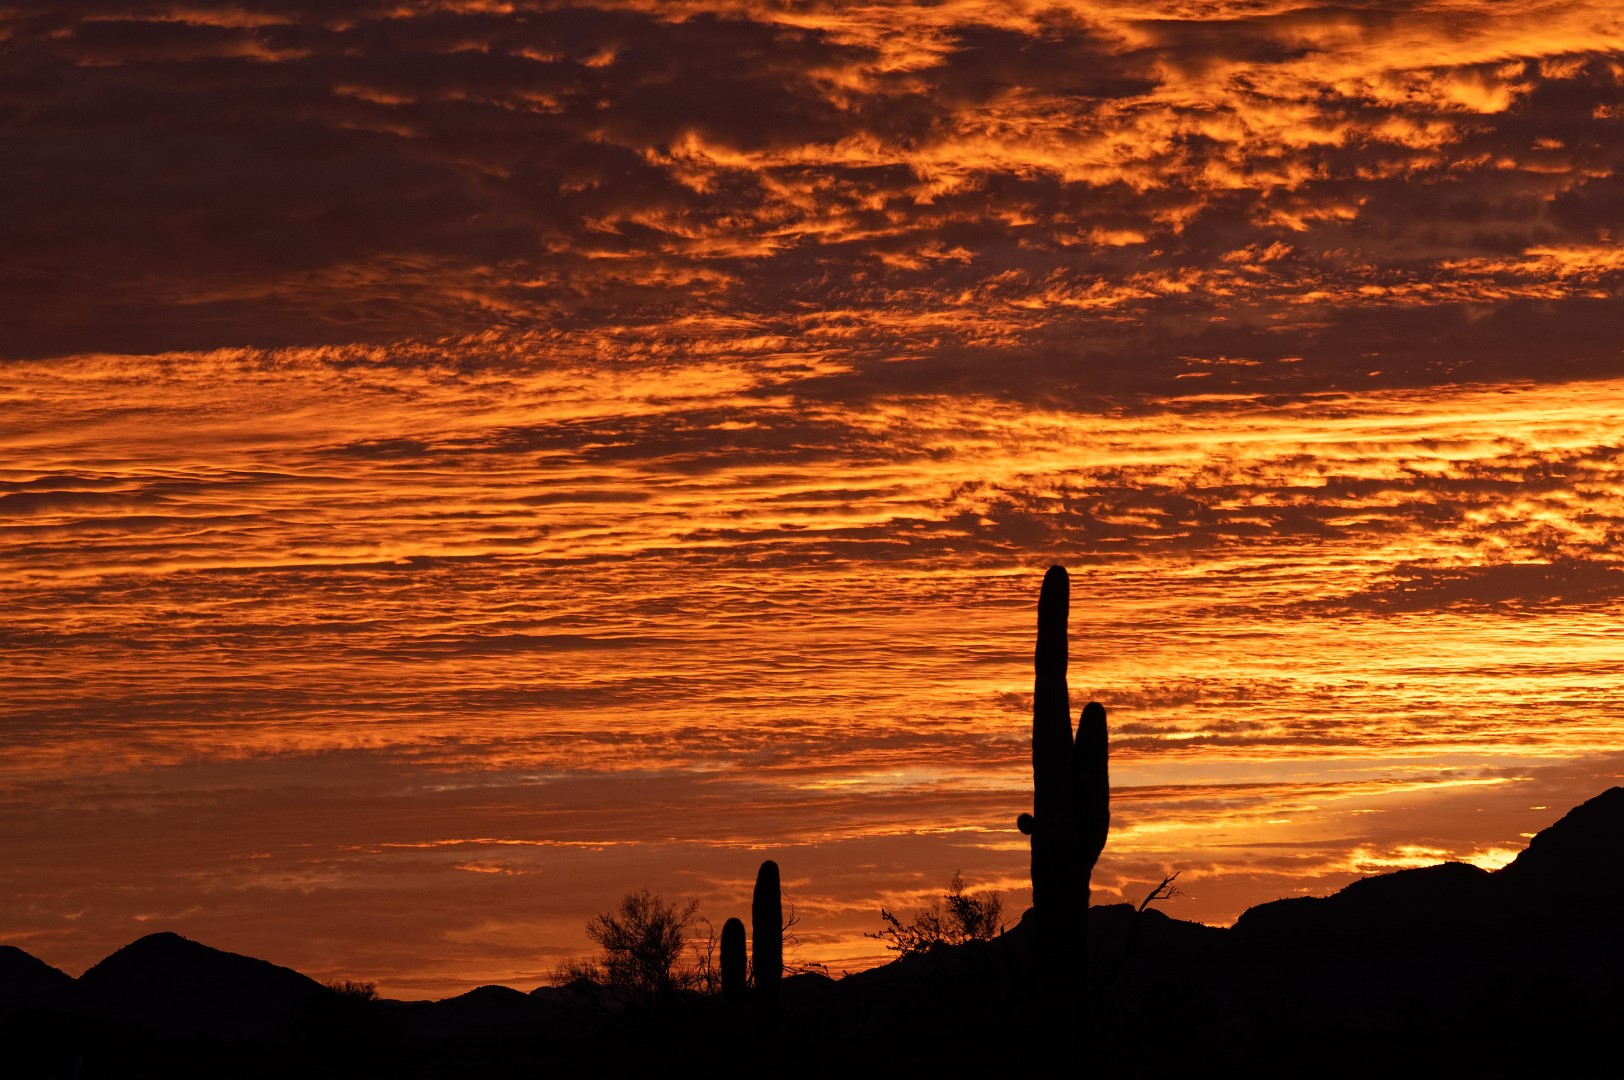
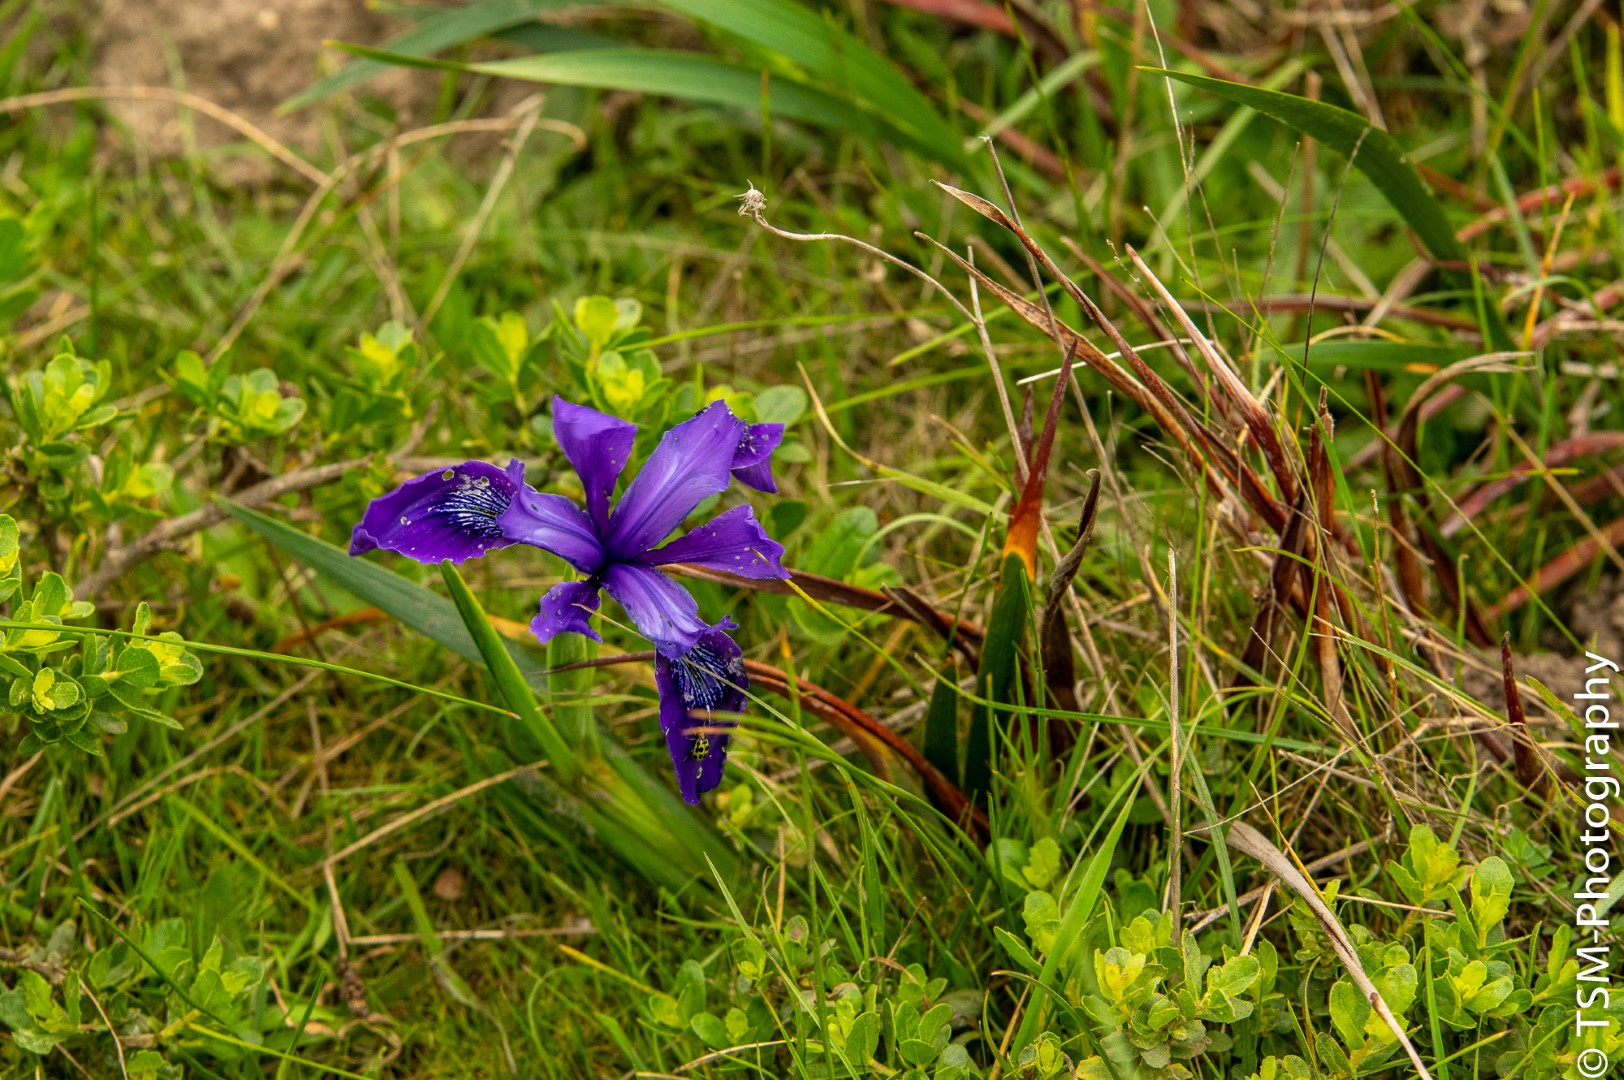
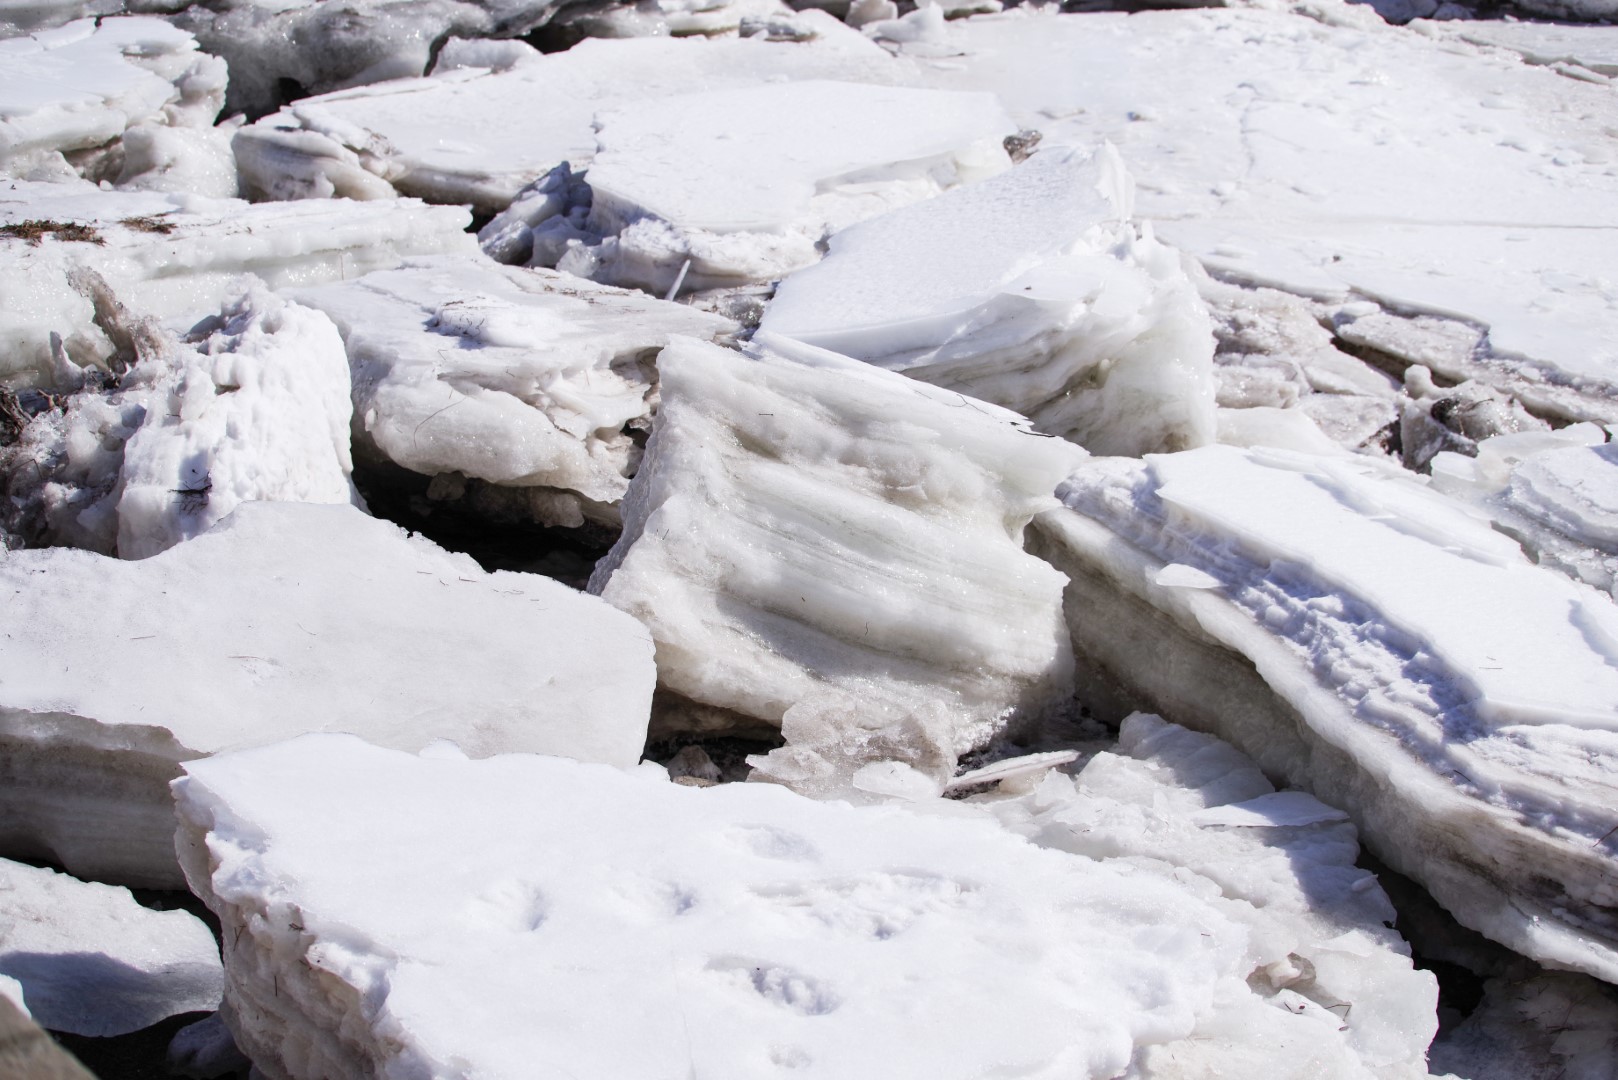
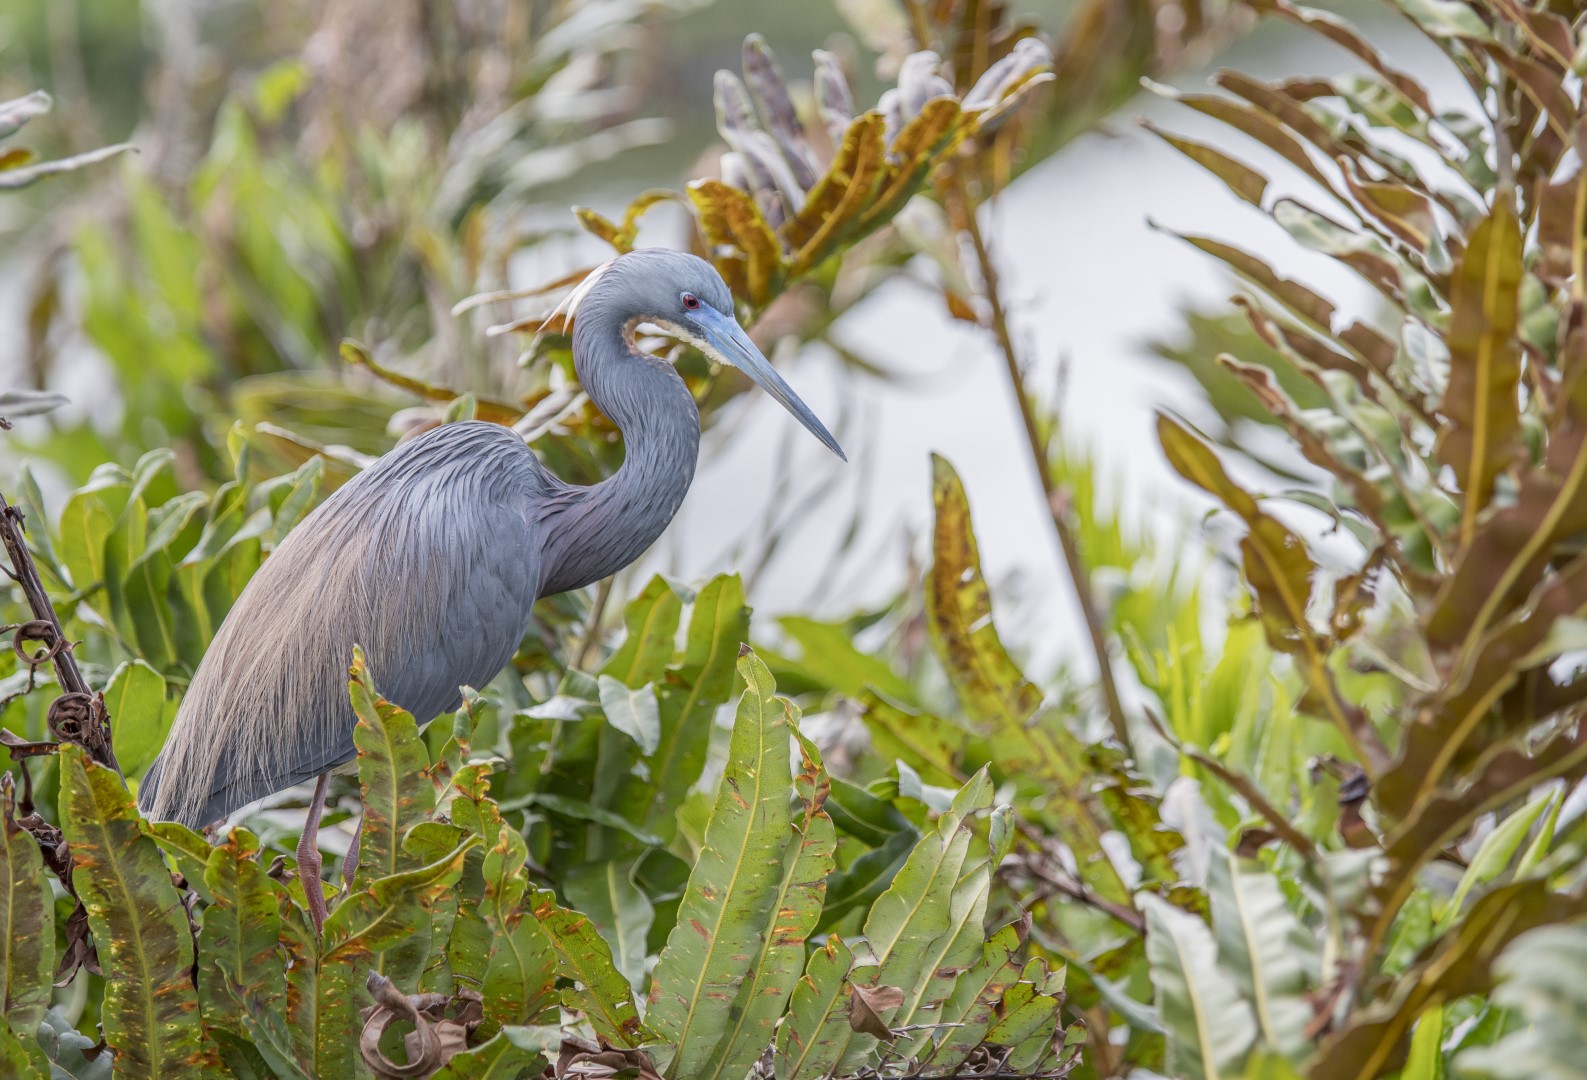
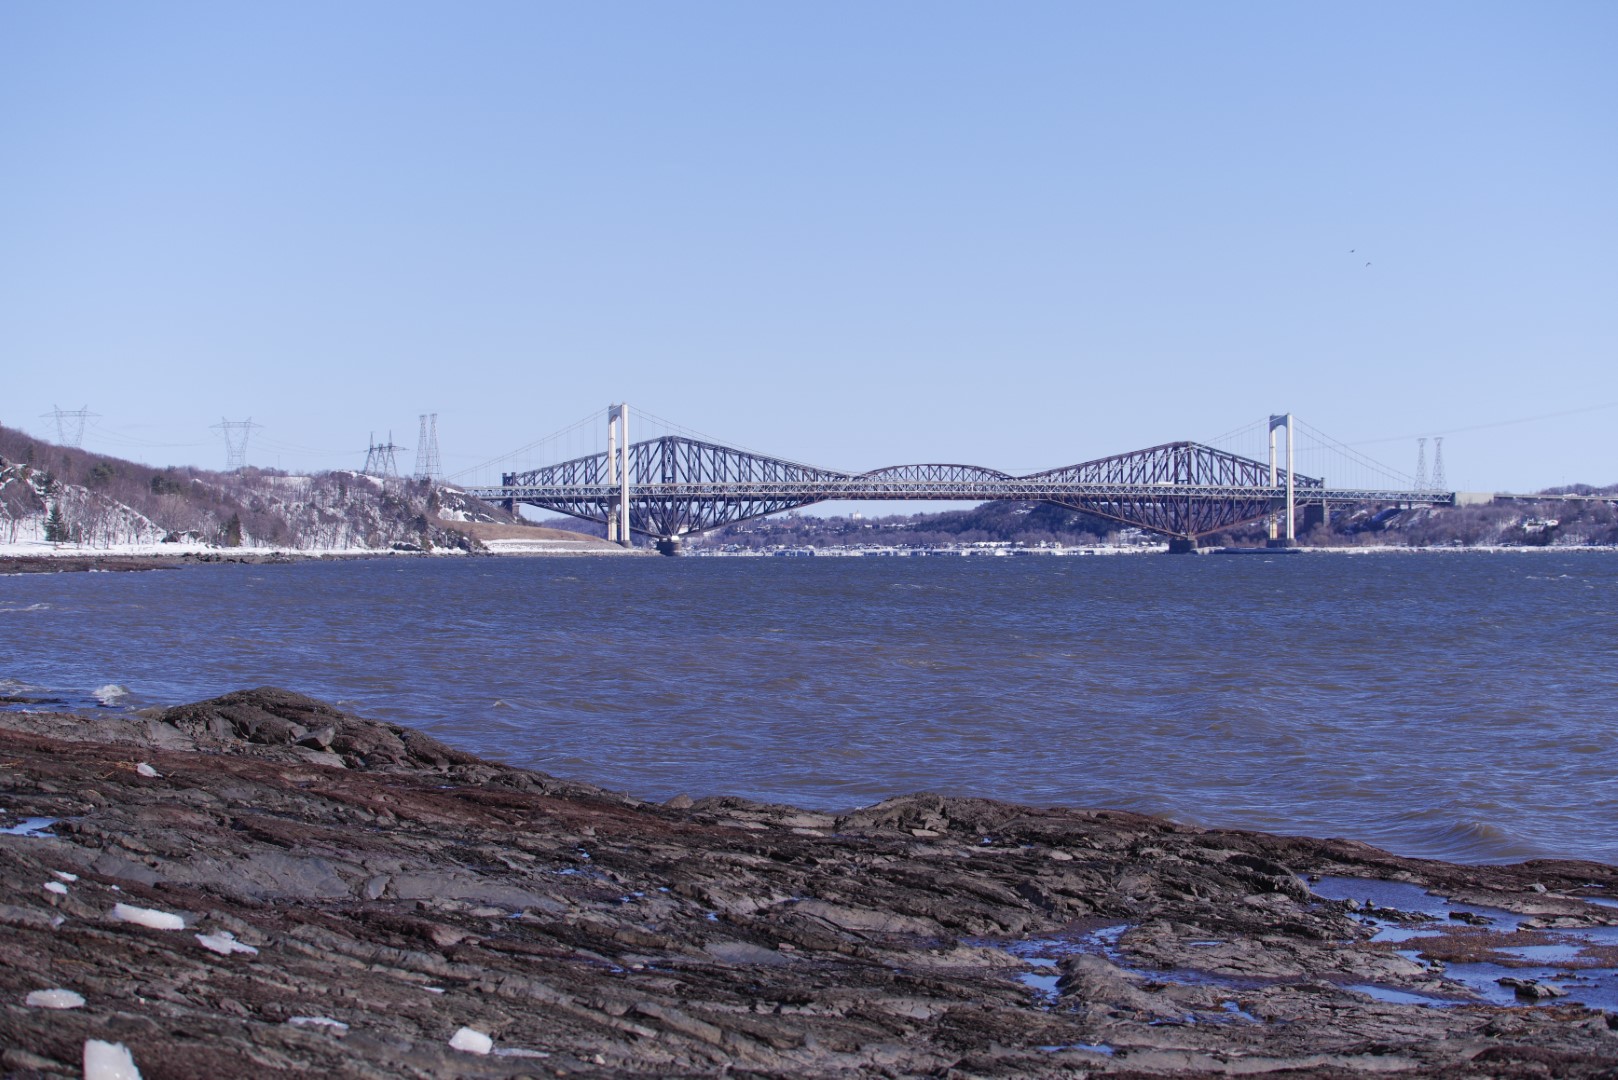
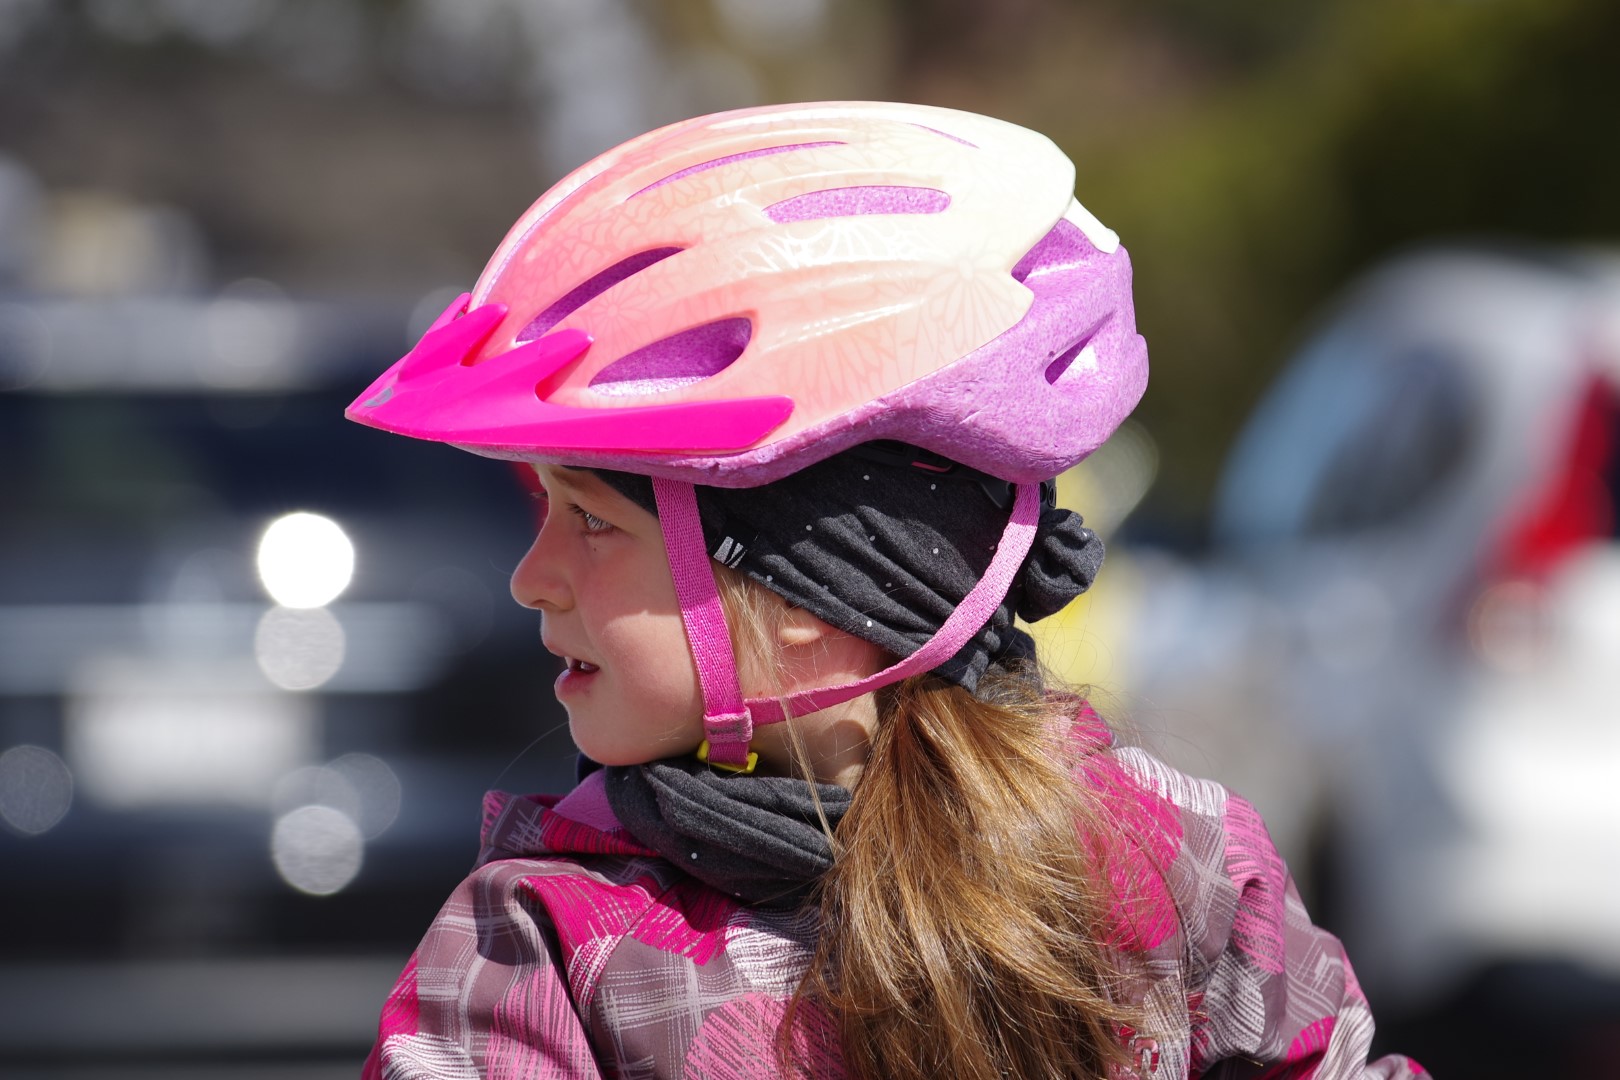
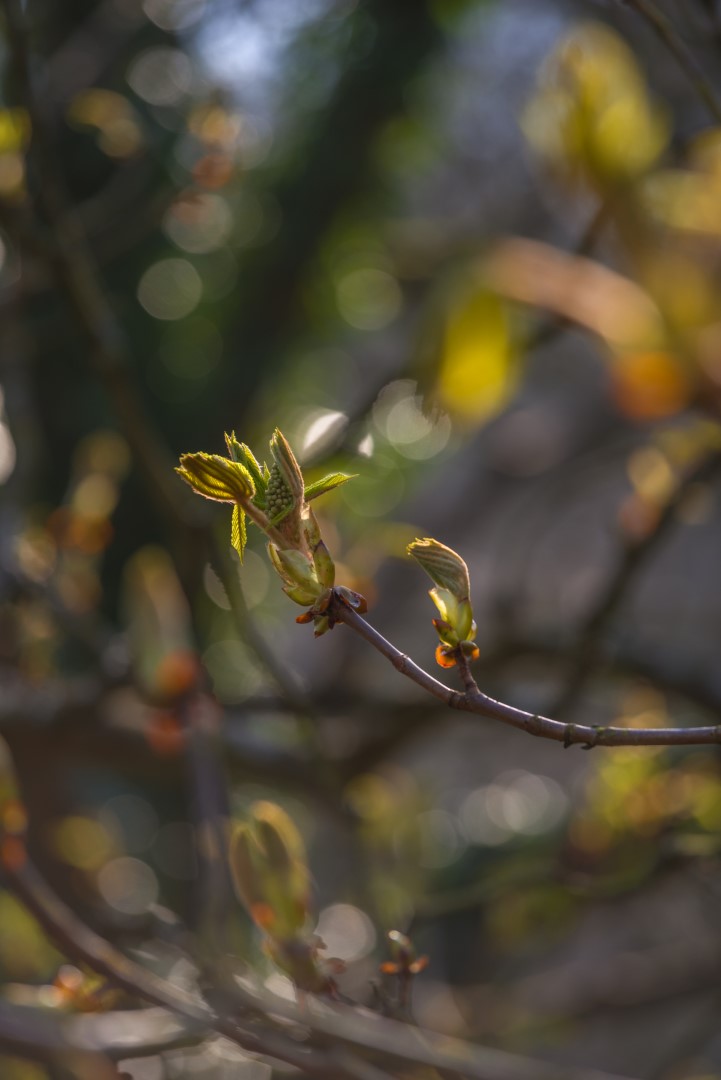
KP | 70mm | F11 | 1/250 seconds | ISO 100 Full size (JPEG) |
K-1 II | 83mm | F4 | 1/1250 seconds | ISO 100 Full size (JPEG) |
|
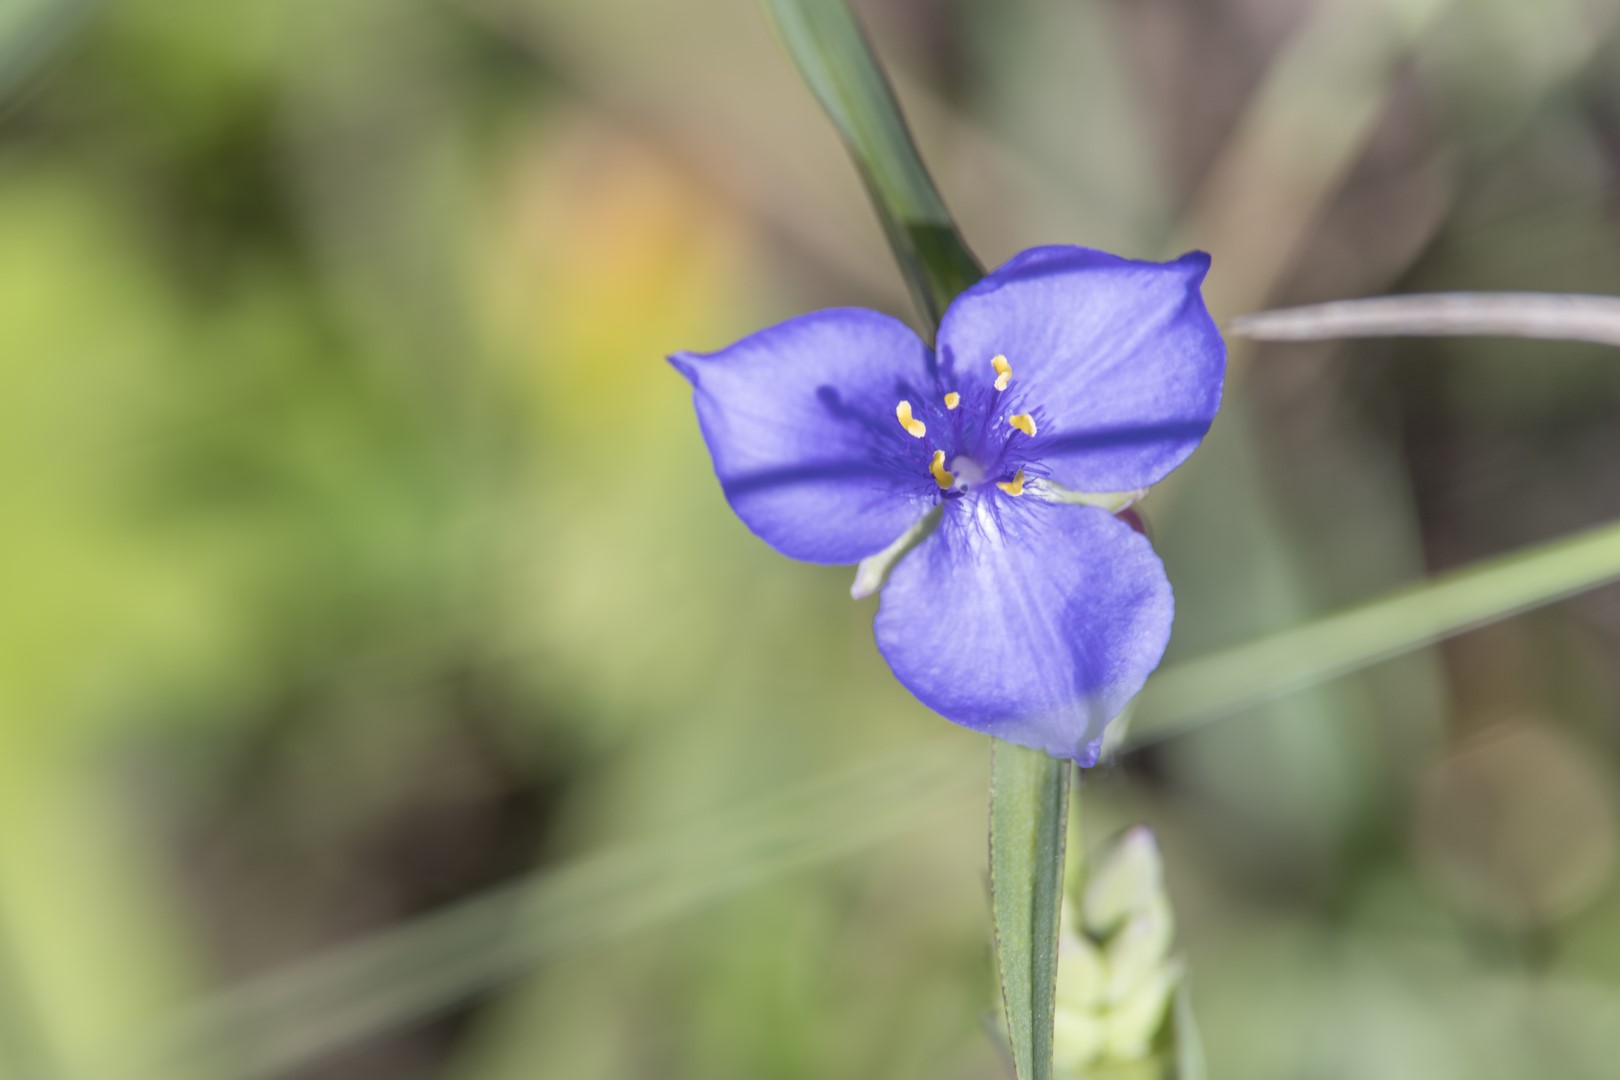
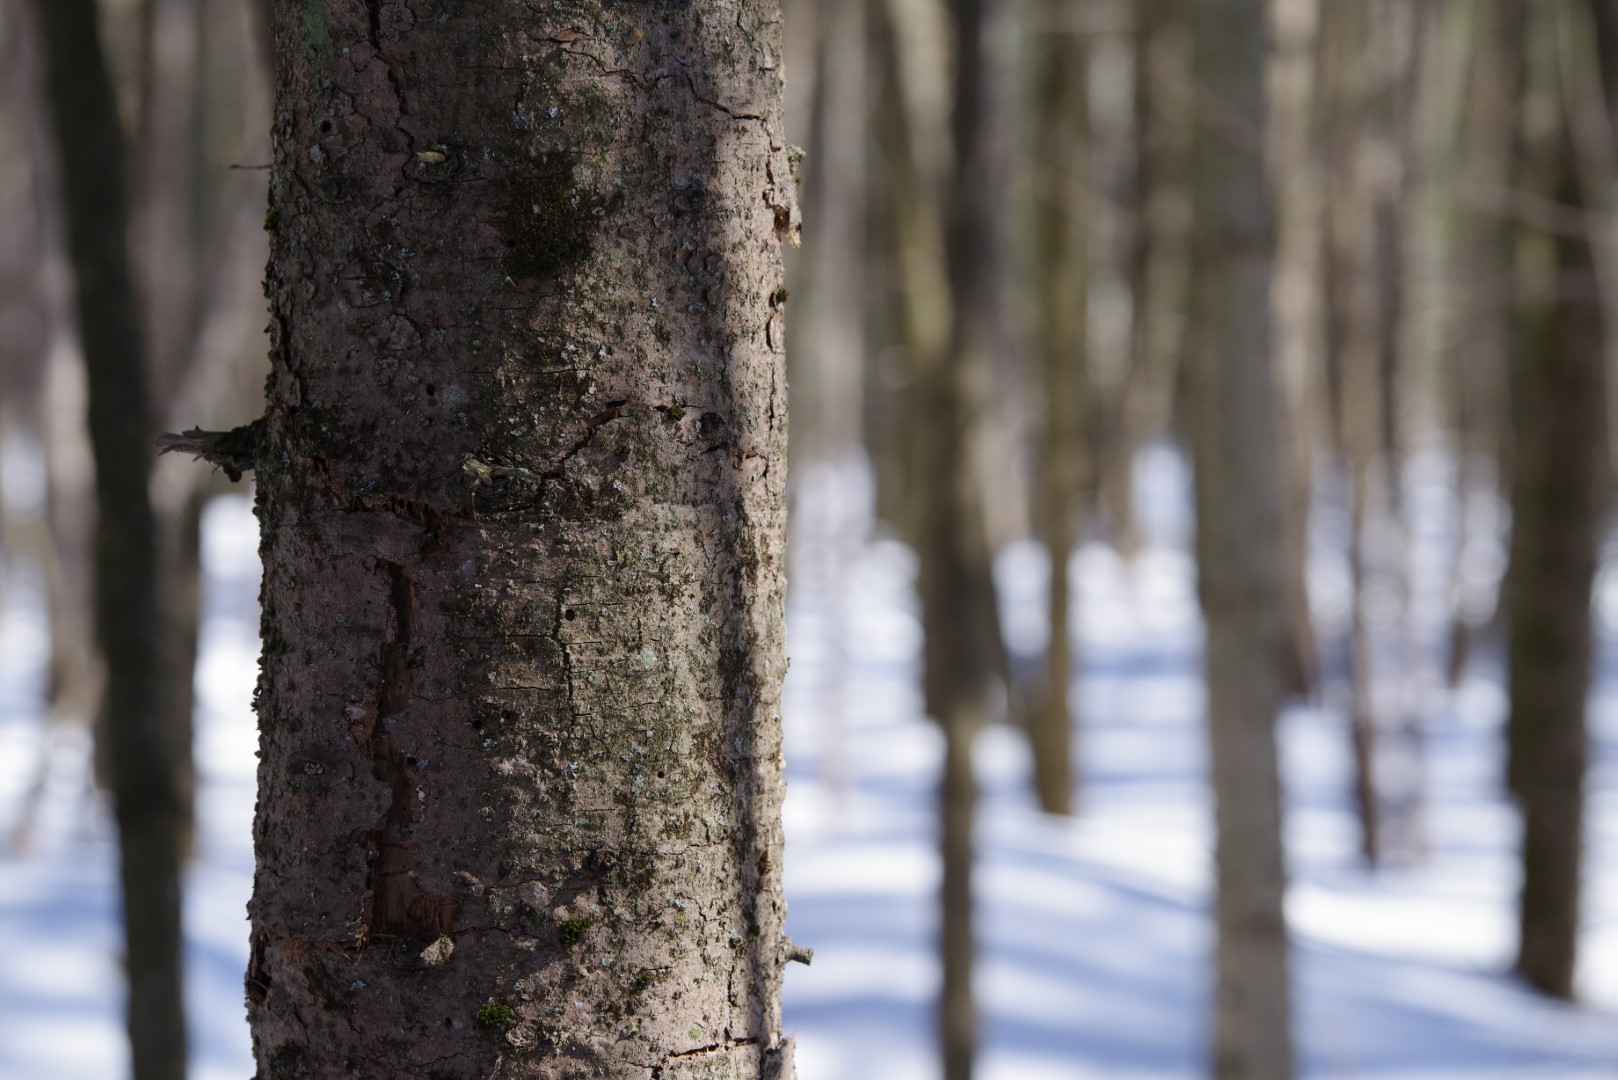
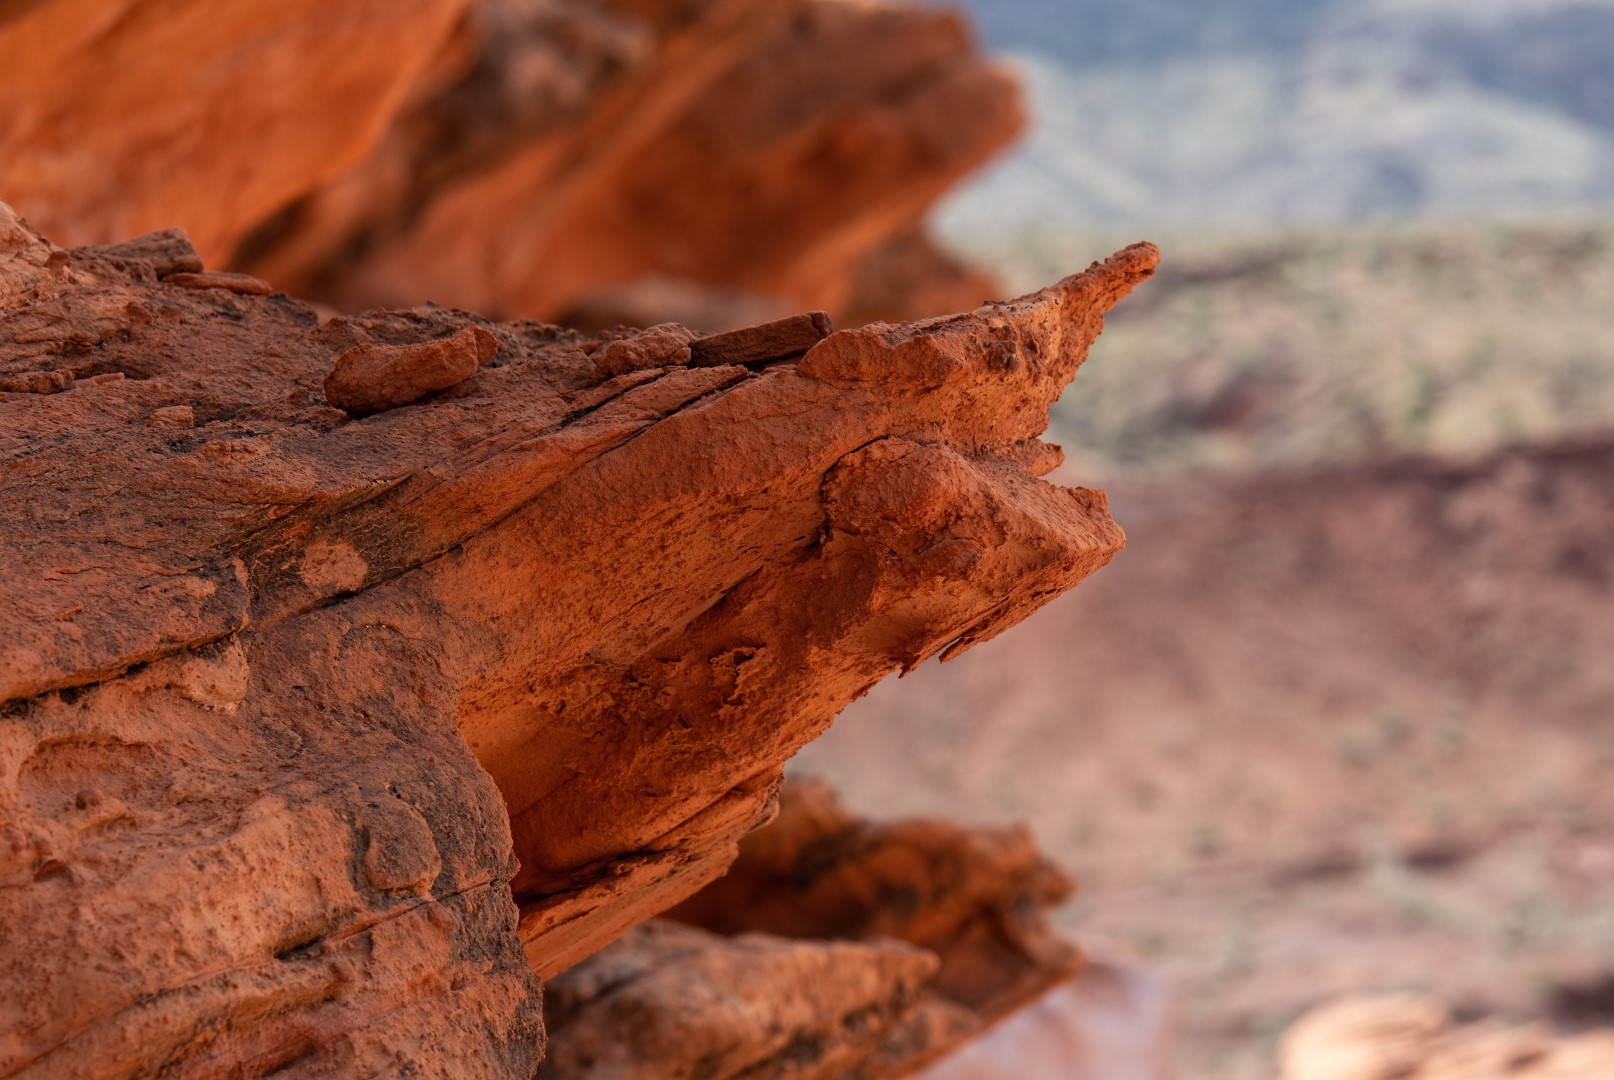
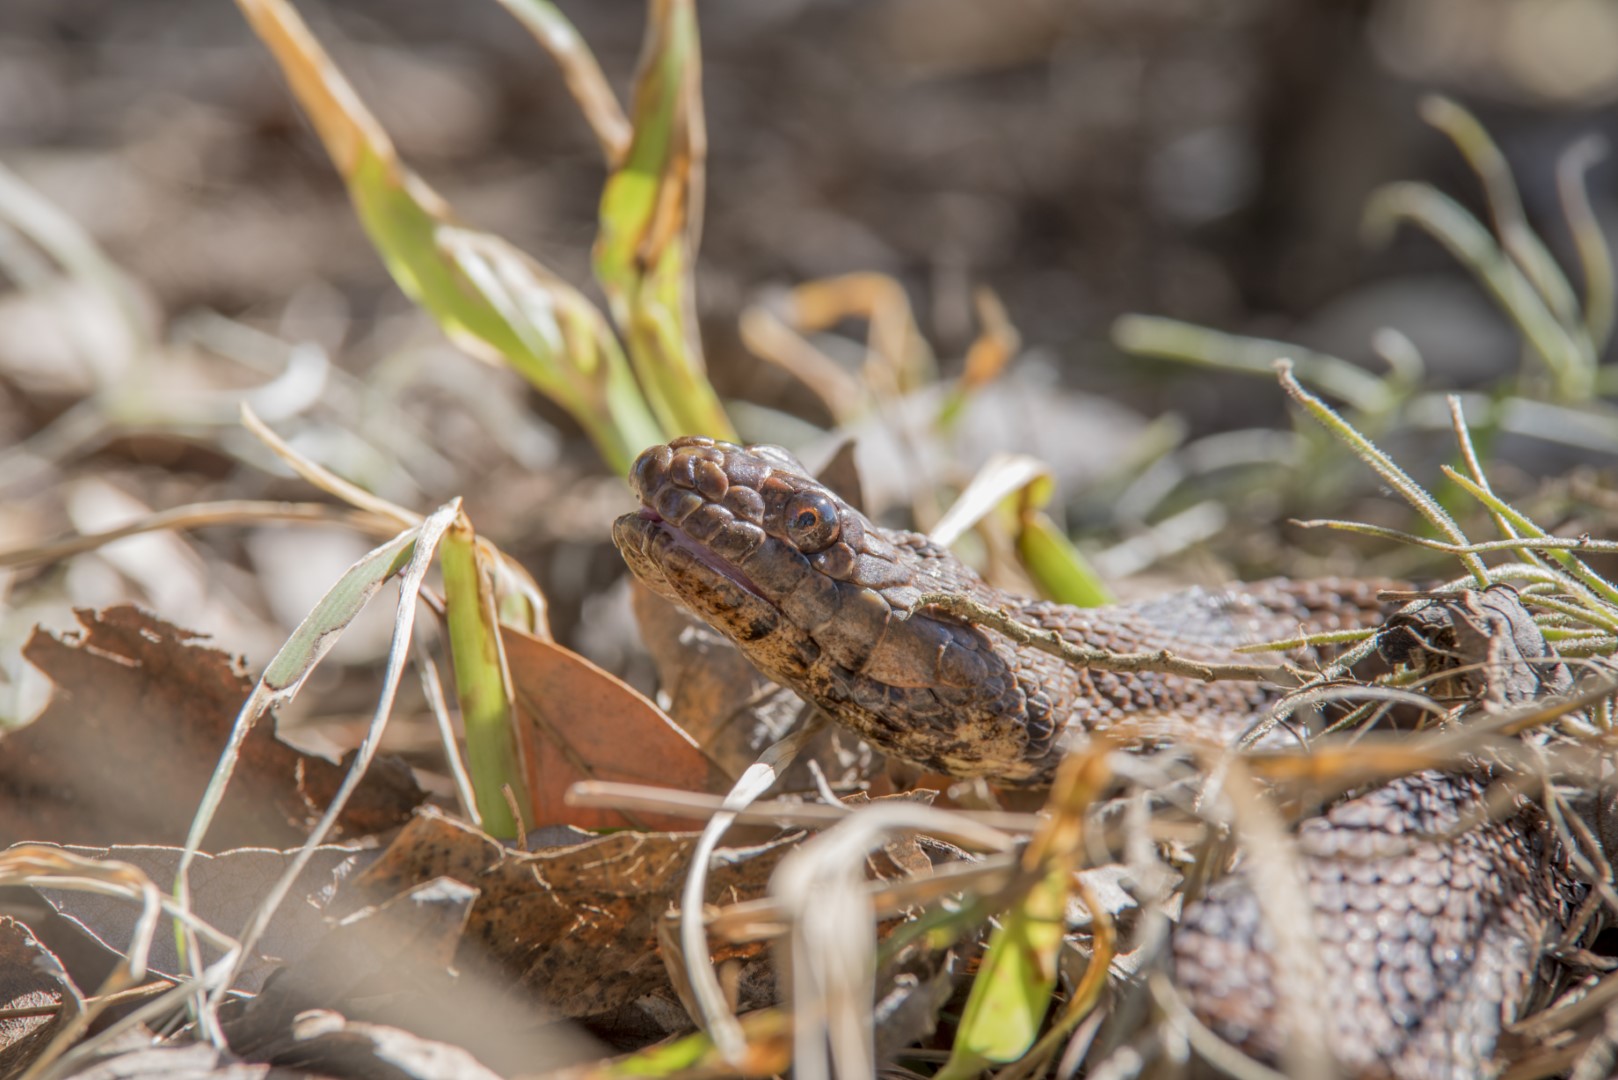
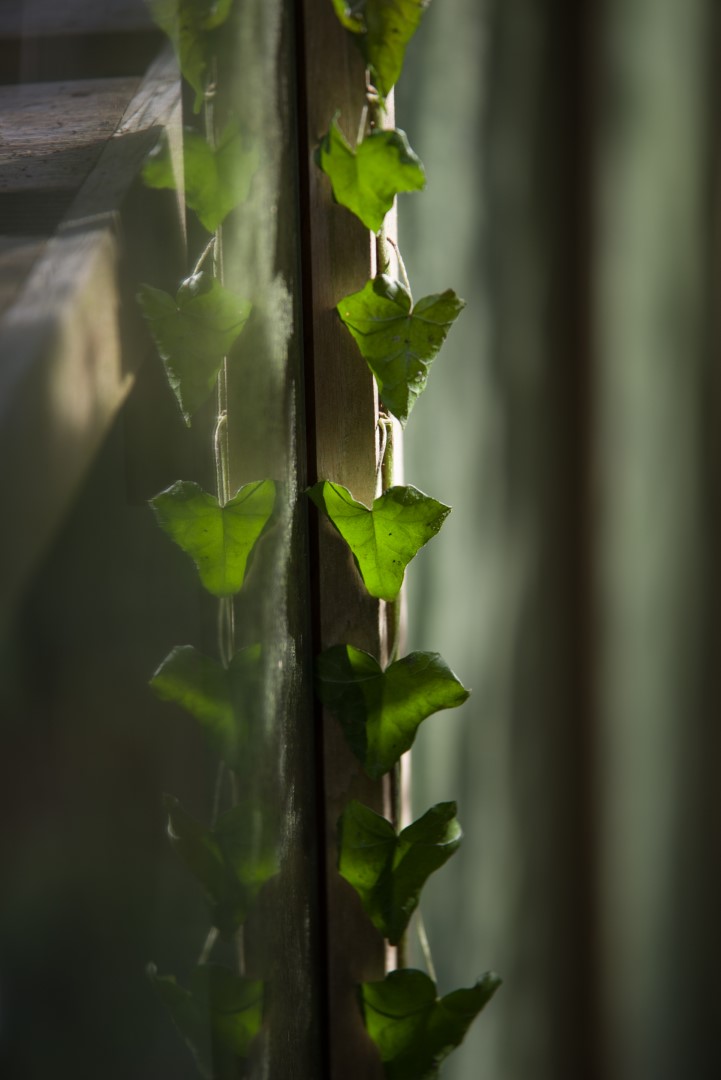
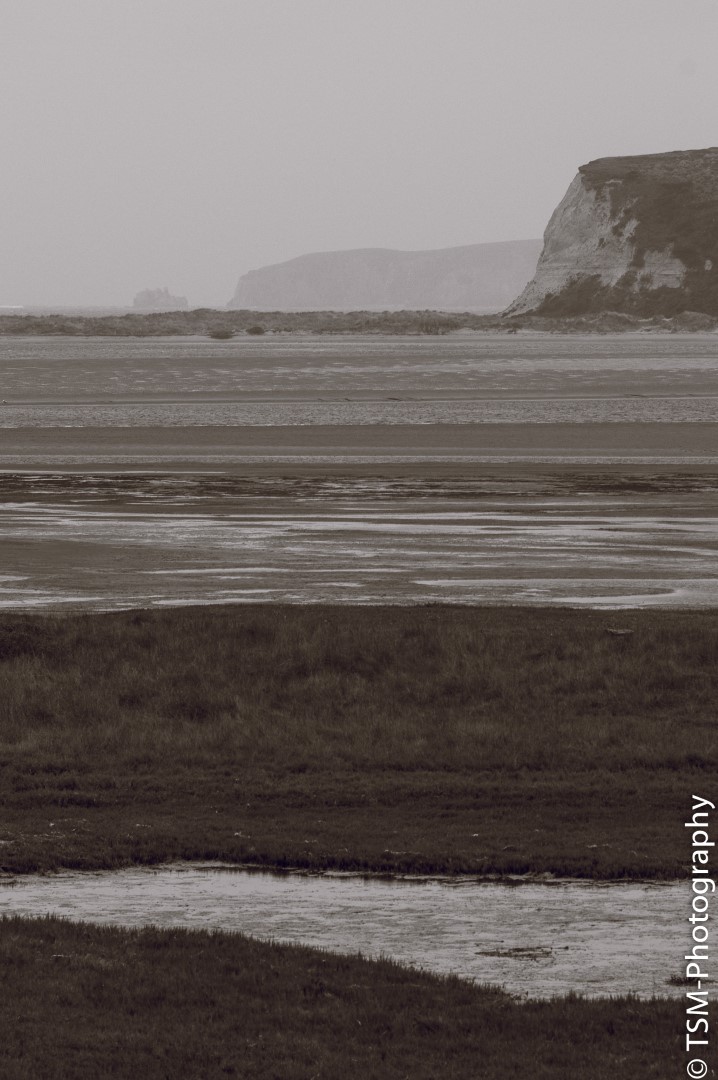
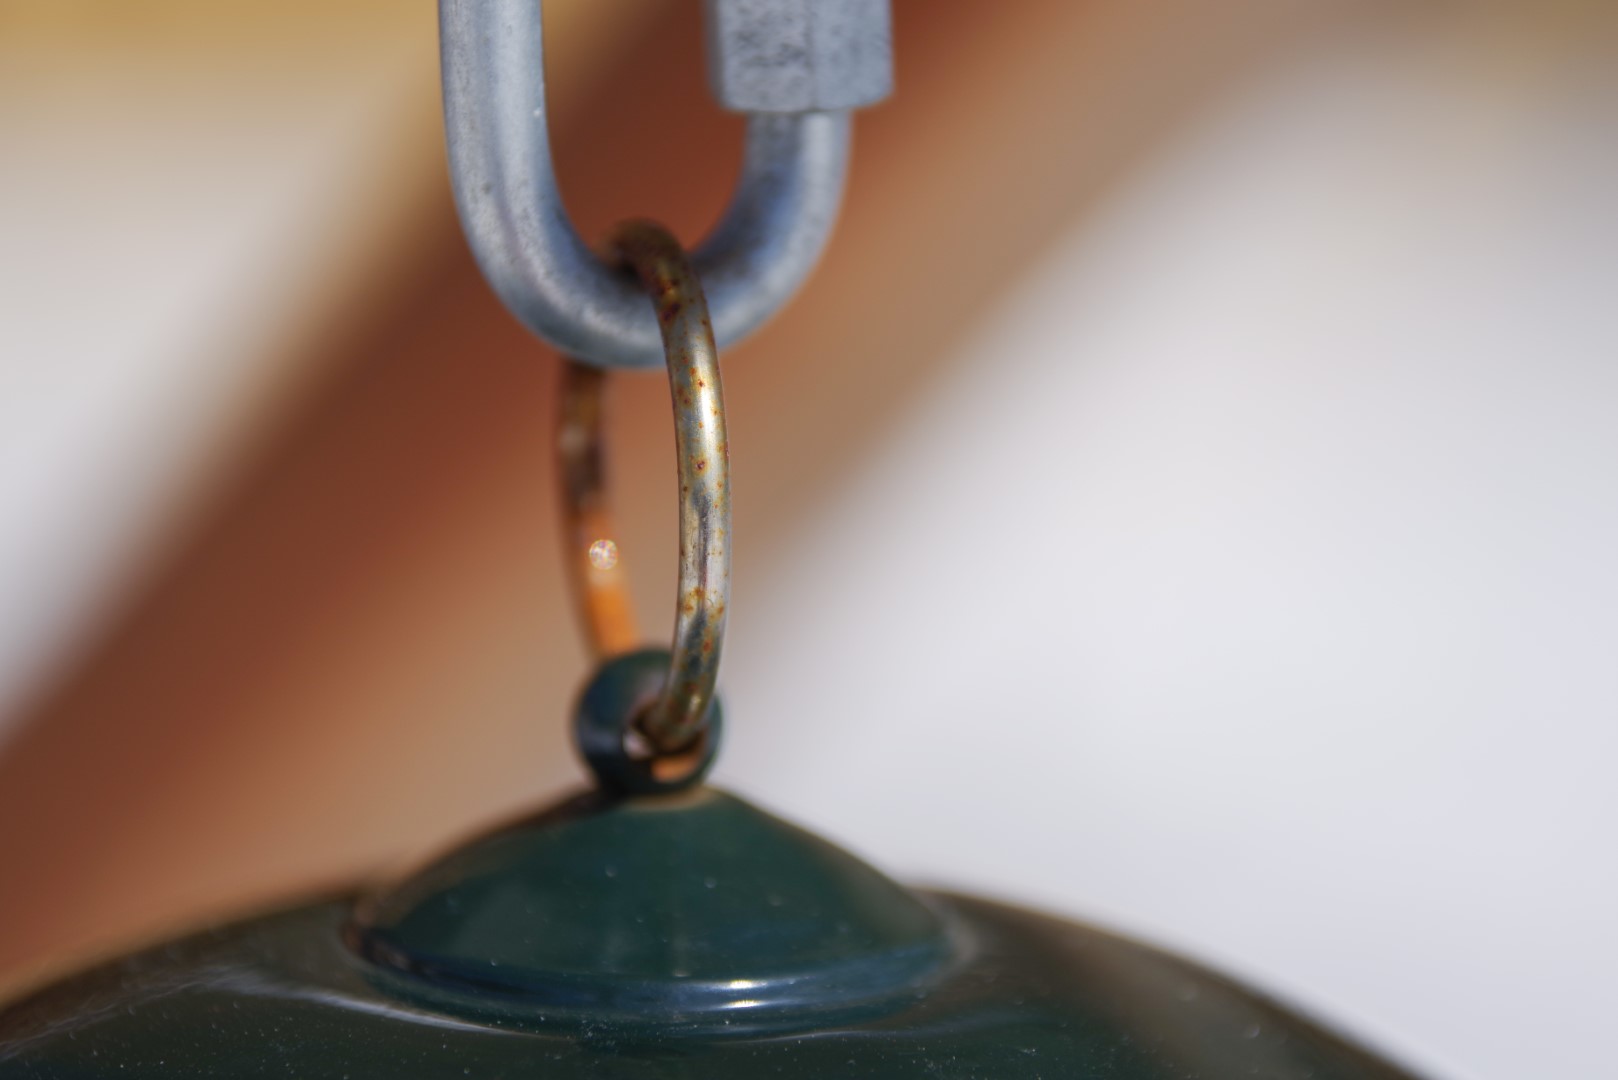
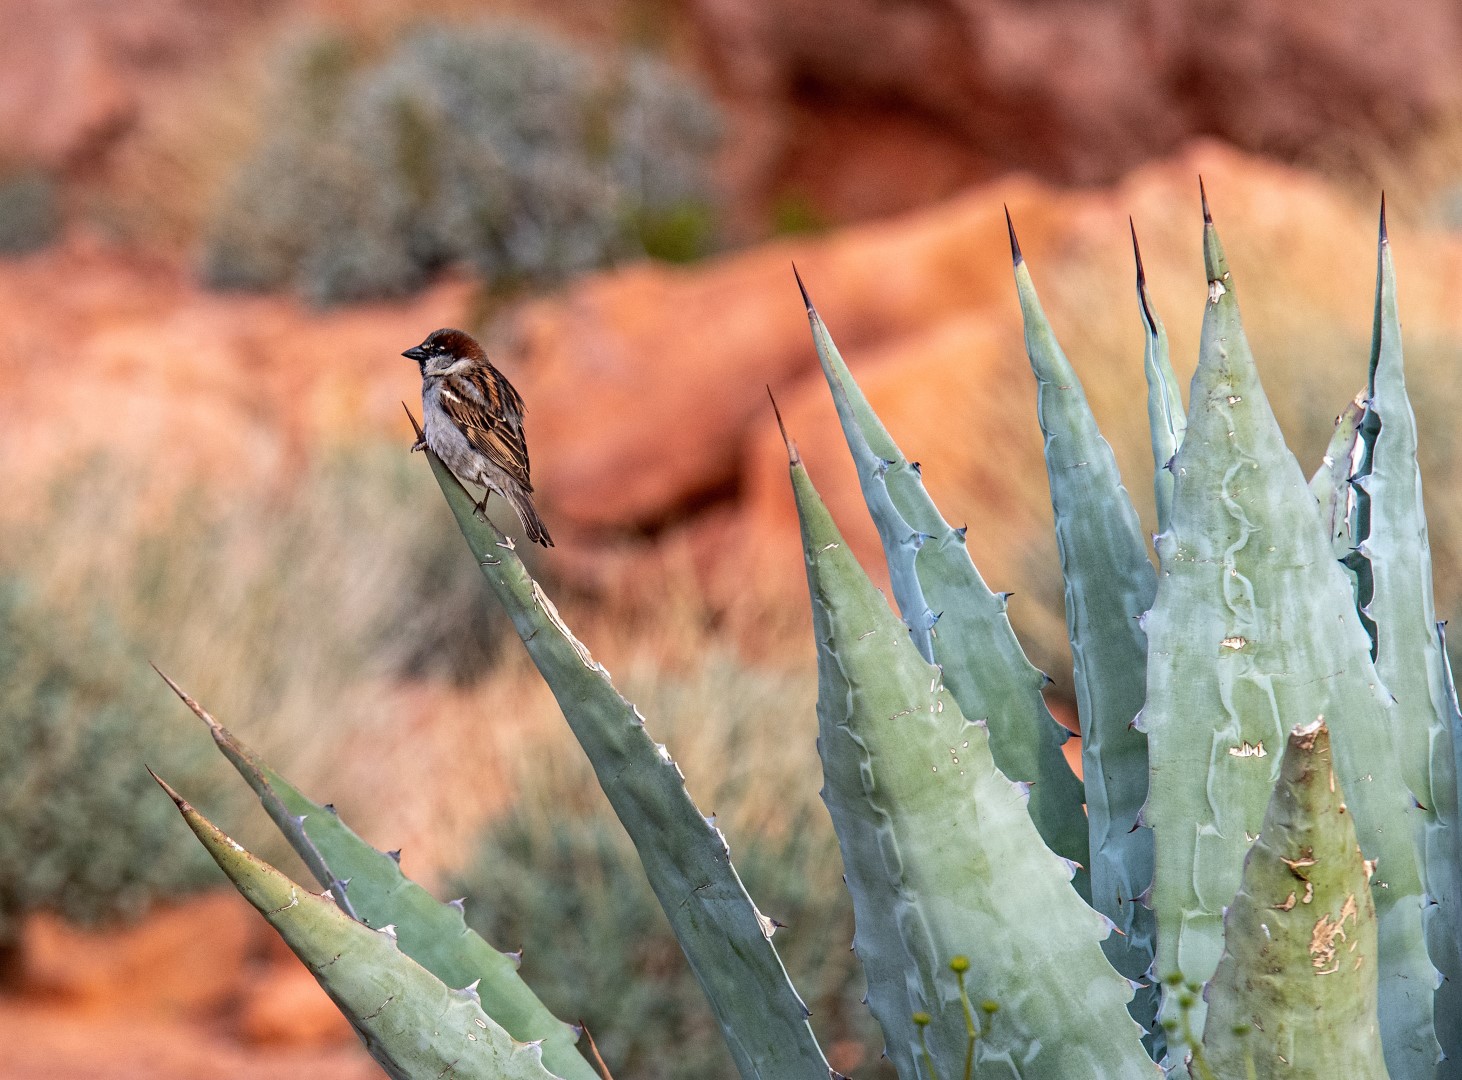
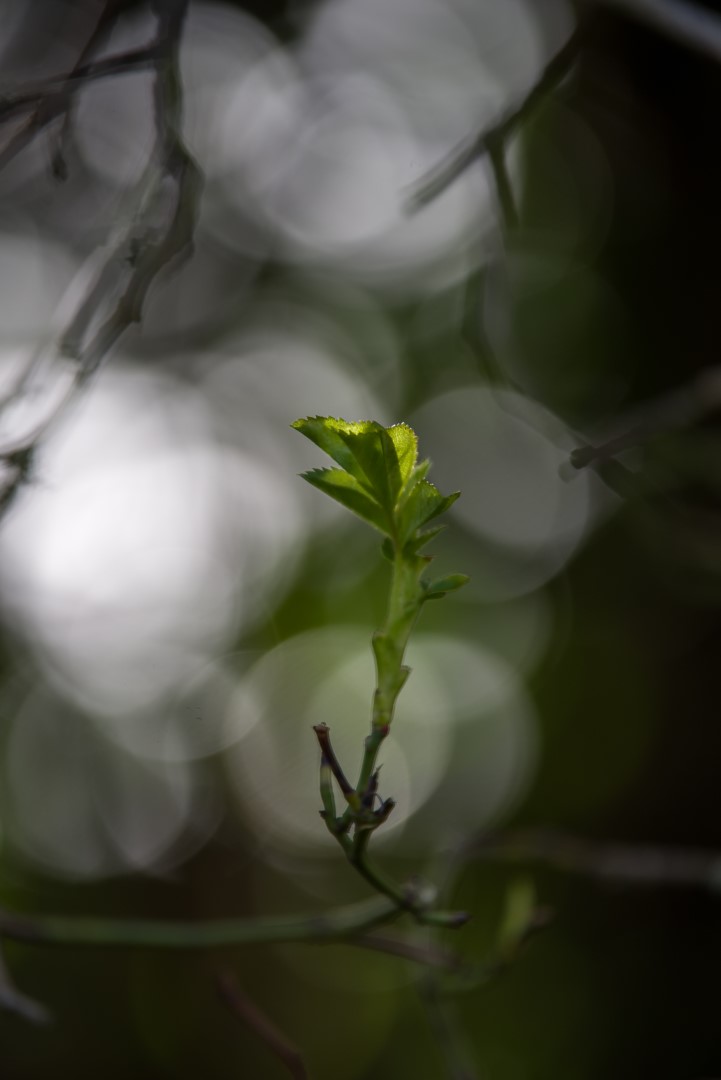
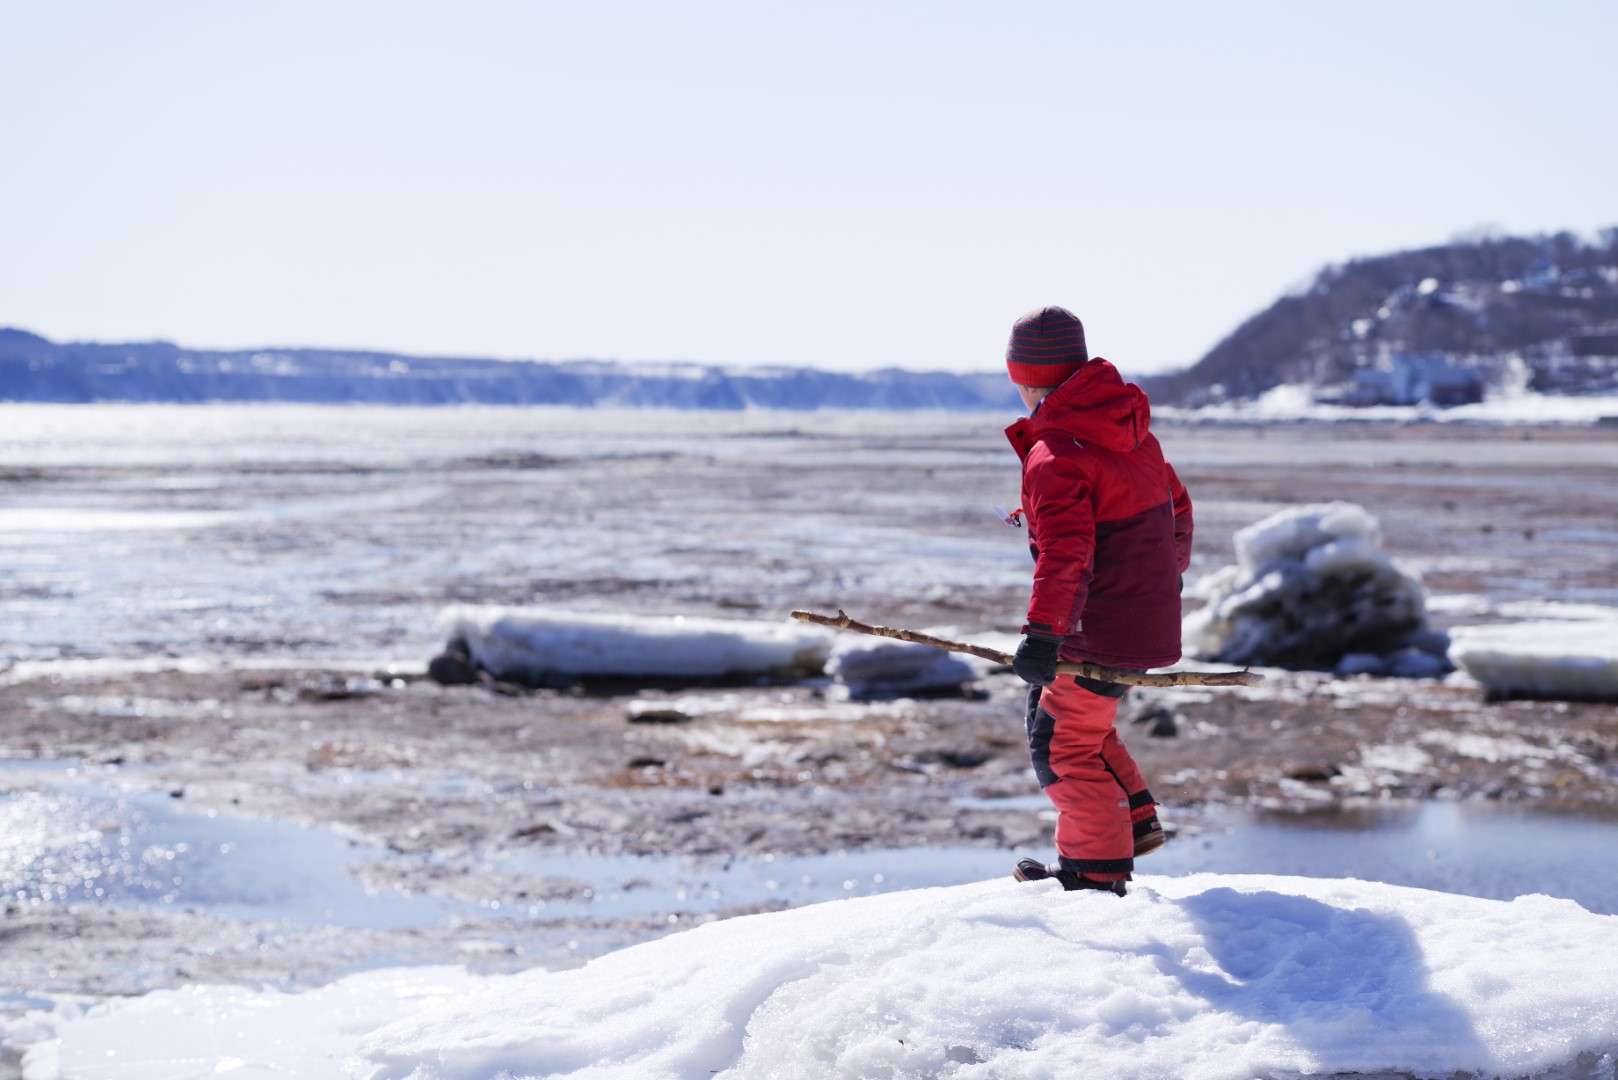
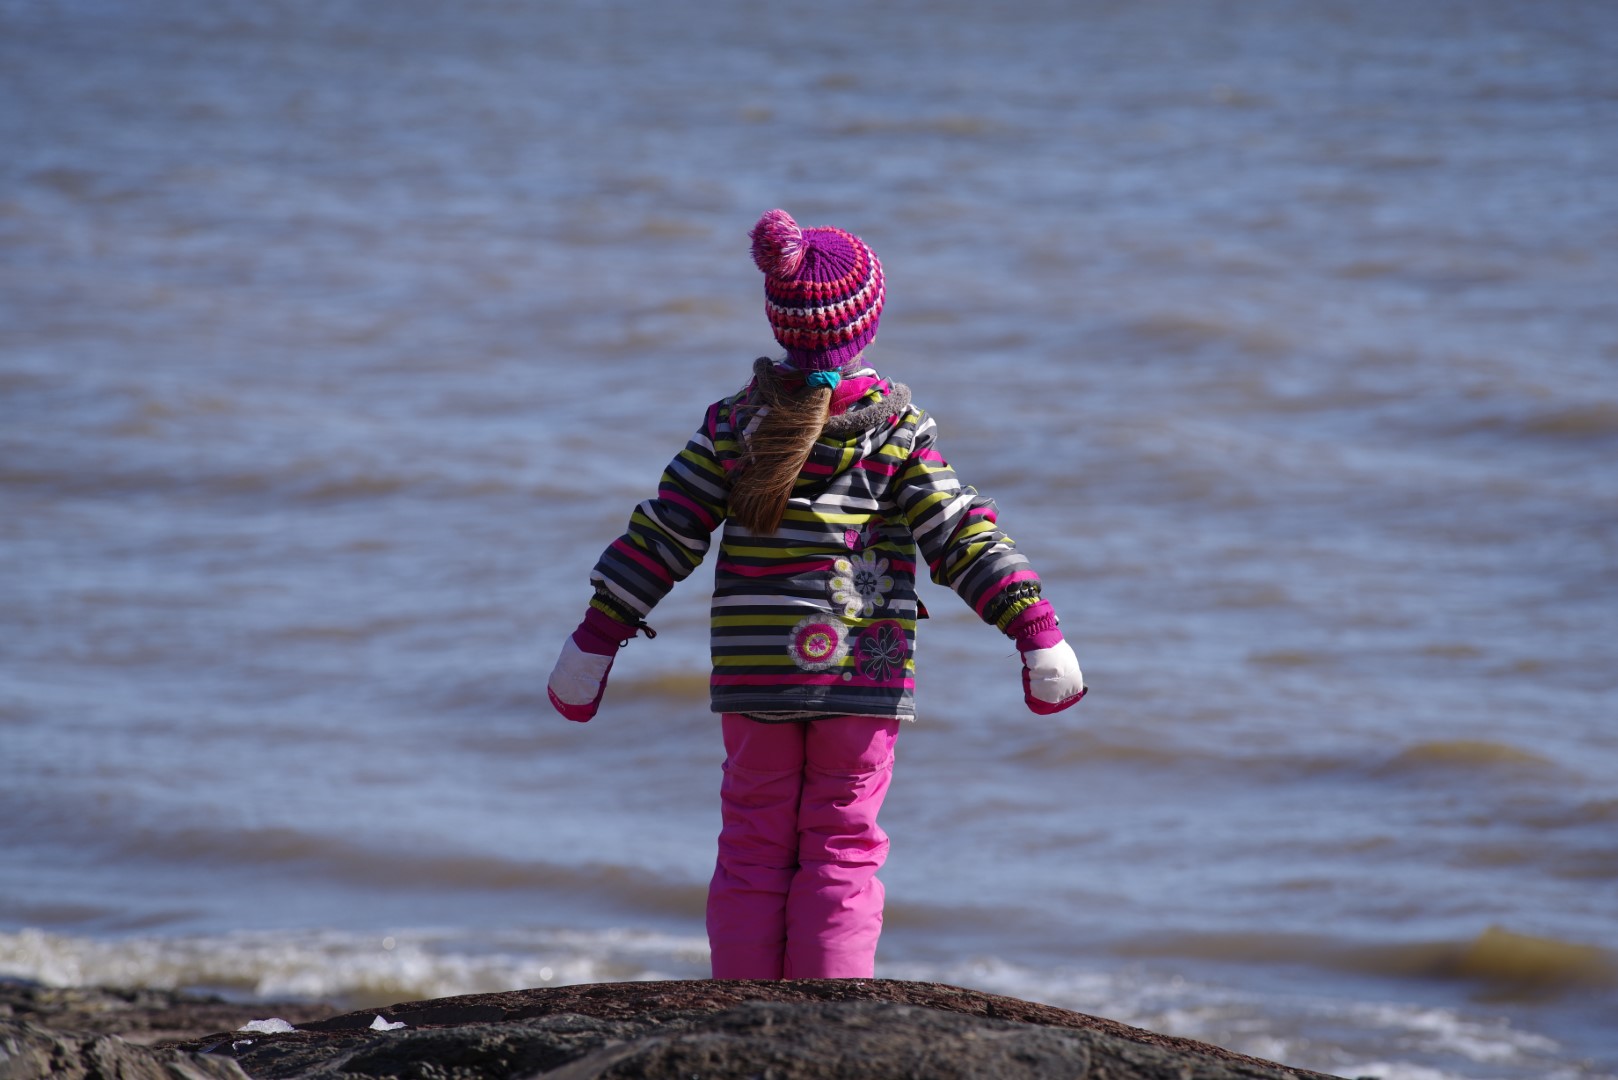
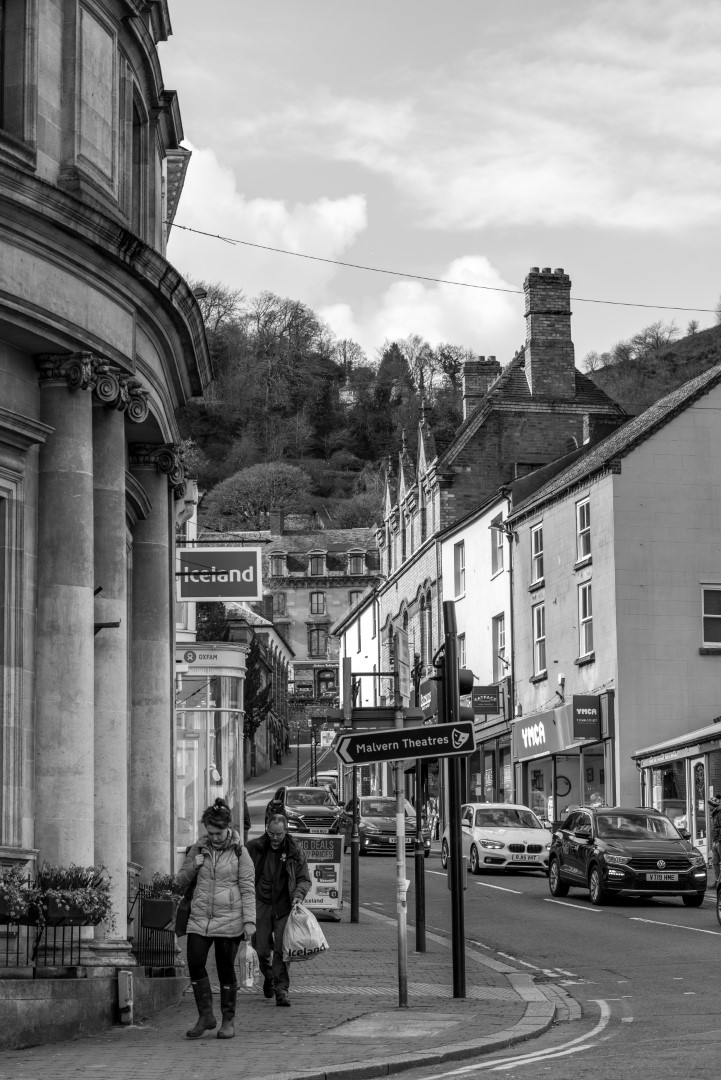
K-1 II | 70mm | F8 | 1/1600 seconds | ISO 400 Full size (JPEG) |
K-1 II | 145mm | F4 | 1/250 seconds | ISO 100 Full size (JPEG) |
|
KP | 210mm | F9 | 1/320 seconds | ISO 160 Full size (JPEG) |
K-1 II | 100mm | F8 | 1/320 seconds | ISO 400 Full size (JPEG) |
|
K-1 II | 70mm | F9 | 1/400 seconds | ISO 100 Full size (JPEG) |
K-1 II | 80mm | F4 | 1/1250 seconds | ISO 100 Full size (JPEG) |
|
K-1 II | 155mm | F6.3 | 1/200 seconds | ISO 400 Full size (JPEG) |
K-1 II | 75mm | F6.3 | 1/500 seconds | ISO 400 Full size (JPEG) |
|
KP | 140mm | F8 | 1/200 seconds | ISO 200 Full size (JPEG) |
K-1 II | 70mm | F13 | 1/160 seconds | ISO 100 Full size (JPEG) |
|
K-1 II | 210mm | F4.5 | 1/250 seconds | ISO 800 Full size (JPEG) |
K-3 | 210mm | F8 | 1/180 seconds | ISO 200 |
|
K-1 II | 210mm | F14 | 1/30 seconds | ISO 100 Full size (JPEG) |
K-1 II | 210mm | F4 | 1/800 seconds | ISO 100 Full size (JPEG) |
|
K-1 II | 210mm | F4 | 1/400 seconds | ISO 800 Full size (JPEG) |
K-1 II | 95mm | F4.5 | 1/400 seconds | ISO 100 Full size (JPEG) |
|
K-1 II | 190mm | F4 | 1/200 seconds | ISO 200 Full size (JPEG) |
K-1 II | 210mm | F4.5 | 1/640 seconds | ISO 100 Full size (JPEG) |
|
K-1 II | 170mm | F4 | 1/1000 seconds | ISO 100 Full size (JPEG) |
K-1 II | 170mm | F4 | 1/320 seconds | ISO 100 Full size (JPEG) |
|
K-3 | 140mm | F8 | 1/180 seconds | ISO 200 |
K-1 II | 70mm | F4.5 | 1/500 seconds | ISO 100 Full size (JPEG) |
|
K-3 | 180mm | F8 | 1/250 seconds | ISO 280 |
KP | 123mm | F8 | 1/200 seconds | ISO 400 Full size (JPEG) |
|
K-1 II | 210mm | F4 | 1/1600 seconds | ISO 100 Full size (JPEG) |
K-1 II | 70mm | F4 | 1/100 seconds | ISO 100 Full size (JPEG) |
|
K-1 II | 133mm | F4.5 | 1/1250 seconds | ISO 125 Full size (JPEG) |
K-1 II | 210mm | F4.5 | 1/2000 seconds | ISO 125 Full size (JPEG) |
|
K-3 | 113mm | F6.7 | 1/180 seconds | ISO 800 |
KP | 210mm | F8 | 1/320 seconds | ISO 800 Full size (JPEG) |
|
K-1 II | 210mm | F4 | 1/1250 seconds | ISO 100 Full size (JPEG) |
K-1 II | 115mm | F9 | 1/125 seconds | ISO 100 Full size (JPEG) |
|
K-1 II | 210mm | F4.5 | 1/200 seconds | ISO 125 Full size (JPEG) |
K-1 II | 70mm | F4.5 | 1/4000 seconds | ISO 125 Full size (JPEG) |
|
K-1 II | 210mm | F4 | 1/400 seconds | ISO 100 Full size (JPEG) |
K-1 II | 170mm | F4.5 | 1/2050 seconds | ISO 125 Full size (JPEG) |
|
K-1 II | 210mm | F8 | 1/800 seconds | ISO 400 Full size (JPEG) |
K-1 II | 170mm | F4 | 1/500 seconds | ISO 100 Full size (JPEG) |
|
K-1 II | 90mm | F4.5 | 1/2000 seconds | ISO 125 Full size (JPEG) |
KP | 210mm | F8 | 1/320 seconds | ISO 800 Full size (JPEG) |
|
K-1 II | 70mm | F7.1 | 1/800 seconds | ISO 125 Full size (JPEG) |
K-1 II | 70mm | F5 | 1/1600 seconds | ISO 125 Full size (JPEG) |
|
K-1 II | 170mm | F5 | 1/800 seconds | ISO 125 Full size (JPEG) |
K-1 II | 170mm | F4 | 1/640 seconds | ISO 800 Full size (JPEG) |
|
K-1 II | 210mm | F5 | 1/400 seconds | ISO 100 Full size (JPEG) |
K-1 II | 210mm | F4.5 | 1/500 seconds | ISO 100 Full size (JPEG) |
|
K-1 II | 90mm | F6.3 | 1/400 seconds | ISO 160 Full size (JPEG) |
K-1 II | 210mm | F4.5 | 1/320 seconds | ISO 100 Full size (JPEG) |
|
K-3 | 120mm | F5.6 | 1/640 seconds | ISO 100 Full size (JPEG) |
K-1 II | 210mm | F5 | 1/500 seconds | ISO 100 Full size (JPEG) |
|
K-3 | 210mm | F5.6 | 1/800 seconds | ISO 100 Full size (JPEG) |
K-1 II | 210mm | F4.5 | 1/500 seconds | ISO 200 Full size (JPEG) |